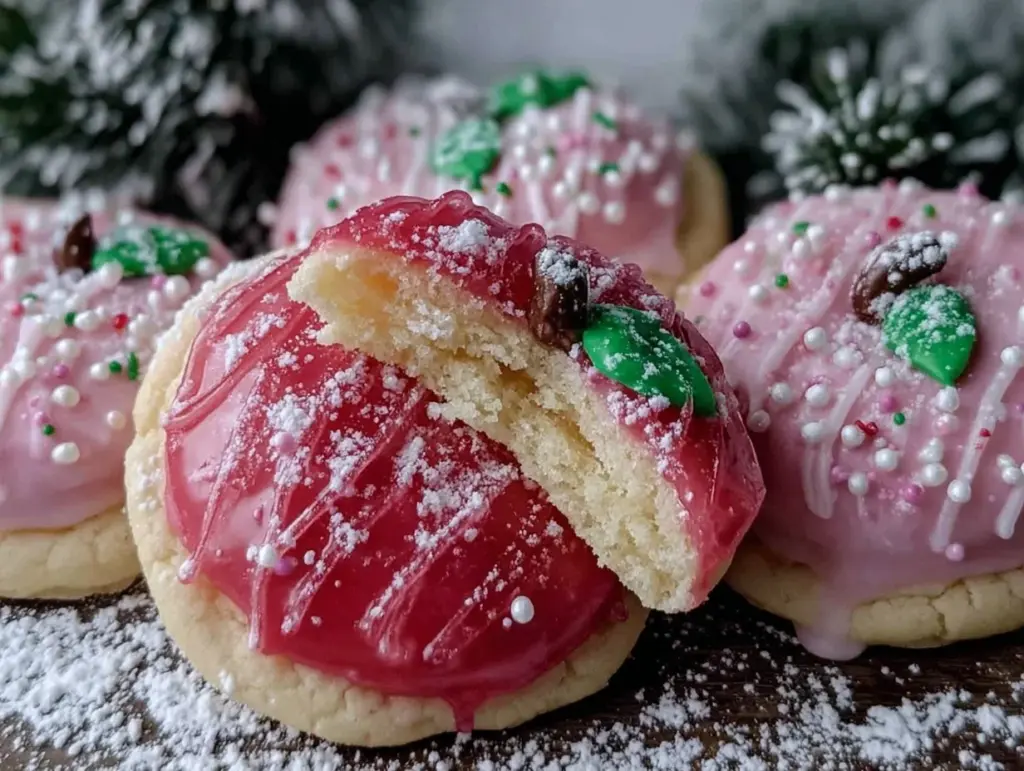
“You can’t just eat one,” my friend whispered as she bit into the third perfectly shaped apple cookie I’d just handed over. Honestly, I didn’t expect much the first time I tried making these apple-shaped decorated sugar cookies with royal icing. It all started out as a bit of a last-minute scramble before a school event—no fancy decorations, just a quick idea to make something that looked fun and festive for the kids.
But as I mixed the dough and rolled it out, I realized the shape wasn’t just cute—it felt nostalgic, like a little nod to those classic lunchbox apple stickers that somehow made you feel better about the day. The royal icing? Well, that was the real twist. I was skeptical about how tricky it might be, but after a few tries, I found a simple way to get that smooth, glossy finish that didn’t crack or bleed.
Now, it’s weirdly satisfying to see those bright red apples lined up, each one its own tiny masterpiece. Friends at brunch started asking for the recipe, and honestly, I catch myself making these cookies multiple times a week just to perfect the little leaf or add a tiny highlight. There’s just something about this recipe—maybe it’s the way the buttery cookie meets the sweet, silky icing—that makes you pause and smile.
These apple-shaped sugar cookies became more than just a treat; they’re a small moment of joy in a busy day. And that’s probably why I keep coming back to them, even when I have other recipes calling my name—like that lemon garlic butter cod that’s perfect for weeknight dinners or the cozy ground beef stroganoff that’s just pure comfort.
Why You’ll Love This Recipe
After testing this apple-shaped sugar cookies recipe with royal icing over and over, I can confidently say it’s a keeper. Here’s why it stands out:
- Quick & Easy: The cookie dough comes together in under 20 minutes, and the decorating is straightforward enough for anyone willing to give it a try.
- Simple Ingredients: You probably have everything you need in your pantry—no obscure baking supplies or fancy gadgets.
- Perfect for Celebrations: Whether it’s a back-to-school party, fall festival, or just a fun weekend baking session, these cookies fit the bill.
- Crowd-Pleaser: Kids and adults alike can’t resist these charming apple shapes and their sweet, buttery taste.
- Unbelievably Delicious: The buttery cookie base balances perfectly with the smooth royal icing, making each bite a delightful mix of textures and flavors.
What sets this recipe apart is the royal icing technique I use—it dries glossy and smooth without the usual cracking or puffiness. Plus, the cookie dough is just the right thickness to hold the apple shape without spreading out too much in the oven. It’s not your run-of-the-mill sugar cookie; it’s a recipe I’ve tweaked to make decorating a breeze, even if you’re not a pro baker.
Honestly, these cookies make you pause mid-bite, close your eyes, and savor that perfect, sweet little moment. They’re a bit like the homemade version of those classic bakery cookies you always wished you could make at home—just with your own touch and no stress.
What Ingredients You Will Need
This recipe uses simple, wholesome ingredients to deliver bold flavor and satisfying texture without the fuss. Most are pantry staples, and substitutions are easy if you want to adapt it.
- For the Cookie Dough:
- All-purpose flour, 3 cups (360g) – I recommend King Arthur for consistent results
- Unsalted butter, 1 cup (226g), softened (adds richness and tenderness)
- Granulated sugar, 1 cup (200g)
- Large egg, 1, room temperature
- Pure vanilla extract, 1 teaspoon
- Baking powder, 1 teaspoon
- Salt, ¼ teaspoon
- For the Royal Icing:
- Powdered sugar, 4 cups (480g), sifted
- Pasteurized egg whites or meringue powder, 3 tablespoons (if using meringue powder, follow packaging instructions)
- Fresh lemon juice, 1 tablespoon (adds brightness and helps icing set)
- Water, 2-3 tablespoons, adjust for consistency
- Gel food coloring in red, green, and brown (gel colors give the best vibrant results)
- Optional Decoration Supplies:
- Fine-tipped piping bags or squeeze bottles
- Toothpicks for detailing and fixing small icing mistakes
If you want a gluten-free version, swapping in almond flour isn’t ideal here because it affects the texture, but a 1:1 gluten-free baking flour works well. For a dairy-free cookie, substitute butter with a plant-based margarine of good baking quality. I’ve tried this with good success, especially using a trusted brand like Earth Balance.
Equipment Needed
- Mixing bowls – a stand mixer or hand mixer speeds things up but a sturdy bowl and whisk work fine
- Measuring cups and spoons – precision matters for baking
- Rolling pin – essential for getting the dough evenly rolled out (I prefer a wooden one with smooth handles)
- Apple-shaped cookie cutter – you can find these in most baking supply stores or online
- Baking sheets lined with parchment paper or silicone baking mats (Silpat is my go-to for even baking and less cleanup)
- Piping bags or squeeze bottles for the icing – disposable or reusable both work, but reusable ones save waste
- Toothpicks or scribe tools for fine icing details
If you don’t have an apple-shaped cutter, you can carefully freehand the shapes with a sharp knife, but the cutter definitely saves time and ensures uniform cookies. Also, keeping your rolling pin and cookie cutter chilled slightly helps prevent the dough from sticking, a small trick I learned after a few frustrating attempts.
Preparation Method
- Make the Dough: In a large bowl, cream together 1 cup (226g) softened unsalted butter and 1 cup (200g) granulated sugar until light and fluffy, about 3-4 minutes using a hand or stand mixer. This step is key for tender cookies.
- Add Wet Ingredients: Beat in 1 large egg (room temperature) and 1 teaspoon pure vanilla extract until fully combined.
- Mix Dry Ingredients: In a separate bowl, whisk together 3 cups (360g) all-purpose flour, 1 teaspoon baking powder, and ¼ teaspoon salt.
- Combine: Gradually add the dry ingredients to the wet, mixing on low speed until just combined. Avoid overmixing, or the cookies will be tough.
- Chill the Dough: Divide dough in half, flatten each into a disk, wrap tightly in plastic wrap, and refrigerate for at least 1 hour (or overnight). Chilling prevents spreading and helps with easier rolling.
- Preheat Oven: Set your oven to 350°F (175°C) and line baking sheets with parchment paper or silicone mats.
- Roll Out Dough: Lightly flour your work surface. Roll out one disk to about ¼ inch (6mm) thickness. Keep the other disk chilled until ready to use.
- Cut Shapes: Use your apple-shaped cookie cutter to stamp out shapes. Transfer cookies to the baking sheets with a thin spatula to avoid distortion.
- Bake: Bake for 8-10 minutes or until edges are just turning golden. Watch closely—overbaking dries them out.
- Cool Completely: Let cookies cool on the sheet for 5 minutes, then transfer to a wire rack to cool fully before decorating.
- Prepare Royal Icing: In a bowl, combine 4 cups (480g) sifted powdered sugar, 3 tablespoons pasteurized egg whites or meringue powder (per package instructions), 1 tablespoon fresh lemon juice, and 2-3 tablespoons water. Beat on medium speed until stiff peaks form (about 5-7 minutes). Adjust water for flooding consistency—thin enough to spread but not runny.
- Color Icing: Divide icing into separate bowls and tint with gel food coloring—red for the apple body, green for the leaf, brown for the stem.
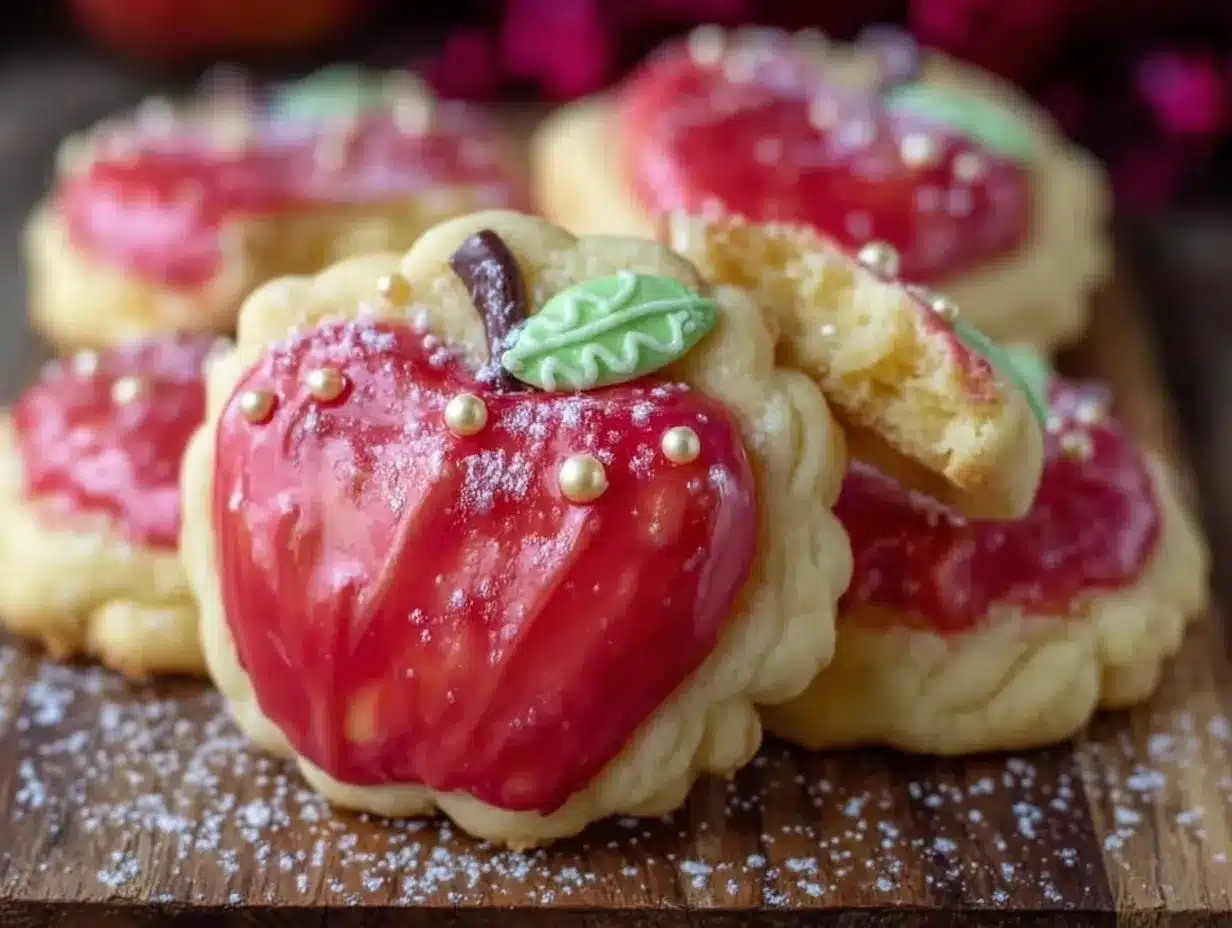
- Decorate: Outline the apple shape with red icing and flood the center. Use green icing for the leaf and brown for the stem, adding details with a toothpick if needed. Let dry at room temperature for several hours or overnight to harden.
Pro tip: If the icing gets too thick while decorating, add a few drops of water and mix well. Also, piping the outline first creates a “dam” that keeps the flooding icing from spilling over the edges. I learned the hard way that patience here makes a huge difference!
Cooking Tips & Techniques
- Keep Dough Cold: Chilling the dough prevents spreading and keeps the apple shapes sharp after baking. I usually chill the dough for at least an hour, but overnight is even better.
- Rolling Consistency: Roll dough evenly at about ¼ inch (6mm) thickness. Too thin and your cookies get crispy; too thick and they won’t bake evenly. I like to use rolling pin rings to keep it consistent.
- Royal Icing Consistency: Getting the right icing consistency is crucial. For outlining, make it thicker so it holds shape; for flooding, thin it until it flows smoothly but doesn’t run off the cookie edges.
- Practice Piping: If you’re new to piping, practice on parchment paper before decorating cookies. It helped me build confidence and get cleaner lines.
- Drying Time: Let the icing dry completely at room temperature. Avoid stacking or storing cookies too soon, or the icing may smudge or crack.
- Fixing Mistakes: Use a toothpick dipped in water to gently smooth or fix little icing issues while it’s still wet.
- Storage: Store decorated cookies in an airtight container with parchment paper layers between to keep them fresh and the icing intact.
After several batches, I found these tips helped me make cookies that not only look great but also taste amazing—no one guessed they were homemade on a busy weekday!
Variations & Adaptations
You can tailor these apple-shaped sugar cookies to fit different needs or occasions with just a few tweaks:
- Flavor Variations: Add a teaspoon of cinnamon or apple pie spice to the dough for a warm, fall-inspired note. I once tried a touch of almond extract in the icing for a subtle twist that was surprisingly good.
- Dietary Adaptations: For gluten-free, use a 1:1 gluten-free baking flour blend. Swap butter for vegan margarine and use aquafaba or a meringue powder alternative for egg whites in the royal icing to make it vegan-friendly.
- Decorating Styles: Instead of classic royal icing, try a simple glaze made from powdered sugar and milk for a softer, shinier finish. Or experiment with edible glitter or sprinkles for extra sparkle.
- Seasonal Adaptations: For a holiday twist, swap the apple shape for pumpkins or snowflakes and use orange or blue icing colors. During summer, fresh berries (like blueberries) can be placed on the iced cookies as garnish before the icing sets.
I once made a batch with a caramel drizzle over the dried icing for a decadent touch—definitely a crowd favorite at a casual get-together. These tweaks keep the recipe fresh and exciting without complicating the process.
Serving & Storage Suggestions
These apple-shaped sugar cookies are best served at room temperature, allowing the royal icing to have that perfect crisp snap without being too hard. They make a charming addition to a brunch spread or a sweet finish to a casual meal—perfect alongside a cup of hot apple cider or tea.
For an easy party presentation, arrange them on a wooden board with a few real apples and some cinnamon sticks for a cozy vibe that’s sure to catch eyes. If you’re packing them up for a gift or school treat, stack them with parchment paper layers in a sturdy tin or box.
Store cookies in an airtight container at room temperature for up to one week. If you want to keep them longer, freeze undecorated cookies in a zip-top bag for up to 3 months. To freeze decorated cookies, wait until the icing is fully dry, then layer carefully with parchment paper and freeze in an airtight container. Thaw at room temperature before serving.
Flavors tend to mellow and deepen after a day or two, so if you can resist, let them rest overnight for a more balanced taste experience.
Nutritional Information & Benefits
Estimated per cookie (based on 24 cookies): approximately 150 calories, 7g fat, 22g carbohydrates, 1g protein.
The key ingredients like butter and sugar contribute to the rich flavor, while the egg adds protein and structure. Using pasteurized egg whites in the royal icing keeps it safe and silky smooth.
Though these cookies are definitely a treat, using high-quality vanilla and fresh lemon juice adds natural flavor without extra artificial ingredients. You can also reduce sugar slightly if you want a less sweet cookie, balancing with a bit more vanilla or spice.
For those with gluten sensitivities, using a gluten-free flour blend lets you enjoy the festive shape and decorating fun without worry. Just be mindful of cross-contact if baking for someone with severe allergies.
Conclusion
Making these perfect apple-shaped decorated sugar cookies with royal icing is honestly one of those baking joys that sticks with you. They’re simple enough for a weekday baking session but impressive enough for celebrations or thoughtful gifts. I love how customizable they are, whether you want classic red apples or a creative twist for the season.
What really keeps me coming back is that quiet moment of satisfaction when you finish decorating one cookie and realize it looks just how you imagined—bright, cheerful, and ready to bring smiles. You can tweak the flavors, the decorations, or even the shapes to make them your own, but the base recipe? That’s a reliable winner every time.
If you try this recipe, I’d genuinely love to hear how your cookies turned out or what variations you made—leave a comment below or share your photos. Baking is better when it’s shared, and I’m always excited to see your takes on this fun and tasty project.
FAQs
- Can I make the cookie dough ahead of time?
Yes! The dough can be made and refrigerated for up to 3 days or frozen for up to 1 month. Just thaw in the fridge before rolling out. - How do I store decorated sugar cookies?
Keep them in an airtight container at room temperature with parchment paper between layers. They last about a week this way. - What if my royal icing is too thick or thin?
Add a few drops of water to thin it or more powdered sugar to thicken. The icing should flow smoothly for flooding and hold shape for outlining. - Can I use store-bought royal icing?
You can, but homemade royal icing gives you more control over consistency and color. Plus, it tastes better! - How do I fix cracks or bubbles in royal icing?
Use a toothpick to gently pop bubbles while the icing is still wet. For cracks, keeping the icing covered and sealed when not in use helps avoid drying out.
Pin This Recipe!
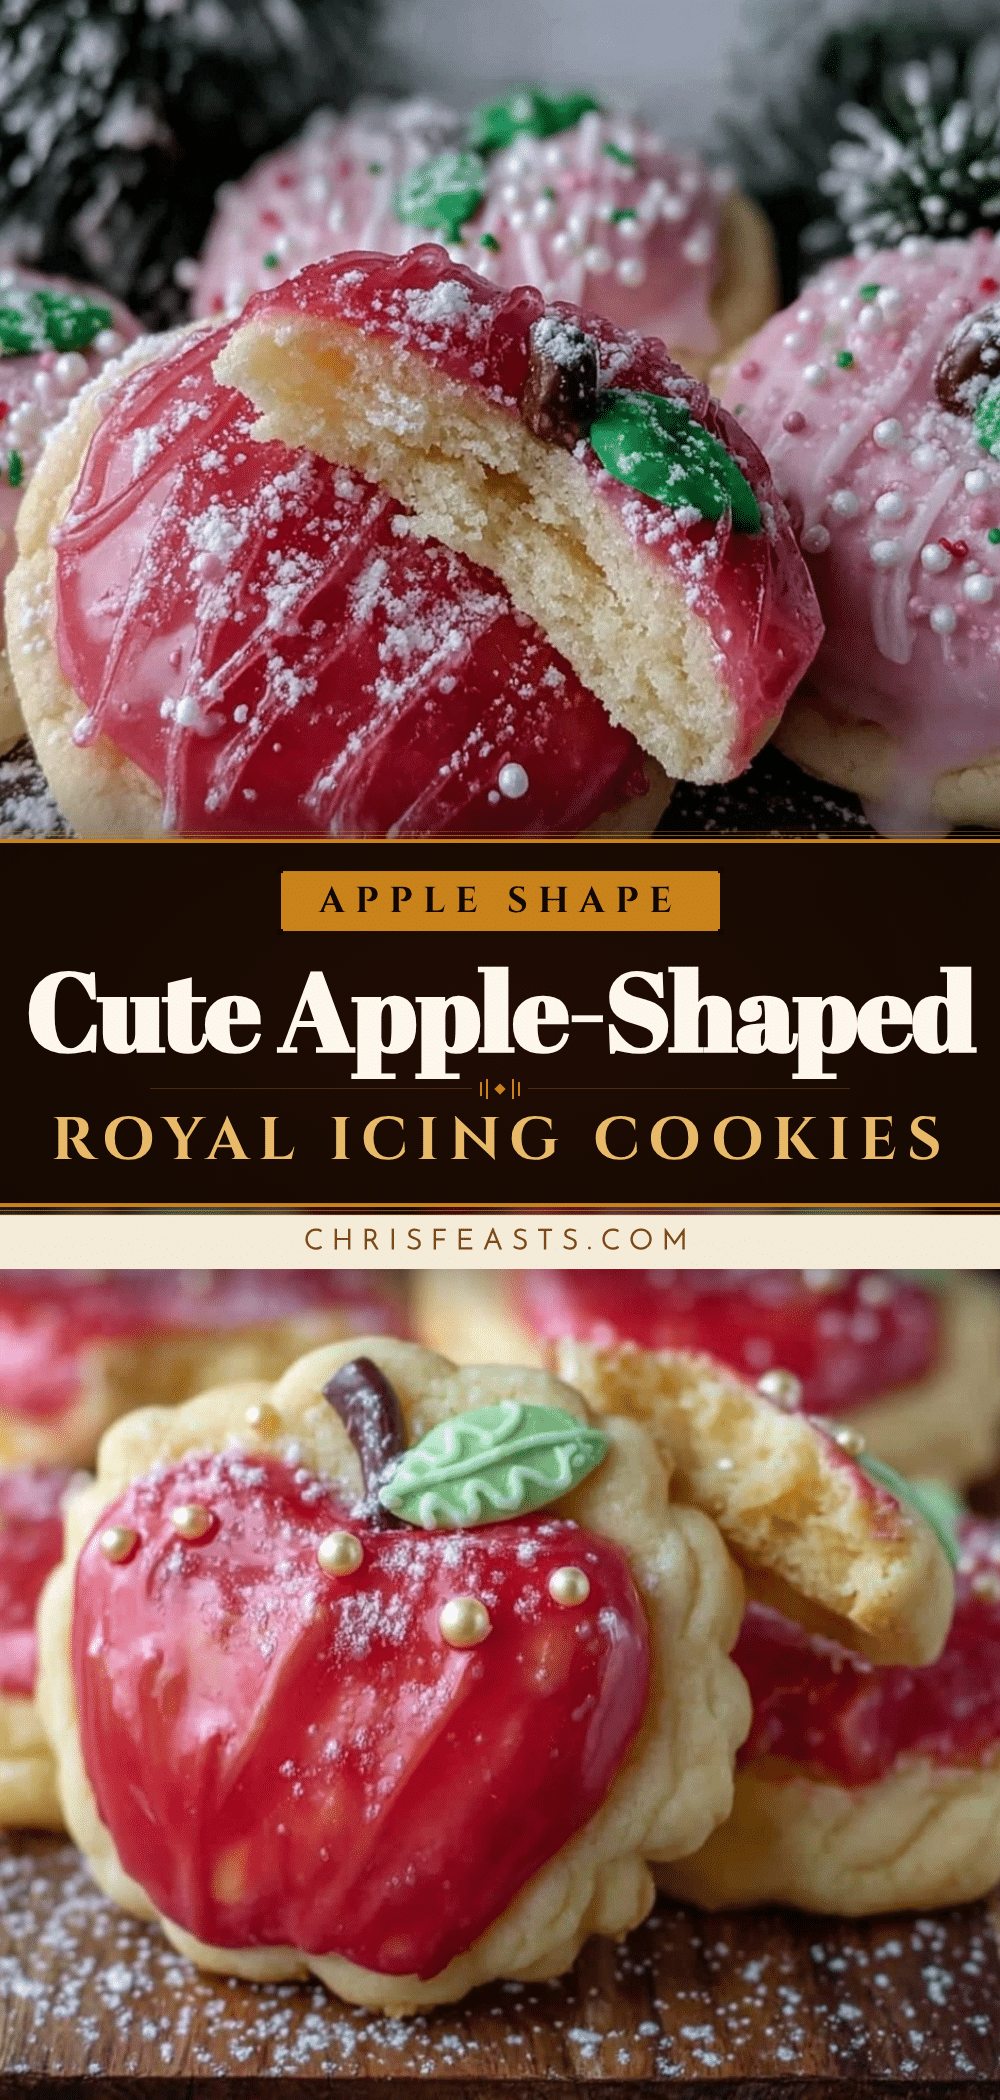
Perfect Apple-Shaped Sugar Cookies Recipe with Easy Royal Icing Decorating Tutorial

These apple-shaped sugar cookies feature a buttery base and smooth royal icing, perfect for celebrations or everyday treats. The recipe is easy to follow and yields charming, delicious cookies with a glossy, crack-free finish.
- Prep Time: 20 minutes
- Cook Time: 10 minutes
- Total Time: 1 hour 30 minutes
- Yield: 24 cookies 1x
- Category: Dessert
- Cuisine: American
Ingredients
- 3 cups (360g) all-purpose flour
- 1 cup (226g) unsalted butter, softened
- 1 cup (200g) granulated sugar
- 1 large egg, room temperature
- 1 teaspoon pure vanilla extract
- 1 teaspoon baking powder
- 1/4 teaspoon salt
- 4 cups (480g) powdered sugar, sifted
- 3 tablespoons pasteurized egg whites or meringue powder
- 1 tablespoon fresh lemon juice
- 2–3 tablespoons water
- Gel food coloring in red, green, and brown
Instructions
- In a large bowl, cream together 1 cup (226g) softened unsalted butter and 1 cup (200g) granulated sugar until light and fluffy, about 3-4 minutes using a hand or stand mixer.
- Beat in 1 large egg (room temperature) and 1 teaspoon pure vanilla extract until fully combined.
- In a separate bowl, whisk together 3 cups (360g) all-purpose flour, 1 teaspoon baking powder, and 1/4 teaspoon salt.
- Gradually add the dry ingredients to the wet, mixing on low speed until just combined. Avoid overmixing.
- Divide dough in half, flatten each into a disk, wrap tightly in plastic wrap, and refrigerate for at least 1 hour or overnight.
- Preheat oven to 350°F (175°C) and line baking sheets with parchment paper or silicone mats.
- Lightly flour your work surface. Roll out one disk to about 1/4 inch (6mm) thickness. Keep the other disk chilled until ready to use.
- Use an apple-shaped cookie cutter to stamp out shapes. Transfer cookies to baking sheets with a thin spatula.
- Bake for 8-10 minutes or until edges are just turning golden. Let cool on the sheet for 5 minutes, then transfer to a wire rack to cool completely.
- Prepare royal icing by combining 4 cups (480g) sifted powdered sugar, 3 tablespoons pasteurized egg whites or meringue powder, 1 tablespoon fresh lemon juice, and 2-3 tablespoons water. Beat on medium speed until stiff peaks form (5-7 minutes). Adjust water for flooding consistency.
- Divide icing into separate bowls and tint with gel food coloring: red for apple body, green for leaf, brown for stem.
- Outline apple shapes with red icing and flood the center. Use green icing for the leaf and brown for the stem, adding details with a toothpick if needed.
- Let decorated cookies dry at room temperature for several hours or overnight to harden.
Notes
Chill dough for at least 1 hour or overnight to prevent spreading. Use piping outline as a dam to keep flooding icing contained. If icing thickens while decorating, add a few drops of water. Store decorated cookies in an airtight container with parchment layers to keep icing intact. Dough can be refrigerated up to 3 days or frozen for 1 month.
Nutrition
- Serving Size: 1 cookie
- Calories: 150
- Fat: 7
- Carbohydrates: 22
- Protein: 1
Keywords: apple sugar cookies, royal icing cookies, decorated sugar cookies, apple shaped cookies, easy sugar cookies, holiday cookies, kid friendly cookies


