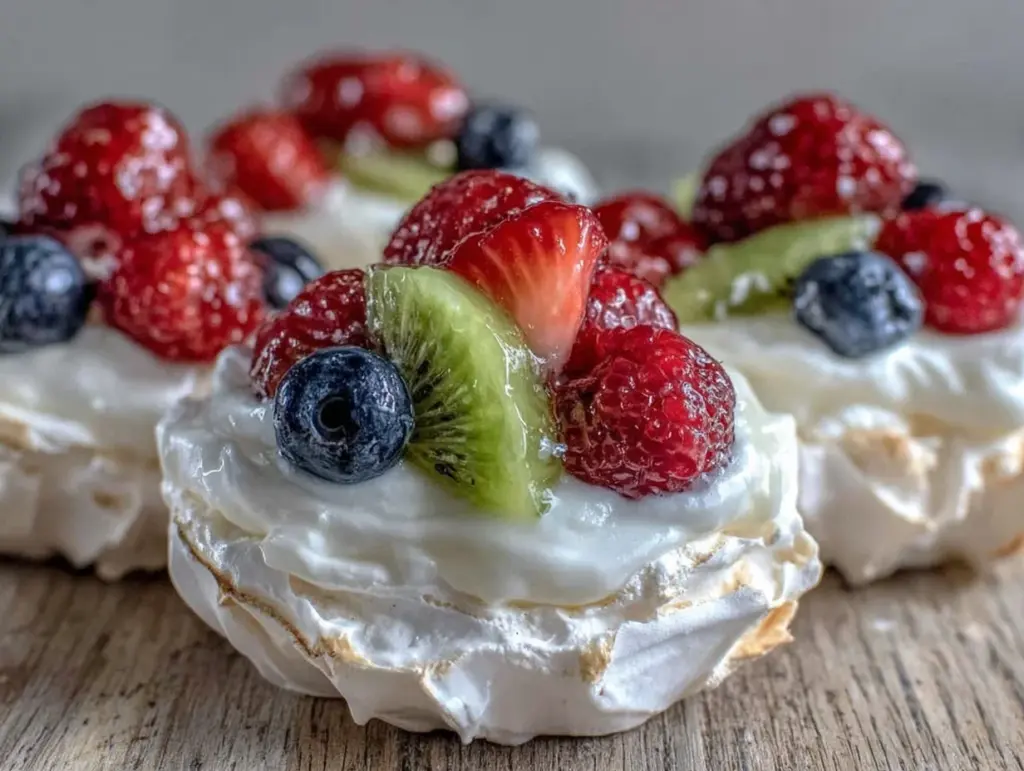
“You’ve got to try these mini pavlova nests,” my neighbor said one Saturday morning, sliding a small plate across the counter. I was skeptical—meringue isn’t exactly my comfort zone, and lemon curd sounded a bit fancy for a lazy weekend. But honestly, the moment I bit into that crisp yet marshmallowy shell filled with luscious lemon curd and topped with fresh fruit, I was hooked. It’s funny how something so delicate-looking can pack such a punch of flavor and texture all at once.
The kitchen was quiet except for the hum of the fridge, and the scent of lemon zest and toasted sugar lingered in the air. I found myself sneaking back to the fridge for another one, thinking, “How did I ever doubt this?” Making these mini pavlova nests became a bit of a weekend obsession—I ended up whipping up batch after batch, swapping berries and tweaking the lemon curd just a bit for that perfect tang. They have this way of turning a simple moment into something special, you know?
What really stuck with me is how this recipe feels both fancy and approachable. It’s not just a dessert; it’s a little celebration in every bite. That’s why these delicious mini pavlova nests with luscious lemon curd and fresh fruit have a permanent spot in my recipe collection. I promise, once you give them a try, they’ll sneak their way into your favorites too.
Why You’ll Love This Recipe
Having tested this recipe in various kitchens and tweaked it for the best texture and flavor, I can say these mini pavlova nests are a winner for many reasons:
- Quick & Easy: The meringue nests take about 30 minutes to prep and 1 hour to bake, making them perfect for a weekend treat or last-minute dessert.
- Simple Ingredients: No fancy or hard-to-find items here—mostly pantry staples and fresh fruit you might already have on hand.
- Perfect for Entertaining: These bite-sized delights are ideal for brunches, afternoon teas, or impressing guests without the stress.
- Crowd-Pleaser: Kids and adults alike rave about the crispy exterior and soft center, balanced with the tangy-sweet lemon curd and juicy fruit.
- Unbelievably Delicious: The combination of textures—crunchy, creamy, and fresh—is what sets this recipe apart from your average pavlova.
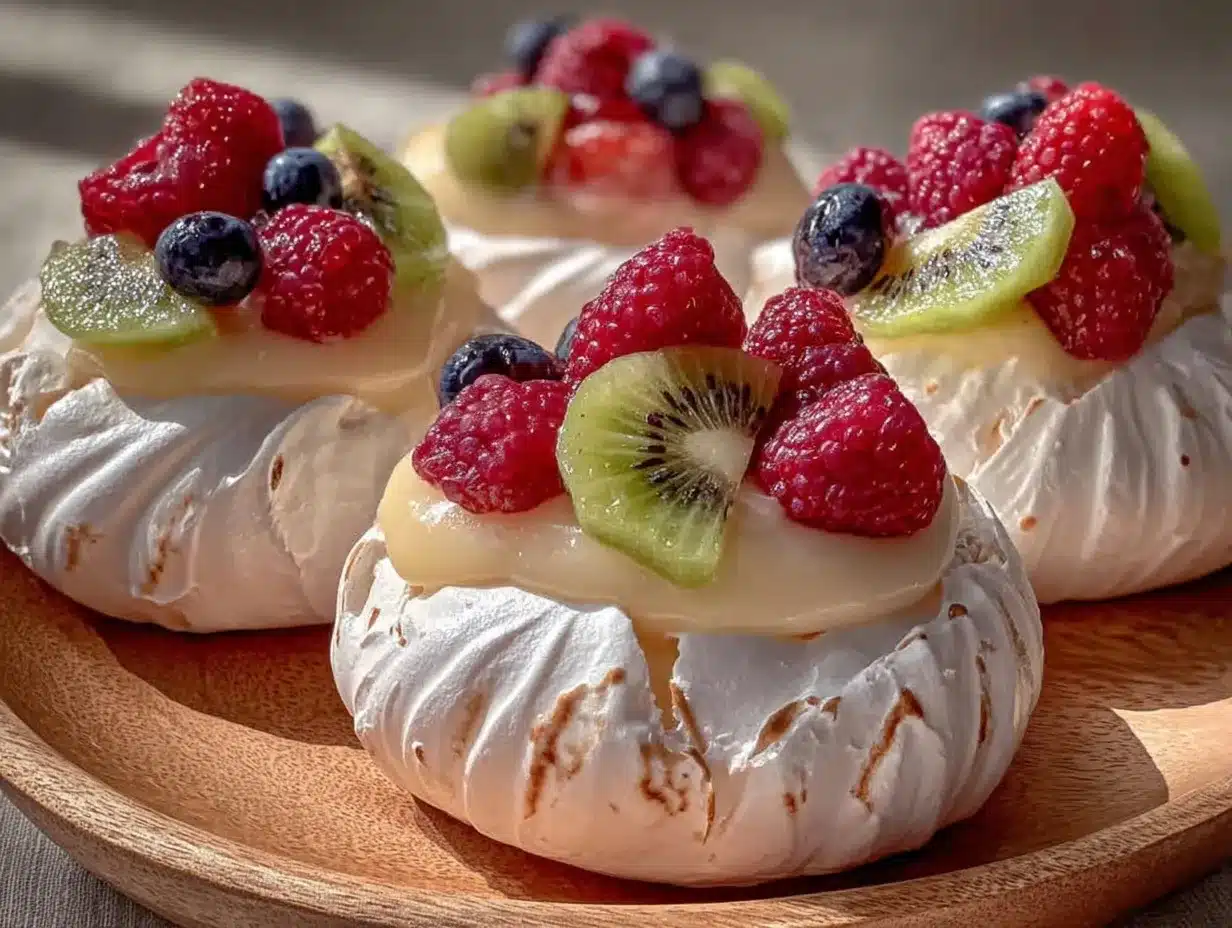
What makes this recipe stand out is the homemade lemon curd—creamy but not too sweet, with a bright zing that cuts through the sugary meringue. Plus, I love how the mini nests let you customize each one with your favorite fruits. I’ve tried using everything from raspberries to kiwi, and each variation feels like a new experience. Honestly, this isn’t just any pavlova recipe; it’s the one I reach for when I want to impress without fuss.
What Ingredients You Will Need
This recipe uses simple, wholesome ingredients to create those delicate meringue nests filled with luscious lemon curd and topped with fresh fruit. Most are pantry staples, with fresh fruit adding that seasonal twist you can swap around as you like.
- For the Meringue Nests:
- 4 large egg whites, room temperature (best for volume)
- 1 cup (200g) caster sugar (superfine sugar works too)
- 1 tsp white vinegar (helps stabilize the meringue)
- 1 tsp cornstarch (adds that marshmallowy center)
- 1/2 tsp vanilla extract (optional, but adds warmth)
- For the Lemon Curd:
- 3 large egg yolks
- 1/2 cup (100g) granulated sugar
- 1/3 cup (80ml) fresh lemon juice (about 2 lemons)
- 1 tbsp lemon zest (for extra zing)
- 4 tbsp unsalted butter, cubed and chilled (adds richness)
- For the Topping:
- Fresh fruit such as strawberries, blueberries, kiwi, raspberries, or passion fruit pulp (seasonal and fresh is best!)
- Optional: fresh mint leaves for garnish
I usually recommend using fresh, organic lemons if you can find them—that zest really makes a difference. For the meringue, I prefer using free-range eggs because the whites whip up better and taste cleaner. Don’t substitute the caster sugar for brown sugar here; it changes the texture and color. If you want a dairy-free lemon curd, swapping butter for a plant-based alternative works well without losing creaminess.
Equipment Needed
- Electric mixer or stand mixer with whisk attachment (hand mixers work, but standing ones make life easier)
- Baking sheet lined with parchment paper or a silicone baking mat (to prevent sticking)
- Mixing bowls (preferably glass or metal as plastic can hold grease)
- Small saucepan (for cooking lemon curd)
- Fine mesh sieve (helpful for straining lemon curd for a smooth finish)
- Spatula and wooden spoon
- Zester or microplane (for lemon zest)
- Measuring cups and spoons
If you don’t have a stand mixer, a hand mixer is just fine but might take a bit longer to get the egg whites stiff. I’ve tried silicone baking mats and parchment paper for the nests — both work great, but parchment tends to be a little easier to lift the nests off without breaking. Keeping your mixing bowls squeaky clean and grease-free is key for fluffy meringue—trust me, I learned that the hard way!
Preparation Method
- Preheat the oven to 250°F (120°C). Line a baking sheet with parchment paper and draw 8 small circles (about 3 inches/7.5 cm diameter each) as guides for your nests.
- Beat the egg whites: In a clean, dry bowl, whisk the 4 egg whites on medium speed until soft peaks form (about 2-3 minutes).
- Add sugar gradually: Increase speed to high, adding the caster sugar one tablespoon at a time, beating well after each addition. Continue until the meringue is glossy and holds stiff peaks (about 7-8 minutes). You’ll know it’s ready when the sugar is dissolved—rub a bit between your fingers; no grittiness.
- Fold in stabilizers: Gently fold in the vinegar, cornstarch, and vanilla extract using a spatula, careful not to deflate the meringue.
- Shape the nests: Spoon the meringue onto the circles you drew, building up edges by swirling the meringue up around the sides to create a shallow “nest” shape. This holds the lemon curd and fruit nicely.
- Bake: Place the tray in the oven and bake for 1 hour. Then turn off the oven and leave the nests inside to cool completely, at least 1 hour or overnight. This slow cooling keeps them crisp outside and soft inside.
- Make the lemon curd: While nests bake, whisk egg yolks, sugar, lemon juice, and zest in a saucepan over medium-low heat. Stir continuously until the mixture thickens (about 8-10 minutes). Remove from heat and whisk in chilled butter cubes until smooth. Strain if desired for extra silky curd. Chill in the fridge until ready to use.
- Assemble: Just before serving, spoon a generous dollop of lemon curd into each nest. Top with fresh fruit and a sprig of mint if you like.
Pro tip: If your meringue starts browning too quickly, lower the oven temperature slightly or tent with foil after 30 minutes. The nests should feel crisp on the outside but still soft and marshmallowy inside. If you’ve ever struggled with weepy pavlova, this low-and-slow baking method helps avoid that.
Cooking Tips & Techniques
Mastering meringue can feel like a tightrope walk, but a few tips will set you up for success every time:
- Use room temperature egg whites: They whip better and reach more volume. I usually separate my eggs the day before and leave whites out covered with plastic wrap.
- Keep bowls grease-free: Any fat can stop egg whites from whipping properly. Wipe your bowl with a bit of lemon juice or vinegar beforehand if unsure.
- Add sugar slowly: This allows it to dissolve fully and prevents a grainy texture. Patience here pays off.
- Don’t rush the cooling: Leaving nests in the oven after turning it off helps dry them out gently, avoiding cracks.
- Lemon curd consistency: Stir constantly to avoid lumps or curdling. If it does curdle, whisk vigorously off the heat and strain to smooth it.
- Multitasking tip: While the meringue bakes, prepare the lemon curd so you’re not standing around waiting.
One time, I added too much lemon juice and the curd was runny, but chilling overnight fixed it nicely. Don’t be afraid to tweak the zest or sweetness to your taste. It’s a forgiving recipe once you get the hang of the basics.
Variations & Adaptations
This recipe lends itself to some fun variations that can suit different diets and seasons:
- Dietary: Swap the butter in the lemon curd for coconut oil to make it dairy-free. Use aquafaba (chickpea water) instead of egg whites for a vegan meringue version—it whips surprisingly well!
- Seasonal Fruit: Summer calls for juicy peaches and raspberries, while winter is great for pomegranate seeds and kiwi slices.
- Flavor Twists: Mix some fresh grated ginger into the lemon curd for a spicy kick, or swap lemon for lime for a tart variation.
- Cooking Method: If you want a quicker version, you can make a single large pavlova and cut into wedges, but the mini nests are perfect for portion control and presentation.
I once tried adding a dollop of whipped mascarpone beside the lemon curd, which made these pavlova nests feel extra indulgent—highly recommend for special occasions!
Serving & Storage Suggestions
Serve these mini pavlova nests chilled or at room temperature for the best texture. They look beautiful on a platter arranged with fresh mint leaves and a dusting of powdered sugar if you want to get fancy.
They pair wonderfully with a light dessert wine or a cup of fragrant Earl Grey tea. If you’re planning a brunch, they’re a lovely sweet finish after savory dishes like honey mustard glazed chicken thighs or a crisp salad.
Store assembled pavlova nests in the fridge and consume within 24 hours to keep the meringue crisp. If you want to prep ahead, keep the meringue nests and lemon curd separate and assemble just before serving. Meringue nests can be stored in an airtight container at room temperature for up to 3 days.
Reheat lemon curd gently over low heat if it’s too firm from the fridge. Remember, pavlova flavor and texture are at their peak the day they’re made, so try not to wait too long before digging in.
Nutritional Information & Benefits
Each mini pavlova nest contains roughly 150-180 calories, depending on fruit toppings and curd portion size. They’re a light dessert option compared to heavier cakes or pastries.
Lemon curd provides a good dose of vitamin C from fresh lemons, which supports immune health. Using fresh fruit adds fiber, antioxidants, and natural sweetness without extra sugar.
This recipe is naturally gluten-free, making it suitable for those avoiding wheat. For a dairy-free alternative, swap the butter in the lemon curd as mentioned earlier.
From my experience, having a dessert that feels indulgent but doesn’t leave you overly full is a little win for wellness. These mini pavlova nests strike that balance nicely.
Conclusion
These delicious mini pavlova nests with luscious lemon curd and fresh fruit are exactly the kind of dessert you want in your repertoire. They bring together crisp, creamy, and fresh in a way that feels both special and manageable. Whether you’re celebrating a small occasion or just treating yourself, this recipe will deliver smiles.
Feel free to swap fruits, tweak the curd, or even try that mascarpone dollop I mentioned. What matters most is you make it yours and enjoy every bite. I genuinely love how these pavlova nests turn simple ingredients into something memorable.
Give them a try and share how you customize yours—I’d love to hear your twist on this recipe. Here’s to many sweet moments ahead!
FAQs
- Can I make the meringue nests ahead of time?
Yes! You can bake the nests and store them in an airtight container at room temperature for up to 3 days. Assemble with lemon curd and fruit just before serving to keep them crisp. - What if my lemon curd is too runny?
Cook it a bit longer over low heat while stirring constantly, or chill it in the fridge to thicken. Straining helps smooth out any lumps. - Can I use frozen fruit for the topping?
It’s best to use fresh fruit because frozen tends to release water that might make the meringue soggy. If frozen is your only option, thaw and drain well. - How do I know when the meringue is done baking?
The outside should be dry and crisp to the touch with no sticky spots. The nests will feel light and lift off the parchment easily. - Can I make a vegan version of this recipe?
Yes! Use aquafaba (liquid from canned chickpeas) instead of egg whites for the meringue and substitute butter in the lemon curd with coconut oil or a plant-based alternative.
Pin This Recipe!
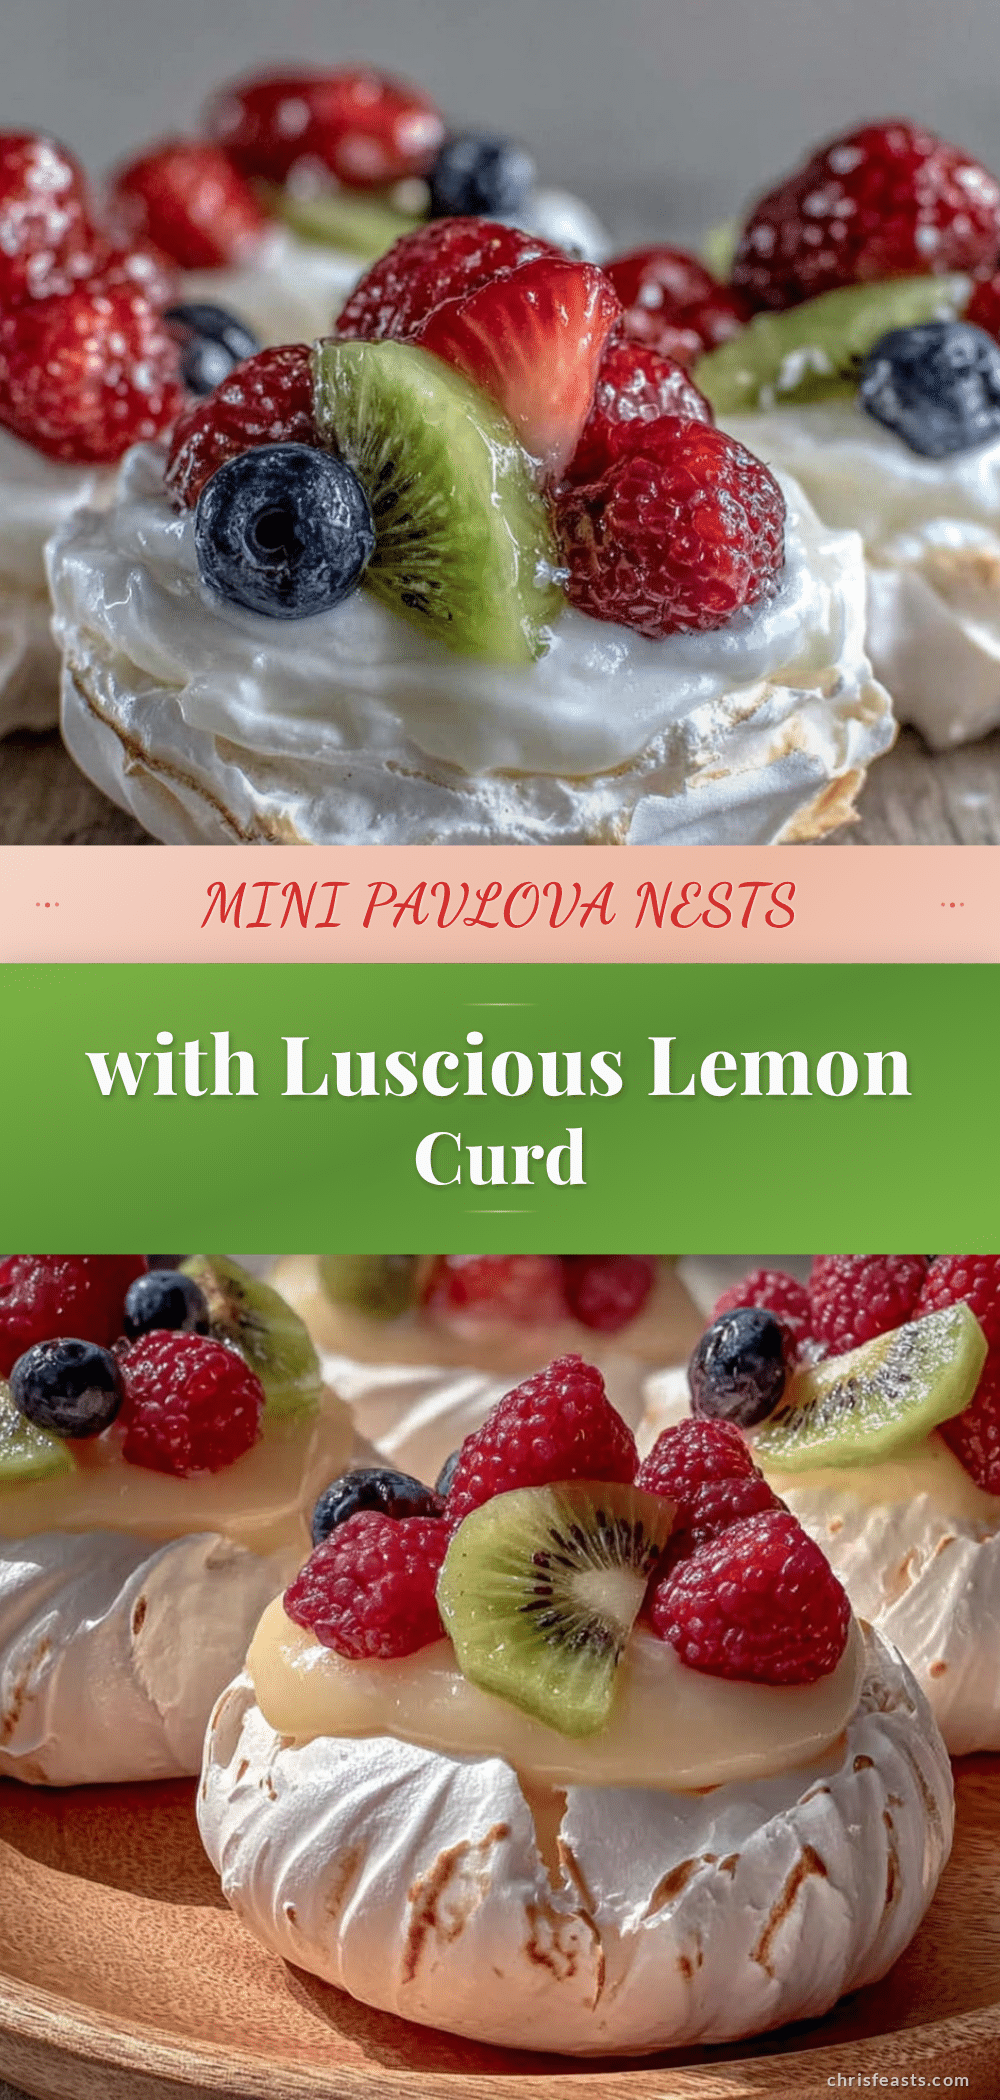
Delicious Mini Pavlova Nests Recipe Easy Homemade Lemon Curd and Fruit

These mini pavlova nests feature a crisp yet marshmallowy meringue shell filled with luscious homemade lemon curd and topped with fresh seasonal fruit, perfect for a light and elegant dessert.
- Prep Time: 30 minutes
- Cook Time: 1 hour
- Total Time: 1 hour 30 minutes
- Yield: 8 mini pavlova nests 1x
- Category: Dessert
- Cuisine: Australian/New Zealand
Ingredients
- 4 large egg whites, room temperature
- 1 cup (200g) caster sugar (superfine sugar works too)
- 1 tsp white vinegar
- 1 tsp cornstarch
- 1/2 tsp vanilla extract (optional)
- 3 large egg yolks
- 1/2 cup (100g) granulated sugar
- 1/3 cup (80ml) fresh lemon juice (about 2 lemons)
- 1 tbsp lemon zest
- 4 tbsp unsalted butter, cubed and chilled
- Fresh fruit such as strawberries, blueberries, kiwi, raspberries, or passion fruit pulp
- Optional: fresh mint leaves for garnish
Instructions
- Preheat the oven to 250°F (120°C). Line a baking sheet with parchment paper and draw 8 small circles (about 3 inches/7.5 cm diameter each) as guides for your nests.
- In a clean, dry bowl, whisk the 4 egg whites on medium speed until soft peaks form (about 2-3 minutes).
- Increase speed to high, adding the caster sugar one tablespoon at a time, beating well after each addition until the meringue is glossy and holds stiff peaks (about 7-8 minutes).
- Gently fold in the vinegar, cornstarch, and vanilla extract using a spatula, careful not to deflate the meringue.
- Spoon the meringue onto the circles, building up edges by swirling the meringue up around the sides to create shallow nest shapes.
- Bake for 1 hour. Turn off the oven and leave the nests inside to cool completely, at least 1 hour or overnight.
- While nests bake, whisk egg yolks, sugar, lemon juice, and zest in a saucepan over medium-low heat. Stir continuously until thickened (about 8-10 minutes). Remove from heat and whisk in chilled butter cubes until smooth. Strain if desired. Chill until ready to use.
- Just before serving, spoon a generous dollop of lemon curd into each nest. Top with fresh fruit and a sprig of mint if desired.
Notes
Use room temperature egg whites for better volume. Keep bowls grease-free to ensure egg whites whip properly. Add sugar slowly to dissolve fully and avoid grainy texture. Cool nests slowly in the turned-off oven to keep them crisp outside and soft inside. For dairy-free lemon curd, substitute butter with coconut oil. Vegan meringue can be made using aquafaba instead of egg whites.
Nutrition
- Serving Size: 1 mini pavlova nest
- Calories: 150180
- Sugar: 22
- Sodium: 30
- Fat: 6
- Saturated Fat: 3.5
- Carbohydrates: 25
- Fiber: 1
- Protein: 2
Keywords: mini pavlova, lemon curd, meringue nests, fresh fruit dessert, easy pavlova recipe, homemade lemon curd, gluten-free dessert


