October evenings stretch longer, shadows creeping in just a little earlier each day, and the air smells faintly of damp leaves and distant bonfires. It’s that peculiar, quiet time when the kitchen light feels like a small beacon, and the only thing I want is to fill the house with the aroma of warm chocolate and pumpkin.
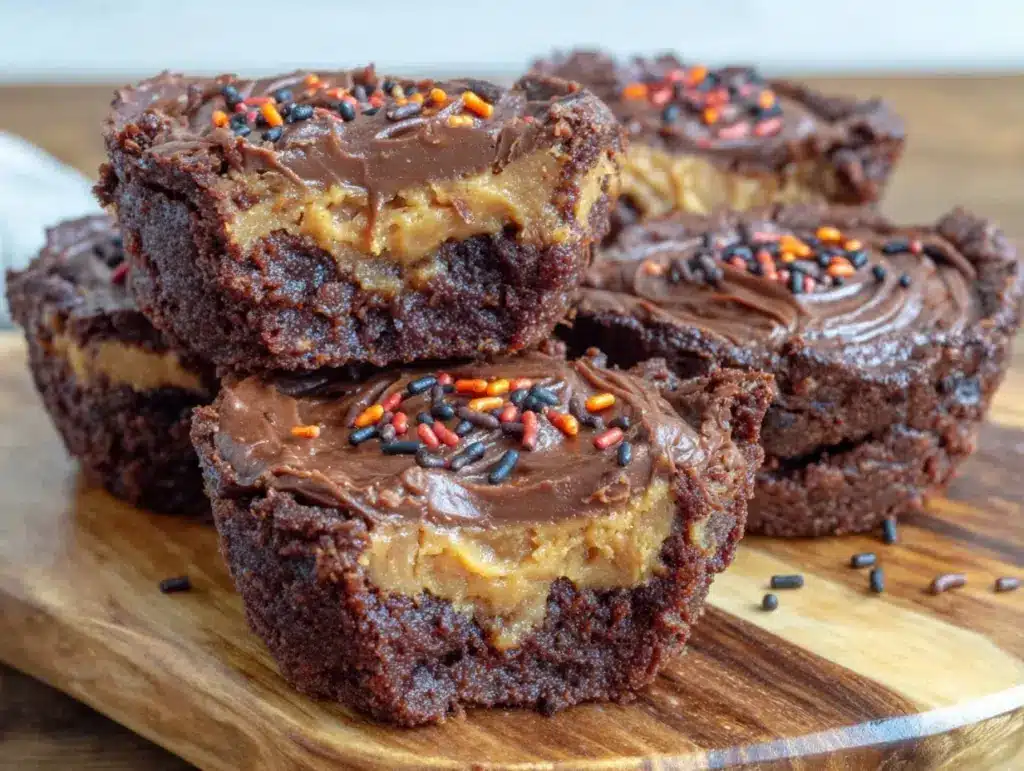
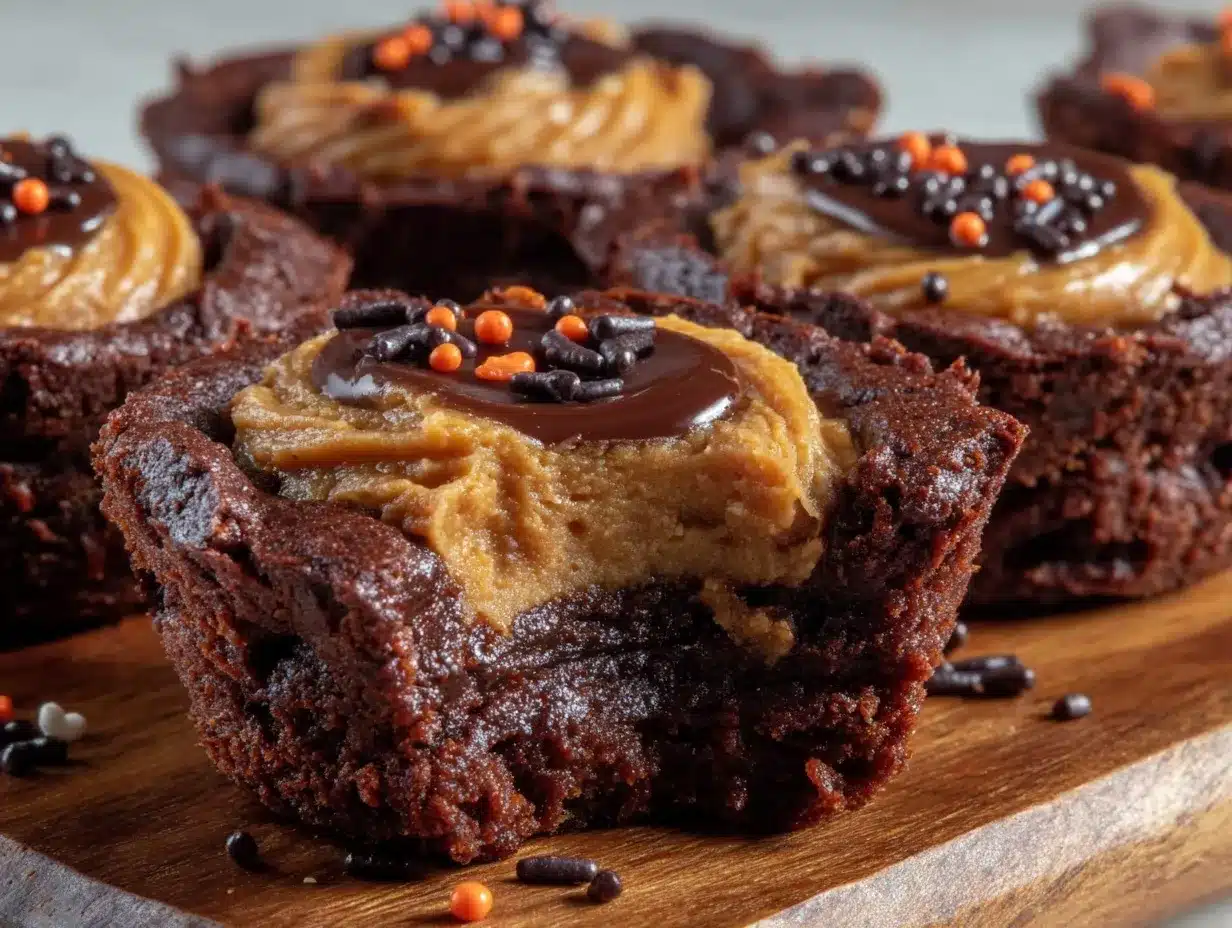
That’s how the idea for these Delicious Black and Orange Brownie Batter Halloween Cookie Cups took shape—late one Tuesday night, after the kids were tucked in and the usual quiet had settled. I found myself stirring together a mix that was too good not to share: rich, fudgy brownie batter mingling with bright, festive orange cookie dough, all baked into perfect little cups that seem to hold a secret inside.
There’s something about making treats that feel both playful and a bit mysterious, especially around Halloween. These cookie cups aren’t just about the colors or the fun shapes; they bring a slow kind of joy, the kind you feel when you sneak a bite in the dim kitchen light and remember why simple sweets can be the best kind of comfort.
I’ve made a lot of Halloween treats over the years, but these cookie cups stuck because they invite you to take your time, to enjoy the quiet ritual of baking without rush. Plus, the way the brownie batter stays gooey inside the crisp cookie shell is honestly a little magic. It’s the kind of recipe that feels like a secret handshake between the kitchen and your soul.
That night, as I pulled the first batch from the oven, the soft crackle of the cups cooling on the rack was enough to promise a cozy Halloween moment waiting to unfold. And really, isn’t that what good holiday baking is all about?
Why You’ll Love This Recipe
This recipe has been tested multiple times in my kitchen to get that perfect balance of chewy cookie and fudgy brownie filling, and honestly, it’s become a fast favorite every October.
- Quick & Easy: These cookie cups come together in under 45 minutes, including baking. Perfect for when you want a fun Halloween treat without hours in the kitchen.
- Simple Ingredients: No need to hunt for specialty items; most are pantry staples. I usually keep my favorite Ghirardelli cocoa on hand for rich chocolate flavor.
- Perfect for Halloween Parties: Whether you’re hosting or bringing treats to a gathering, these cups make a festive, eye-catching addition.
- Crowd-Pleaser: Kids and adults alike always ask for seconds. The gooey brownie center is truly irresistible.
- Unbelievably Delicious: The combo of buttery cookie dough with fudgy brownie batter inside offers a texture and flavor contrast that feels like a little celebration in every bite.
What makes this recipe stand out is the layering technique. Instead of mixing all the batter together, you start with a cookie cup that bakes into a crisp shell, then fill it with brownie batter before finishing it off. This keeps textures distinct but harmonized, and honestly, it’s a neat trick that makes the whole thing feel more special.
It’s not just another Halloween cookie—it’s a treat that turns snacking into a moment, perfect for those evenings when you want to slow down and savor something a little indulgent but not overly complicated.
This recipe has become my go-to when I want to impress guests with minimal fuss, and it’s the kind of treat that makes me close my eyes after the first bite, savoring the sweet little magic of the season.
What Ingredients You Will Need
This recipe uses simple, wholesome ingredients to deliver bold flavor and a delightful texture without much fuss. Most are pantry staples, which means you probably already have them on hand for your other baking adventures.
- For the Cookie Cups:
- 1 cup (225g) unsalted butter, softened (adds richness and helps with a tender crumb)
- 1 cup (200g) granulated sugar
- 1 large egg, room temperature
- 1 teaspoon vanilla extract
- 2 ¼ cups (280g) all-purpose flour
- ½ teaspoon baking soda
- ¼ teaspoon salt
- Orange gel food coloring (for that festive Halloween hue)
- For the Brownie Batter Filling:
- ½ cup (115g) unsalted butter, melted
- ¾ cup (150g) granulated sugar
- 2 large eggs, room temperature
- 1 teaspoon vanilla extract
- ⅓ cup (40g) unsweetened cocoa powder (I recommend using Valrhona for deep chocolate flavor)
- ⅓ cup (40g) all-purpose flour
- ¼ teaspoon salt
- Black gel food coloring (for that striking dark contrast)
- Optional Toppings:
- Mini chocolate chips or Halloween-themed sprinkles
- A pinch of sea salt for a little savory edge
For gluten-free variations, you can swap the all-purpose flour with a 1:1 gluten-free baking flour blend. If you prefer dairy-free, use vegan butter and substitute eggs with flax eggs (1 tablespoon ground flaxseed + 3 tablespoons water, chilled).
Look for gel food coloring rather than liquid; it’s easier to blend and won’t affect the dough or batter consistency. In summer, I sometimes swap orange gel for pumpkin puree in the cookie dough for an extra seasonal twist, but the classic gel colors keep things bright and festive.
Equipment Needed
- Standard muffin or cupcake pan (12-cup size) – essential for shaping the cookie cups
- Mixing bowls – one for cookie dough, one for brownie batter
- Electric mixer or stand mixer – helps cream butter and sugar smoothly, but a sturdy whisk and elbow grease work too
- Measuring cups and spoons – accuracy matters, especially for baking
- Silicone spatula – perfect for folding batters without overmixing
- Piping bag or spoon – for filling cookie cups with brownie batter neatly
- Cooling rack – to cool the cookie cups evenly without sogginess
If you don’t have a stand mixer, I’ve found that using a hand mixer works just as well for this recipe. For filling, a small spoon can do the job if you don’t own a piping bag. Just be patient and gentle to keep the layers intact.
Keep your muffin tins well greased or lined with silicone baking cups to help release the cookie cups easily. I personally prefer silicone pans for their even heat distribution and easy cleanup, but classic metal pans work fine too.
Preparation Method
- Prepare the Cookie Dough (15 minutes): In a large bowl, cream together 1 cup softened butter and 1 cup granulated sugar using an electric mixer on medium speed until light and fluffy—about 3-4 minutes. Add in 1 egg and 1 teaspoon vanilla extract, mixing until fully combined.
- Combine Dry Ingredients: In a separate bowl, whisk together 2 ¼ cups flour, ½ teaspoon baking soda, and ¼ teaspoon salt. Gradually add the dry ingredients to the butter mixture, mixing on low speed until just combined.
- Add Orange Color: Stir in orange gel food coloring drop by drop until you reach a vibrant orange hue. Don’t rush this part; it’s better to add slowly to avoid overcoloring.
- Shape Cookie Cups (10 minutes): Preheat your oven to 350°F (175°C). Lightly grease a 12-cup muffin pan. Take about 2 tablespoons of cookie dough and press it into the bottom and up the sides of each muffin cup, creating a shallow cup shape. The dough should be evenly spread but not too thin to avoid burning.
- Bake Cookie Cups (12-14 minutes): Bake the cookie cups for 12-14 minutes until the edges are just starting to turn golden but centers still look soft. Remove from oven and let cool for 10 minutes; they will firm up as they cool.
- Prepare Brownie Batter (10 minutes): Meanwhile, melt ½ cup butter in a microwave-safe bowl or on the stovetop. Whisk in ¾ cup sugar until combined. Beat in 2 eggs and 1 teaspoon vanilla extract until smooth. Sift in ⅓ cup cocoa powder, ⅓ cup flour, and ¼ teaspoon salt; fold gently until just combined. Add black gel food coloring a tiny bit at a time until you get a deep black color.
- Fill Cookie Cups (5 minutes): Once cookie cups have cooled slightly, spoon or pipe about 1 tablespoon of brownie batter into each cup, filling them nearly to the top but leaving a little room to rise.
- Bake Final Assembly (15-18 minutes): Return the filled muffin pan to the oven and bake for another 15-18 minutes, or until the brownie batter is set but still fudgy in the center. A toothpick inserted should come out with moist crumbs, not wet batter.
- Cool and Serve: Let the cookie cups cool completely in the pan on a wire rack before gently removing them. If you like, sprinkle mini chocolate chips or Halloween sprinkles on top while still warm for extra festive flair.
Tips: Avoid overbaking the brownie filling; it’s meant to stay gooey, not dry. If your cookie cups start to crack on the edges, next time press the dough a little thicker along the sides. Patience during cooling is key—these are a little fragile fresh from the oven but firm up nicely as they rest.
Cooking Tips & Techniques
One trick I learned the hard way is not to rush the cooling phases. Cookie cups that are too hot when you fill them with brownie batter can lose their shape or cause the batter to run, which spoils the layered effect.
Using gel food coloring is essential here—liquid dyes can make the dough and brownie batter too wet, changing the texture. Also, don’t skip sifting the cocoa powder; it helps avoid lumps and keeps the brownie batter silky smooth.
When pressing the cookie dough into the muffin pan, be gentle but thorough. You want an even thickness all around to prevent thin spots that burn. I’ve found that using my fingers rather than a spoon gives me better control.
Timing is everything: bake the cookie base until just set so it holds its shape, but not so much that it becomes hard. The second bake with the brownie batter requires watching closely to catch the perfect fudgy stage.
If you want a little extra flair, try adding a pinch of flaky sea salt on top after baking—trust me, it makes the chocolate flavor pop.
Lastly, don’t be afraid to multitask by prepping the brownie batter while the cookie cups bake. It saves time and keeps the process smooth. This kind of practical pacing is what makes the recipe manageable even on busy evenings.
Variations & Adaptations
These cookie cups are a fun canvas to customize for your own Halloween vibe or dietary needs. Here are a few variations I’ve enjoyed over the years:
- Pumpkin Spice Twist: Add 1 teaspoon pumpkin pie spice to the cookie dough for a warm, autumnal flavor. This pairs wonderfully with the chocolate brownie filling.
- Gluten-Free Option: Swap the all-purpose flour in both doughs with a gluten-free 1:1 baking blend. I recommend Bob’s Red Mill for consistent results.
- Vegan Version: Use vegan butter and replace eggs with flax eggs (1 tablespoon ground flaxseed + 3 tablespoons water per egg). The texture will be slightly different but still delicious.
- Peanut Butter Surprise: Drop a small spoonful of peanut butter into the brownie batter before baking for a gooey, nutty center that pairs beautifully with chocolate and orange.
- Different Fillings: Instead of brownie batter, try cream cheese filling with mini chocolate chips for a cheesecake-like surprise.
For a fun seasonal change, I sometimes swap black food coloring for deep purple or green to match different Halloween themes. Adjust the sprinkles and toppings accordingly to keep things fresh and exciting.
Serving & Storage Suggestions
These cookie cups taste best at room temperature when the brownie filling is soft but not cold and firm. Serve them on a festive platter with a dusting of powdered sugar or a drizzle of white chocolate if you’re feeling fancy.
They pair wonderfully with a warm cup of spiced cider or a simple glass of milk to balance the rich sweetness.
Store any leftovers in an airtight container at room temperature for up to 2 days. For longer storage, refrigerate up to 5 days or freeze the cookie cups in a single layer wrapped well in plastic wrap and foil for up to 1 month.
When reheating, a quick 10-15 second zap in the microwave brings back that gooey brownie center without drying out the cookie shell. Let cool slightly before eating to avoid burning your mouth.
Fun fact: the flavors meld and deepen a bit after a day, so sometimes I actually prefer letting the cookie cups rest overnight before indulging.
Nutritional Information & Benefits
Each cookie cup contains approximately:
| Calories | 220 kcal |
|---|---|
| Fat | 12g (mostly from butter) |
| Carbohydrates | 28g |
| Protein | 3g |
| Sugar | 18g |
This recipe, while indulgent, uses real butter and eggs, making it a treat with familiar ingredients rather than artificial replacements. The cocoa powder adds antioxidants, and the use of real vanilla gives a clean, natural flavor.
Gluten-free and vegan adaptations make these cookie cups accessible to those with dietary restrictions, plus the simple ingredient list means you’re not filling up on mystery additives.
As a personal note, I find baking treats like this reminds me to slow down and enjoy the moment, balancing everyday nutrition with those special occasions when a little sweetness feels just right.
Conclusion
These Delicious Black and Orange Brownie Batter Halloween Cookie Cups bring together the best of Halloween fun and comforting homemade baking. They’re not just festive—they’re a little ritual you can savor in the quiet moments of the season.
Feel free to tweak the colors, fillings, and toppings to suit your style or dietary needs. I love how flexible this recipe is, making it perfect for both last-minute treats and planned parties.
For me, it’s the balance of a crisp cookie shell with that fudgy, rich brownie center that keeps me coming back every October. It’s a simple joy, really, that feels like a secret shared between the kitchen and anyone lucky enough to get a taste.
Give them a try, and if you do, I’d love to hear how you made them your own. Whether it’s through a little pumpkin spice or a peanut butter surprise, these cookie cups invite you to make them yours. Happy baking and happy Halloween!
Frequently Asked Questions
Can I make these cookie cups ahead of time?
Yes! You can prepare and bake the cookie cups and brownie filling separately, then assemble and bake the final step right before serving. Alternatively, freeze the finished cookie cups and thaw them as needed.
What if I don’t have gel food coloring?
Gel food coloring is best because it doesn’t thin the dough or batter. If you only have liquid food coloring, use sparingly to avoid changing the texture, but colors won’t be as vibrant.
How do I prevent the brownie filling from overflowing?
Fill the cookie cups only about ¾ full with brownie batter to allow room for rising. Also, avoid overfilling and watch baking times closely.
Can I use this recipe without a muffin pan?
The muffin pan shapes the cookie cups perfectly, but you can try using silicone baking molds or even mini tart pans if you want a different shape.
What’s the best way to remove the cookie cups from the pan?
Let them cool completely before gently running a butter knife or small offset spatula around the edges. Lightly greasing the pan beforehand helps a lot with easy release.
For a savory contrast after indulging in these sweet treats, you might enjoy the ease of savory sausage and peppers skillet recipe—a perfect counterbalance to your Halloween sweets. And if you’re planning a full meal around your autumn baking, honey mustard glazed chicken thighs bring a crispy, flavorful finish to any dinner table.
Pin This Recipe!
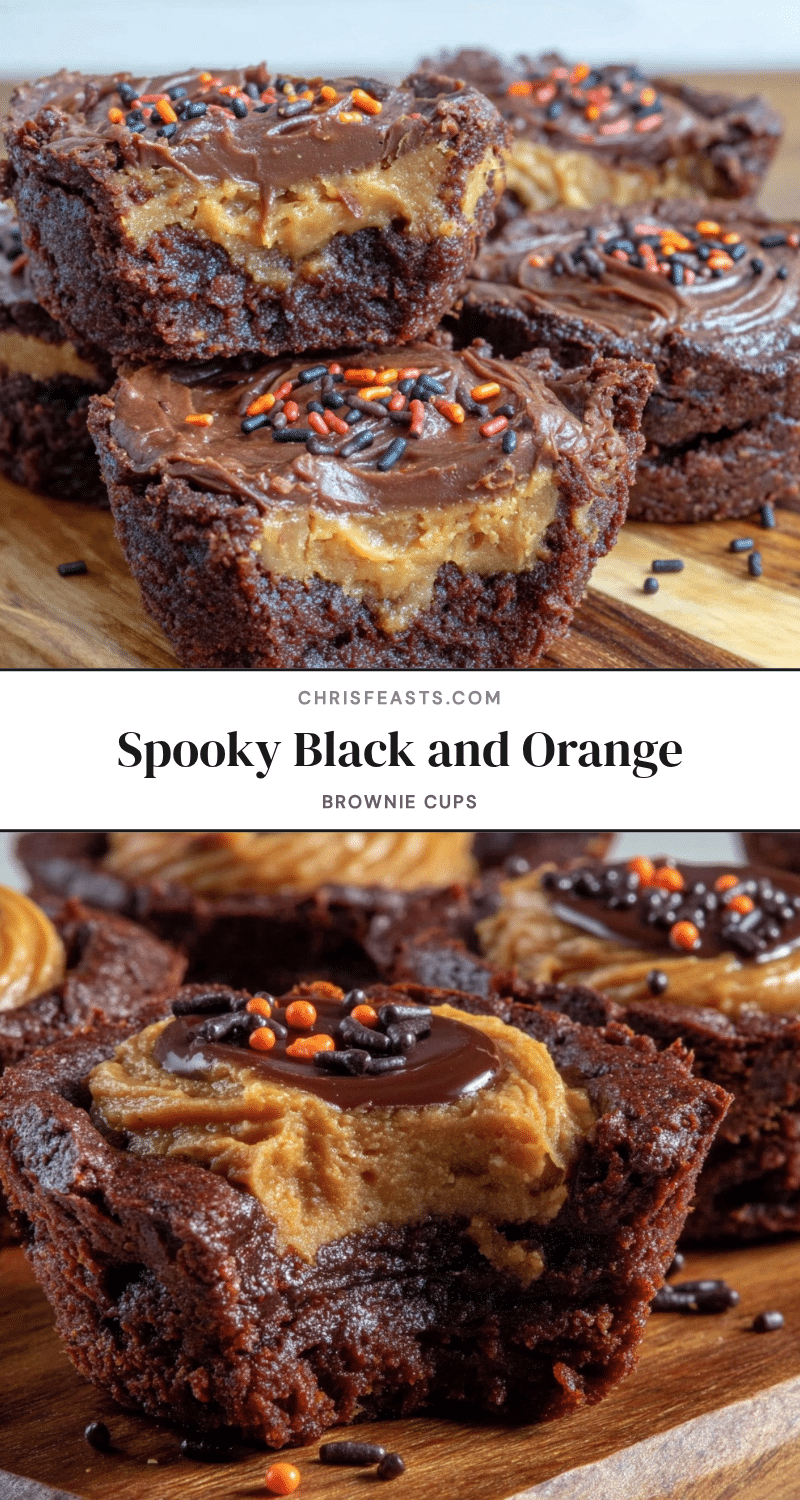
Delicious Black and Orange Brownie Batter Halloween Cookie Cups
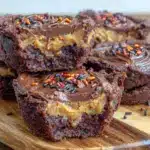
These festive cookie cups combine a crisp orange cookie shell with a gooey, fudgy brownie batter filling, perfect for Halloween treats that are quick, easy, and crowd-pleasing.
- Prep Time: 25 minutes
- Cook Time: 27 minutes
- Total Time: 52 minutes
- Yield: 12 servings 1x
- Category: Dessert
- Cuisine: American
Ingredients
- For the Cookie Cups:
- 1 cup (225g) unsalted butter, softened
- 1 cup (200g) granulated sugar
- 1 large egg, room temperature
- 1 teaspoon vanilla extract
- 2 ¼ cups (280g) all-purpose flour
- ½ teaspoon baking soda
- ¼ teaspoon salt
- Orange gel food coloring
- For the Brownie Batter Filling:
- ½ cup (115g) unsalted butter, melted
- ¾ cup (150g) granulated sugar
- 2 large eggs, room temperature
- 1 teaspoon vanilla extract
- ⅓ cup (40g) unsweetened cocoa powder
- ⅓ cup (40g) all-purpose flour
- ¼ teaspoon salt
- Black gel food coloring
- Optional Toppings:
- Mini chocolate chips or Halloween-themed sprinkles
- A pinch of sea salt
Instructions
- Prepare the Cookie Dough (15 minutes): In a large bowl, cream together 1 cup softened butter and 1 cup granulated sugar using an electric mixer on medium speed until light and fluffy—about 3-4 minutes. Add in 1 egg and 1 teaspoon vanilla extract, mixing until fully combined.
- Combine Dry Ingredients: In a separate bowl, whisk together 2 ¼ cups flour, ½ teaspoon baking soda, and ¼ teaspoon salt. Gradually add the dry ingredients to the butter mixture, mixing on low speed until just combined.
- Add Orange Color: Stir in orange gel food coloring drop by drop until you reach a vibrant orange hue.
- Shape Cookie Cups (10 minutes): Preheat oven to 350°F (175°C). Lightly grease a 12-cup muffin pan. Take about 2 tablespoons of cookie dough and press it into the bottom and up the sides of each muffin cup, creating a shallow cup shape.
- Bake Cookie Cups (12-14 minutes): Bake for 12-14 minutes until edges start to turn golden but centers still look soft. Remove and cool for 10 minutes.
- Prepare Brownie Batter (10 minutes): Melt ½ cup butter. Whisk in ¾ cup sugar. Beat in 2 eggs and 1 teaspoon vanilla extract until smooth. Sift in ⅓ cup cocoa powder, ⅓ cup flour, and ¼ teaspoon salt; fold gently until combined. Add black gel food coloring until deep black.
- Fill Cookie Cups (5 minutes): Spoon or pipe about 1 tablespoon of brownie batter into each cooled cookie cup, filling nearly to the top but leaving room to rise.
- Bake Final Assembly (15-18 minutes): Bake filled cups for 15-18 minutes until brownie batter is set but fudgy. Toothpick should come out with moist crumbs.
- Cool and Serve: Let cool completely in pan on wire rack before removing. Optionally sprinkle mini chocolate chips or Halloween sprinkles while warm.
Notes
Avoid overbaking the brownie filling to keep it gooey. Use gel food coloring for best results. Let cookie cups cool before filling to maintain shape. Press dough evenly to avoid thin spots. For gluten-free, use 1:1 gluten-free baking flour blend. For vegan, use vegan butter and flax eggs. Optional toppings include mini chocolate chips or Halloween sprinkles. Store leftovers airtight at room temperature up to 2 days, refrigerate up to 5 days, or freeze up to 1 month.
Nutrition
- Serving Size: 1 cookie cup
- Calories: 220
- Sugar: 18
- Sodium: 120
- Fat: 12
- Saturated Fat: 7
- Carbohydrates: 28
- Fiber: 2
- Protein: 3
Keywords: Halloween, cookie cups, brownie batter, chocolate, pumpkin, festive treats, easy dessert, holiday baking