“You won’t believe this, but it all started when my neighbor, Joe—the quiet guy who never talks much except about fishing—showed up with a rusty old beer can and a whole chicken. I was busy turning the backyard into a disaster zone with a failed batch of ribs, but Joe just smiled and said, ‘Trust me, this is how you get the crispiest, juiciest chicken on the grill.’
Honestly, I was skeptical. Using a beer can? It sounded more like a barbeque myth than a real recipe. But that summer afternoon, while the cicadas buzzed and the sun dipped low, I watched Joe set up the grill, plop the chicken right on that cold can, and close the lid like it was some secret grilling ritual. The smell was incredible—smoky with a hint of something sweet, the skin blistering to golden perfection.
Now, here’s the thing: I forgot to bring the tongs. So, there I was, halfway through the cook, juggling a spatula and a beer in one hand, trying not to burn the chicken or spill the beer. (Classic me.) But when Joe finally lifted that bird off the grill, dripping with juices and crackling with crispiness, I knew I had to make this recipe my own.
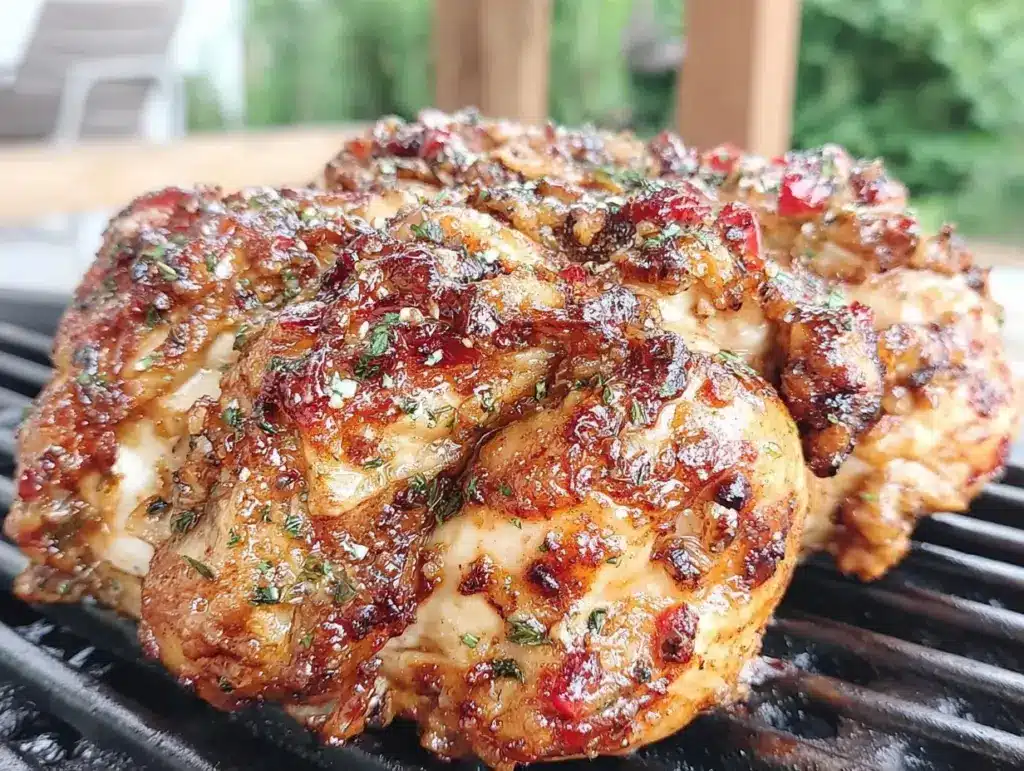
This Crispy Juicy Beer Can Chicken on the Grill isn’t just a recipe—it’s a backyard legend waiting to happen. Maybe you’ve been there, staring at your grill, wondering how to get that perfect balance of crispy skin and tender, flavorful meat. Well, this method has stuck with me because it’s as straightforward as it is satisfying, and honestly, it turns any grill novice into a hero in their own backyard.
Why You’ll Love This Crispy Juicy Beer Can Chicken Recipe
After a dozen or so grilled chickens (and a few burnt experiments), this recipe became my go-to for a handful of reasons:
- Quick & Easy: The prep takes just 15 minutes, and then you let the grill do the work—perfect when you want a fuss-free meal that still impresses.
- Simple Ingredients: No obscure spices or fancy sauces here. You probably have everything in your pantry already.
- Perfect for Summer Cookouts: Whether it’s a weekend family gathering or an impromptu hangout, this beer can chicken steals the show every time.
- Crowd-Pleaser: Kids and adults alike can’t get enough of the crispy skin and juicy meat combo.
- Unbelievably Delicious: The beer inside steams the chicken from the inside out, keeping it moist while the skin crisps up beautifully on the outside.
What sets this recipe apart? It’s the balance—the beer’s gentle steam infuses subtle flavor and moisture, while the indirect heat crisps the skin to that perfect crackle. Plus, my secret dry rub (just wait till you see it) makes the seasoning pop without overpowering the natural chicken taste. Honestly, it’s comfort food with a little twist of fun.
What Ingredients You Will Need
This recipe uses simple, approachable ingredients that come together to create something pretty special. The dry rub adds flavor and a bit of crunch, while the beer and chicken do the heavy lifting in juiciness and crispiness.
- Whole chicken (about 4-5 pounds / 1.8-2.3 kg): Fresh or thawed, patted dry for best results.
- Beer (12 oz / 355 ml can): A lager or pale ale works great (avoid overly bitter IPAs). I like using a local craft beer for a personal touch.
- Olive oil or melted butter (2 tablespoons): For coating the chicken and helping the rub stick.
- Brown sugar (2 tablespoons): Adds caramelization and a hint of sweetness.
- Paprika (1 tablespoon): Smoked paprika if you have it; otherwise, regular paprika is fine.
- Garlic powder (1 teaspoon): For that savory punch.
- Onion powder (1 teaspoon): Adds depth without overpowering.
- Salt (1 tablespoon): Use kosher or sea salt for the best texture.
- Black pepper (1 teaspoon): Freshly ground is ideal.
- Cayenne pepper (optional, 1/2 teaspoon): For a little heat, if you like.
Feel free to swap the olive oil for melted butter if you want richer flavor, or try a gluten-free beer if needed. When selecting your chicken, look for firm skin and avoid any that seems watery—this helps the skin crisp up better on the grill.
Equipment Needed
- Charcoal or gas grill: A grill with a lid is key for indirect cooking.
- Beer can chicken holder (optional): Makes handling easier but the classic can works fine if you’re careful.
- Meat thermometer: Essential for checking doneness without guessing.
- Kitchen tongs and heat-resistant gloves: For safely moving the hot chicken.
- Basting brush (optional): Handy if you want to add extra butter or sauce near the end.
If you don’t have a meat thermometer, you can try the “leg wiggle” test, but I highly recommend getting one—it’s a game changer. For beer can holders, a budget-friendly option is just a sturdy empty can, but holders help keep the chicken stable. I once tried using a glass instead of a can (don’t ask), and let’s just say it didn’t end well.
Preparation Method
- Preheat your grill: Set up for indirect heat at medium (about 350°F / 175°C). If using charcoal, bank the coals to one side. This usually takes 15-20 minutes.
- Prepare the chicken: Remove giblets, pat the chicken dry both inside and out with paper towels. This helps the skin crisp up nicely.
- Make the dry rub: In a small bowl, mix brown sugar, paprika, garlic powder, onion powder, salt, black pepper, and cayenne.
- Coat the chicken: Rub the olive oil or melted butter all over the chicken. Then, sprinkle the dry rub evenly, rubbing it into the skin and inside the cavity.
- Prepare the beer can: Open the beer and pour out (or drink!) about half the can. You want about 6 oz (180 ml) left to steam the chicken.
- Mount the chicken: Place the chicken cavity over the beer can so it sits upright. Use a holder if you have one, or carefully balance it on the grill.
- Grill the chicken: Place the chicken upright on the grill away from direct flames. Close the lid and cook for about 1 to 1.5 hours. Check temperature after 1 hour.
- Check for doneness: Use the meat thermometer inserted into the thickest part of the thigh without touching bone. Target temperature is 165°F (74°C).
- Rest the chicken: Carefully remove from grill (use gloves!). Let it rest for 10-15 minutes before carving. This helps juices redistribute for maximum tenderness.
Pro tip: If you notice the skin isn’t crispy enough near the end, move the chicken briefly over direct heat for 2-3 minutes per side. Just watch carefully to avoid flare-ups.
Cooking Tips & Techniques
Getting that crispy juicy beer can chicken right takes a bit of know-how—here’s what I learned the hard way:
- Dry the chicken well: Moisture is the enemy of crispiness. I once skipped drying the bird, and it came out soggy. Not fun.
- Use indirect heat: Cooking directly over coals or flames cooks too fast and burns the skin before the inside is done.
- Don’t rush the resting time: It may be tempting to dive in right away, but resting is what locks in those juicy flavors.
- Season inside the cavity: Don’t forget this step—it adds subtle flavor all the way through the meat.
- Keep the grill lid closed: Resist the urge to peek too often. It drops the temperature and extends cooking time.
- Multitask smartly: While the chicken grills, prep a simple salad or side. I usually prep the rub while the grill heats up—it saves time.
Variations & Adaptations
This beer can chicken recipe is super versatile. Here are a few ways to make it your own:
- Herb Infusion: Add fresh rosemary or thyme inside the cavity for an earthy aroma.
- Spicy Kick: Mix cayenne, chili powder, and smoked paprika in the rub for a smoky heat.
- Gluten-Free: Use gluten-free beer and double-check all spices for gluten content.
- Different Beverages: Swap beer for soda, apple cider, or even flavored sparkling water to change the steam flavor.
- Oven Version: Can’t grill? Roast the bird upright in a roasting pan at 375°F (190°C) for about 1.5 hours.
I once tried using a ginger beer instead of regular beer, and the slight sweetness and spice gave the chicken an unexpectedly delightful twist. Experimenting with what’s in your fridge can lead to new favorites.
Serving & Storage Suggestions
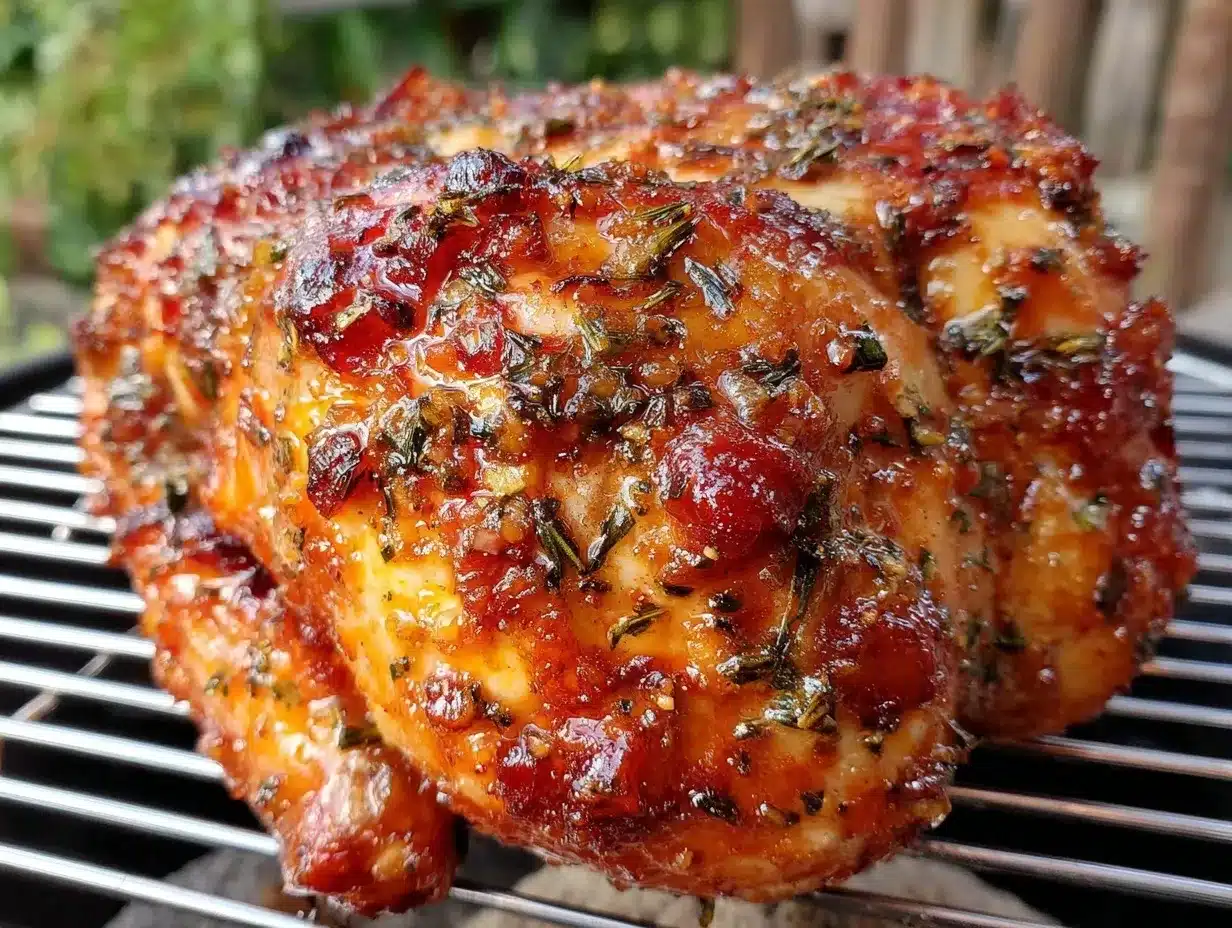
This crispy juicy beer can chicken shines best served warm right off the grill. Carve carefully, slicing thigh and breast meat separately for easy sharing.
- Serving: Pair with grilled veggies, corn on the cob, or a fresh green salad. A cold beer or lemonade complements the smoky flavors perfectly.
- Storage: Leftovers keep well in an airtight container in the fridge for 3-4 days.
- Reheating: Reheat gently in the oven at 325°F (160°C) covered with foil to keep moist, about 15 minutes.
- Flavor Development: The flavors deepen after a day, so leftovers might even taste better the next day.
Nutritional Information & Benefits
On average, a serving (about 6 oz / 170 g of cooked chicken) contains roughly:
| Nutrient | Amount |
|---|---|
| Calories | 280 kcal |
| Protein | 35 g |
| Fat | 12 g |
| Carbohydrates | 2 g |
Chicken is a great source of lean protein and provides essential nutrients like B vitamins and selenium. The spices in the rub add antioxidants and flavor without added sugars or unhealthy fats. For those watching carbs, this recipe is naturally low-carb and gluten-free when paired with suitable sides.
Conclusion
This crispy juicy beer can chicken recipe is a backyard classic that’s as fun as it is delicious. You can tweak the spices, swap the beer, or even try it in the oven, but the heart of the recipe—steaming the chicken from the inside while crisping the skin outside—remains the magic trick.
I love this recipe because it makes me feel like a grill master without complicated steps, and every time I serve it, people ask for the secret. Now, it’s your turn to try it out. Remember, cooking is all about making recipes your own, so don’t hesitate to experiment and share your stories with me!
Got questions or your own spin on beer can chicken? Drop a comment below—I’d love to hear from you!
Frequently Asked Questions
Can I use a different type of beer for this recipe?
Absolutely! Lagers and pale ales work best for a balanced flavor, but you can try darker beers or even non-alcoholic options like ginger beer or sparkling cider to change things up.
Is it safe to cook chicken on a beer can?
Yes, as long as you use a standard, unopened beer can and place the chicken upright carefully. Avoid cans with plastic linings or designs that could release toxins when heated.
How do I know when the chicken is fully cooked?
Use a meat thermometer to check the internal temperature in the thickest part of the thigh. It should read 165°F (74°C) for safe consumption.
Can I prepare this recipe indoors?
You can roast the chicken upright in the oven at 375°F (190°C) for about 1.5 hours if grilling isn’t an option.
What if I don’t have a beer can holder?
No worries! You can balance the chicken on an open beer can carefully, but holders do make it easier and safer to handle.
Pin This Recipe!
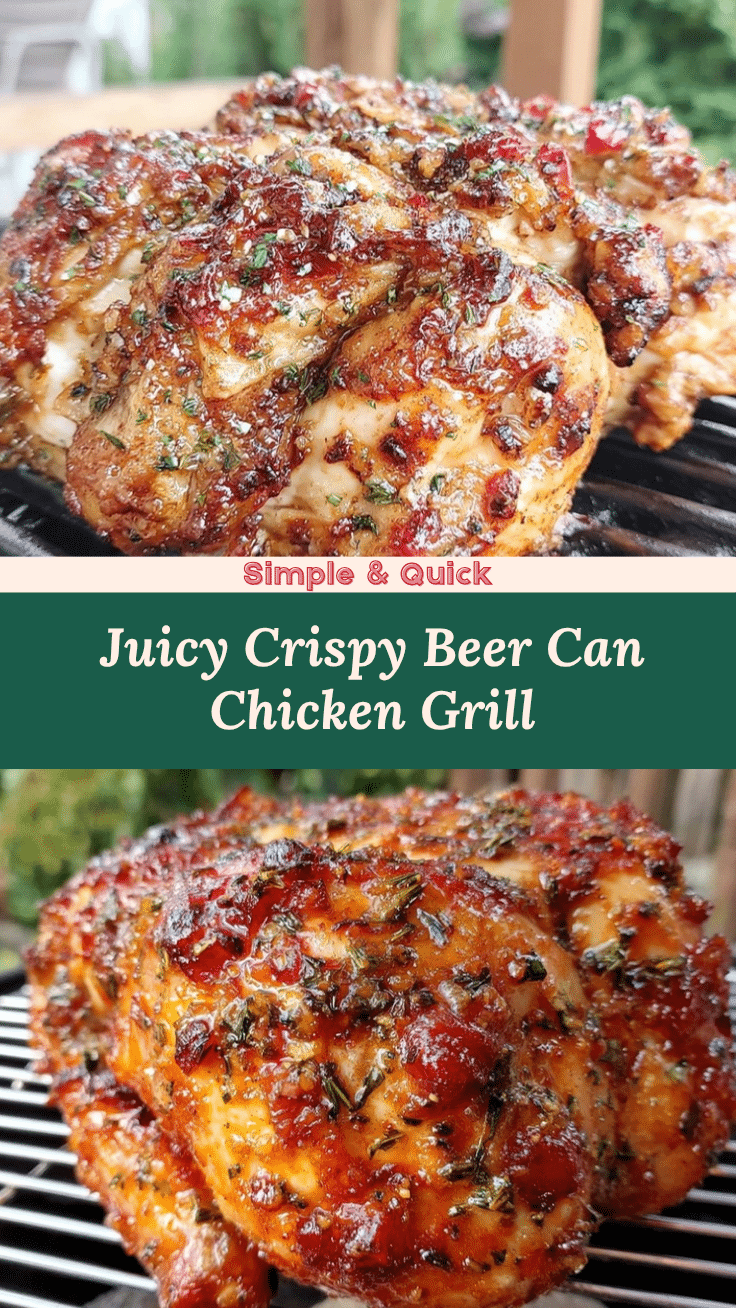
Crispy Juicy Beer Can Chicken Recipe Perfect for Easy Grilling
This recipe delivers the crispiest, juiciest chicken on the grill using a beer can to steam the meat from the inside while crisping the skin outside. It’s quick, easy, and perfect for summer cookouts.
- Prep Time: 15 minutes
- Cook Time: 1 to 1.5 hours
- Total Time: 1 hour 15 minutes to 1 hour 45 minutes
- Yield: 4-6 servings
- Category: Main Course
- Cuisine: American
Ingredients
- Whole chicken (about 4-5 pounds / 1.8-2.3 kg), fresh or thawed, patted dry
- Beer (12 oz / 355 ml can), lager or pale ale recommended
- Olive oil or melted butter (2 tablespoons)
- Brown sugar (2 tablespoons)
- Paprika (1 tablespoon), smoked paprika preferred
- Garlic powder (1 teaspoon)
- Onion powder (1 teaspoon)
- Salt (1 tablespoon), kosher or sea salt
- Black pepper (1 teaspoon), freshly ground
- Cayenne pepper (optional, 1/2 teaspoon)
Instructions
- Preheat your grill for indirect heat at medium (about 350°F / 175°C). If using charcoal, bank the coals to one side. This usually takes 15-20 minutes.
- Remove giblets from the chicken and pat dry both inside and out with paper towels to help the skin crisp up.
- In a small bowl, mix brown sugar, paprika, garlic powder, onion powder, salt, black pepper, and cayenne pepper.
- Rub olive oil or melted butter all over the chicken. Then sprinkle the dry rub evenly, rubbing it into the skin and inside the cavity.
- Open the beer can and pour out or drink about half, leaving about 6 oz (180 ml) to steam the chicken.
- Place the chicken cavity over the beer can so it sits upright. Use a holder if available or carefully balance it on the grill.
- Place the chicken upright on the grill away from direct flames. Close the lid and cook for about 1 to 1.5 hours. Check temperature after 1 hour.
- Use a meat thermometer inserted into the thickest part of the thigh without touching bone. Target temperature is 165°F (74°C).
- Carefully remove the chicken from the grill using gloves and let it rest for 10-15 minutes before carving to allow juices to redistribute.
Notes
Dry the chicken well to ensure crispy skin. Use indirect heat to avoid burning. Rest the chicken after cooking to lock in juices. If skin isn’t crispy enough, briefly move chicken over direct heat for 2-3 minutes per side. Use a meat thermometer for best results. Avoid beer cans with plastic linings.
Nutrition
- Serving Size: About 6 oz (170 g) c
- Calories: 280
- Fat: 12
- Carbohydrates: 2
- Protein: 35
Keywords: beer can chicken, grilled chicken, crispy chicken, juicy chicken, summer cookout, backyard grilling, easy chicken recipe


