I never planned on making this creamy no-churn red white blue ice cream with cookie chunks the day my freezer broke down. Honestly, I was just trying to salvage the last bits of summer vibes on a scorcher of an afternoon. The idea of whipping up homemade ice cream felt like a long shot—especially without an ice cream maker. But you know how it is: desperation meets creativity. I rummaged through my freezer and pantry, finding a few pops of red and blue (hello, frozen berries!) and some cookie crumbs leftover from a snack attack earlier that week. Skeptical but curious, I threw the whole thing together without much hope, figuring it’d be an edible experiment at best.
Fast forward a few hours, and that batch of ice cream was the star of the evening. It had this irresistible creamy texture, and those cookie chunks added the perfect little crunch that kept everyone sneaking spoonfuls straight from the tub. What really stuck with me was how easy it was to pull together—like, no fancy gadgets, no complicated steps, just ingredients you probably already have chilling in the fridge or pantry. That day, this recipe quietly became my go-to for summer celebrations, a sweet fix that doesn’t require much fuss but delivers on flavor and fun.
It’s funny how sometimes the best recipes come from unexpected moments. This creamy no-churn red white blue ice cream with cookie chunks isn’t just a frozen treat—it’s a reminder that simple things can surprise us when we least expect it. And honestly, it’s why this recipe has stuck around in my kitchen rotation ever since, ready for the next hot day or casual get-together where everyone’s craving something cool and comforting.
Why You’ll Love This Recipe
After making this recipe several times, I can say it truly delivers on all fronts. The creamy no-churn red white blue ice cream with cookie chunks is a crowd-pleaser that’s easy enough to whip up on a whim but impressive enough for summer gatherings.
- Quick & Easy: Comes together in under 15 minutes, with no ice cream machine needed—making it perfect for last-minute cravings or busy summer afternoons.
- Simple Ingredients: Uses pantry staples and straightforward ingredients like sweetened condensed milk, frozen berries, and cookies. No hunting for fancy stuff.
- Perfect for Summer Celebrations: The patriotic colors make it ideal for holiday cookouts, backyard barbecues, or just a fun weekend treat.
- Crowd-Pleaser: Kids and adults alike love the creamy texture combined with the surprise cookie chunks. You’ll get requests to make it again, trust me.
- Unbelievably Delicious: That balance between the smooth ice cream base, vibrant berry flavor, and crunchy cookie pieces creates a texture and flavor combo that’s hard to beat.
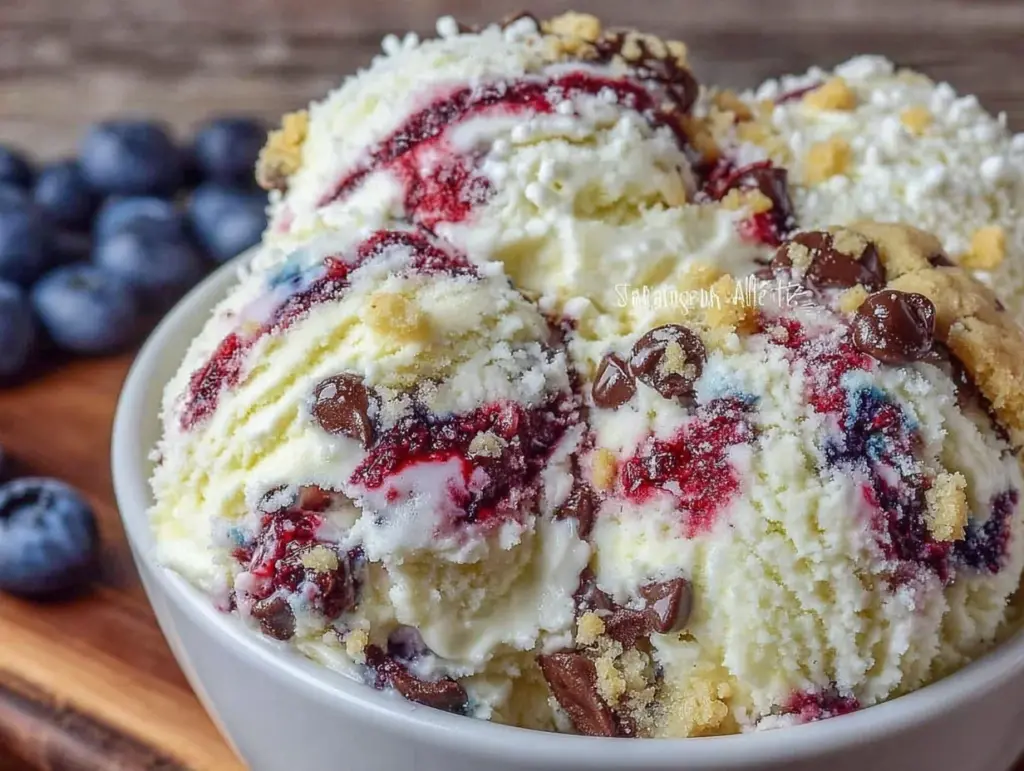
This recipe isn’t your typical no-churn ice cream. By folding in real fruit purees and cookie chunks, it gets a texture that feels homemade and luxurious. I like to use Oreos or homemade sugar cookies for the chunks, which add a nostalgic vibe that reminds me of summer days as a kid. Plus, the red and blue layers aren’t just for show—they bring fresh berry flavor that feels light and refreshing, cutting through the creaminess without overpowering it. Honestly, this recipe has a kind of magic that makes you close your eyes after the first bite and say, “Yep, that’s summer.”
What Ingredients You Will Need
This recipe uses simple, wholesome ingredients to deliver bold flavor and satisfying texture without the fuss. Most of these are pantry staples or easy to find in any grocery store, which is always a win when you want something quick but special.
- Sweetened Condensed Milk – The secret to that creamy, no-churn base. It adds richness and sweetness without needing to add extra sugar.
- Heavy Whipping Cream (1 ½ cups / 360 ml) – Whipped to soft peaks to create the light and airy body of the ice cream.
- Vanilla Extract (1 tsp) – Adds warmth and depth to the cream base.
- Frozen Strawberries (1 cup / 150 g) – Pureed for the red layer, fresh or frozen works fine. If fresh, add a few ice cubes when pureeing for texture.
- Frozen Blueberries (1 cup / 150 g) – Pureed for the blue layer, bursting with natural sweetness.
- Granulated Sugar (2 tbsp) – Optional, to sweeten the berry purees if needed (taste first!).
- Cookie Chunks (1 cup / 120 g) – I like using coarsely chopped sugar cookies or Oreos for a bit of crunch and extra flavor. You can swap for gluten-free cookies if needed.
For the best texture, I recommend using firm, ripe berries that aren’t too watery. If you want to switch it up, frozen raspberries or blackberries can also work well in place of blueberries. I usually go for a trusted brand of sweetened condensed milk like Eagle Brand for consistent taste and texture.
For a dairy-free version, you can substitute the heavy cream with canned coconut cream and use a dairy-free condensed milk alternative, though the texture will be slightly different.
Equipment Needed
- Mixing Bowls: Several medium-sized bowls for whipping cream and mixing berry purees.
- Electric Mixer or Stand Mixer: To whip the heavy cream to soft peaks efficiently. A hand whisk works but takes more elbow grease.
- Blender or Food Processor: For pureeing the berries smoothly. A good-quality blender like a Ninja or Vitamix makes this step speedy and smooth.
- Spatula: For folding the whipped cream gently into the condensed milk and berry mixtures.
- Loaf Pan or Freezer-Safe Container: To layer and freeze the ice cream. I find a metal loaf pan helps freeze it faster and makes slicing neat.
- Plastic Wrap or Lid: To cover the container while freezing and prevent freezer burn.
If you don’t have a stand mixer, you can whip the cream by hand with a whisk or use a handheld electric mixer. Just watch the cream carefully—overwhipping will turn it grainy. Also, a good spatula is key for folding without deflating the airy cream. Budget-friendly alternatives like a simple blender for berries and plastic containers for freezing work just fine.
Preparation Method
- Prepare the Berry Purees (15 minutes): Add the frozen strawberries to your blender with 1 tablespoon sugar (optional) and blend until smooth. If the puree is too thick, add a splash of water or lemon juice to loosen it slightly. Repeat this step with the blueberries and adjust sweetness as needed. Set both purees aside.
- Whip the Cream (5-7 minutes): In a chilled mixing bowl, whip 1 ½ cups (360 ml) of heavy cream using an electric mixer on medium-high speed until soft peaks form. Be careful not to overwhip—stop once the cream holds peaks but still looks smooth.
- Mix the Base (3 minutes): In a separate large bowl, stir the 14 oz (396 g) sweetened condensed milk with 1 teaspoon vanilla extract. This will be your creamy base for the ice cream layers.
- Fold the Whipped Cream into the Condensed Milk (2 minutes): Using a spatula, gently fold the whipped cream into the condensed milk mixture until fully combined, preserving as much air as possible for that fluffy texture.
- Divide the Base into Three Bowls (1 minute): Split the creamy base evenly into three separate bowls. One will remain plain (white), one will be mixed with the strawberry puree (red), and the last with the blueberry puree (blue).
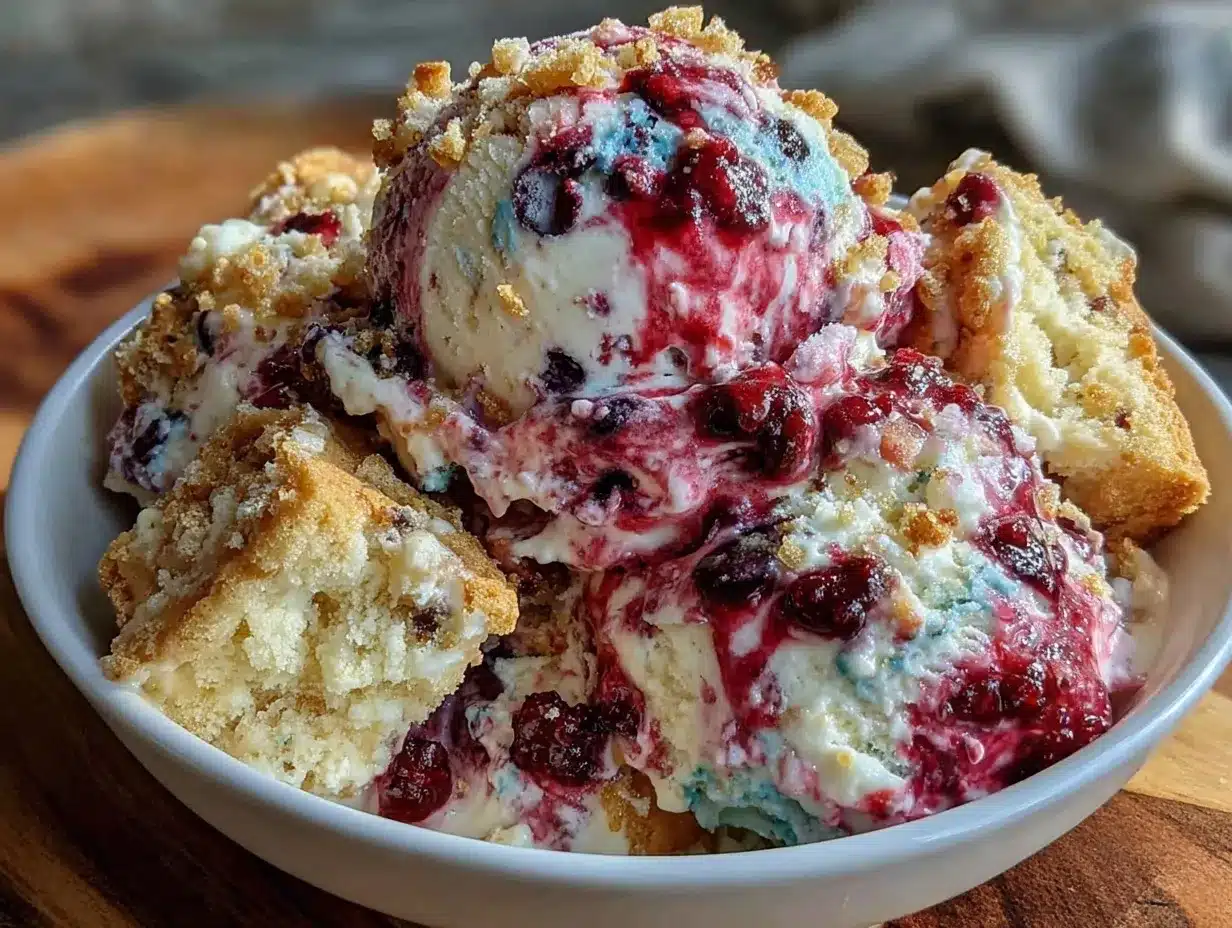
- Create the Layers (10 minutes): Fold the strawberry puree into one bowl and the blueberry puree into another. The third bowl stays plain. In a loaf pan, spoon layers in this order: red (strawberry), then white (plain), then blue (blueberry). Repeat layers until all mixtures are used.
- Add Cookie Chunks (2 minutes): As you layer, sprinkle cookie chunks between layers and a generous handful on top for that delightful crunch.
- Freeze (6-8 hours or overnight): Cover the pan tightly with plastic wrap and place it in the freezer. This slow freeze lets the ice cream set to a creamy, scoopable texture.
- Serving Tip: Before scooping, let the ice cream sit at room temperature for 5-10 minutes to soften slightly for easier scooping and better flavor release.
One thing I’ve learned is not to rush the freezing stage. The texture improves dramatically after a full night in the freezer. Also, folding the cream gently is crucial—if you mix too hard, you lose that light texture that makes this ice cream so special.
Cooking Tips & Techniques
Making this creamy no-churn red white blue ice cream with cookie chunks is surprisingly forgiving but a few tricks make it shine every time.
- Soft Peaks Matter: Whipping the cream to soft peaks—not stiff—is key for the right texture. Overwhipping can lead to grainy ice cream, underwhipping means it won’t hold air well.
- Berry Puree Consistency: Puree your berries smooth but not watery. If the puree is too thin, it can make the ice cream icy. If it’s too thick, add a splash of lemon juice or water to loosen it slightly.
- Cookie Chunks Size: Chop the cookie chunks into bite-sized pieces. Too big and they’ll be hard to scoop around; too small and you lose the delightful crunch.
- Layering for Looks: When spooning layers into the container, try to keep them even and smooth to get those beautiful patriotic stripes that wow your guests.
- Patience with Freezing: Resist the urge to dig in too soon. The ice cream gets creamier and more scoopable after several hours in the freezer.
I remember the first time I forgot to whip the cream enough and ended up with a dense, icy mess. Since then, whipping the cream just right has been my little secret for consistent success. Also, if you want to multitask, you can prepare the berry purees the day before and store them in the fridge, which speeds up assembly when you’re ready.
Variations & Adaptations
You can easily adapt this recipe to suit different tastes or dietary needs.
- Dairy-Free Version: Swap heavy cream with canned coconut cream and use sweetened condensed coconut milk. The cookie chunks can be replaced with gluten-free or nut-based cookies for allergy-friendly options.
- Flavor Twists: Add a swirl of chocolate fudge or caramel between the layers for an indulgent surprise. Alternatively, mix in a teaspoon of lemon zest into the white layer for a citrusy pop.
- Seasonal Fruit Options: In place of strawberries and blueberries, try pureed peaches and blackberries for a late summer twist. Frozen fruit works just as well and keeps things simple.
- Extra Crunch: Toss in chopped nuts or toasted coconut flakes along with cookie chunks for added texture.
- Personal Favorite: I once swapped the cookie chunks for crushed pretzels for a salty-sweet combo that was surprisingly addictive—worth a try if you like that crunch.
Serving & Storage Suggestions
This ice cream is best enjoyed straight from the freezer after it softens for a few minutes at room temperature. Serve it in bowls with fresh berries on top or alongside a slice of warm pie for a festive summer dessert. It pairs wonderfully with a crisp lemonade or iced tea for a refreshing combo.
Store leftovers tightly covered in the freezer for up to 2 weeks. To prevent ice crystals, press a piece of parchment paper or plastic wrap directly on the surface before sealing. When reheating, just let it sit out for 5-10 minutes before scooping.
Over time, the flavors meld beautifully, and the cookie chunks soften slightly, creating a more uniform creamy texture that’s equally satisfying.
Nutritional Information & Benefits
This ice cream is a treat, but here’s the scoop on nutrition: each serving (about ½ cup or 125 ml) contains approximately 250-300 calories, with a good dose of calcium from the dairy. The berries add antioxidants and natural vitamins, making it a slightly healthier indulgence compared to store-bought varieties packed with artificial flavors and stabilizers.
It’s gluten-friendly if you use gluten-free cookies, and you can make it dairy-free with simple swaps. Just keep in mind that the cookie chunks contain gluten and sugar, so adjust accordingly if you’re watching allergens or sugar intake.
From my experience, this recipe strikes a nice balance: it’s satisfying and creamy without being overly sweet or heavy, which makes it a feel-good dessert for summer gatherings.
Conclusion
This creamy no-churn red white blue ice cream with cookie chunks is proof that sometimes the best recipes come from happy accidents and a little kitchen improvisation. It’s simple, colorful, and packed with flavor and texture that keeps people coming back for more. Whether you’re new to homemade ice cream or a seasoned pro, this recipe offers a fun, stress-free way to wow your family and friends.
Don’t hesitate to tweak it to your taste—maybe swap berries, add your favorite cookies, or even mix in a swirl of chocolate. I love this recipe because it brings a little joy and cool comfort to even the hottest days, and I hope it becomes a favorite in your home too.
Feel free to share your own twists or questions about the recipe—I’d love to hear how you make it your own!
Frequently Asked Questions
Can I use fresh berries instead of frozen?
Yes! Fresh berries work perfectly. Just puree them and add a few ice cubes to keep the texture cool and thick before folding into the ice cream base.
Do I need an ice cream maker for this recipe?
Nope! This is a no-churn recipe designed to be easy and accessible without any special equipment.
Can I make this recipe vegan?
With some substitutions like coconut cream and dairy-free condensed milk, plus vegan cookies, you can adapt it for a vegan diet, but the texture will be slightly different.
How long can I store the ice cream in the freezer?
Store it tightly covered for up to 2 weeks. After that, texture and flavor may start to decline.
What’s the best way to get neat layers of red, white, and blue?
Use a spoon to gently layer each color evenly and smooth the tops before adding the next. Freeze between layers if you want extra crisp separation.
And if you’re thinking about what to serve alongside this treat, I’ve found that a savory dish like the honey mustard glazed chicken thighs balances the sweetness perfectly. Or maybe after enjoying the ice cream, try the creamy ground beef stroganoff for a comforting dinner that’s just as easy to make.
Pin This Recipe!
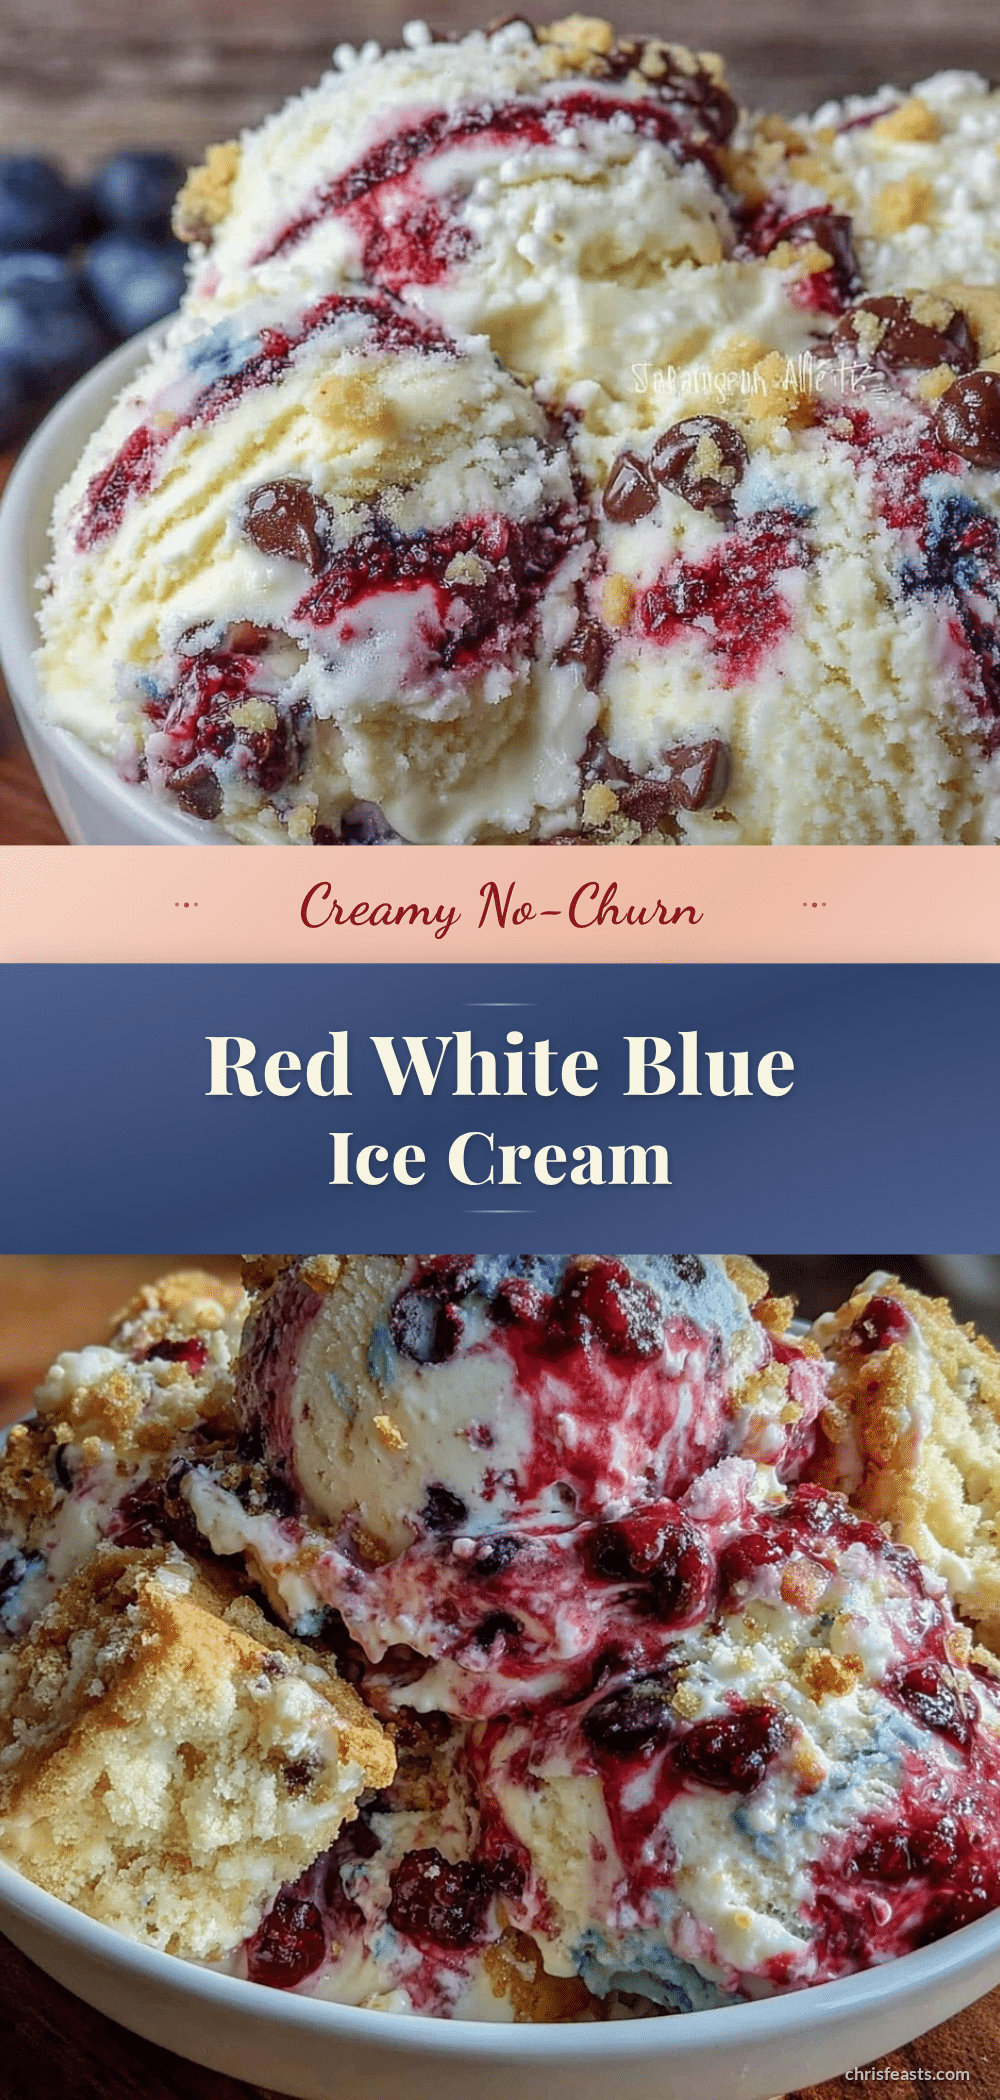
Creamy No-Churn Red White Blue Ice Cream Recipe with Cookie Chunks

A quick and easy no-churn ice cream featuring patriotic red, white, and blue layers with crunchy cookie chunks. Perfect for summer celebrations and made without an ice cream maker.
- Prep Time: 15 minutes
- Cook Time: 0 minutes
- Total Time: 6 hours 15 minutes
- Yield: 8 servings 1x
- Category: Dessert
- Cuisine: American
Ingredients
- 14 oz (396 g) sweetened condensed milk
- 1 ½ cups (360 ml) heavy whipping cream
- 1 tsp vanilla extract
- 1 cup (150 g) frozen strawberries
- 1 cup (150 g) frozen blueberries
- 2 tbsp granulated sugar (optional)
- 1 cup (120 g) cookie chunks (sugar cookies or Oreos, gluten-free optional)
Instructions
- Prepare the berry purees: Blend frozen strawberries with 1 tablespoon sugar (optional) until smooth; add water or lemon juice if too thick. Repeat with blueberries and adjust sweetness as needed. Set aside.
- Whip the heavy cream in a chilled bowl using an electric mixer on medium-high speed until soft peaks form, about 5-7 minutes. Avoid overwhipping.
- In a large bowl, stir together sweetened condensed milk and vanilla extract to create the ice cream base.
- Gently fold the whipped cream into the condensed milk mixture using a spatula until fully combined, preserving airiness.
- Divide the base evenly into three bowls: one plain (white), one mixed with strawberry puree (red), and one mixed with blueberry puree (blue).
- Layer the ice cream in a loaf pan by spooning red, then white, then blue mixtures, repeating layers until all are used.
- Sprinkle cookie chunks between layers and a generous amount on top.
- Cover the pan tightly with plastic wrap and freeze for 6-8 hours or overnight until set.
- Before serving, let the ice cream sit at room temperature for 5-10 minutes to soften for easier scooping.
Notes
Whip cream to soft peaks to avoid grainy texture. Puree berries smooth but not watery. Chop cookie chunks bite-sized for best texture. Let ice cream freeze overnight for best creaminess. Let soften 5-10 minutes before scooping. For dairy-free version, substitute heavy cream with canned coconut cream and use dairy-free condensed milk.
Nutrition
- Serving Size: ½ cup (125 ml)
- Calories: 275
- Sugar: 28
- Sodium: 90
- Fat: 15
- Saturated Fat: 9
- Carbohydrates: 32
- Fiber: 1
- Protein: 3
Keywords: no-churn ice cream, red white blue ice cream, summer dessert, cookie chunks, patriotic dessert, easy ice cream recipe


