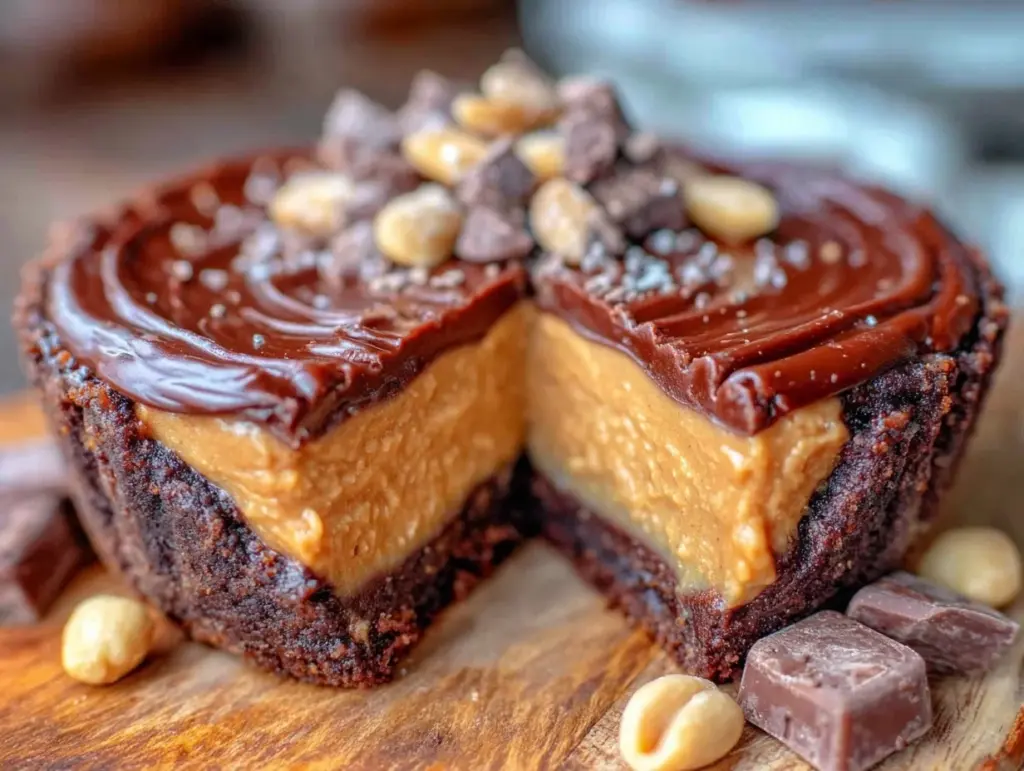
I remember that one evening when my sweet tooth was screaming louder than usual — and all I had in the pantry was peanut butter and chocolate chips. I figured, why not try to make something big enough to satisfy that craving once and for all? Honestly, I wasn’t expecting much at first. But as I carefully layered smooth peanut butter filling between thick, glossy chocolate shells, the smell alone pulled me into a mini state of bliss. By the time I sliced into that giant peanut butter cup, I was hooked.
It’s funny how this recipe came from a bit of a lazy, “let’s just throw this together” moment but turned into a favorite that I make over and over. The rich, creamy peanut butter center paired with the perfectly firm chocolate outside feels like a hug on a plate — and it’s way better than any store-bought version. I’ve made this giant Reese’s peanut butter cup for friends, and they always ask for the recipe afterward. There’s something comforting about making your own candy, you know? And nothing beats getting to say, “Yep, I made this myself.”
What really stuck with me is how easy it is to whip up with just a few ingredients that you probably already have. Plus, it’s flexible enough to tweak depending on what you’ve got on hand. This homemade giant Reese’s peanut butter cup recipe is my go-to when I want a show-stopping treat that feels indulgent but also totally doable. It’s definitely become my secret weapon for impressing without the stress.
Sometimes, the simplest ideas turn into the most satisfying desserts — and this one’s a perfect example of that quiet kitchen magic.
Why You’ll Love This Recipe
Making the ultimate homemade giant Reese’s peanut butter cup is honestly a game-changer for anyone who loves that perfect peanut butter and chocolate combo. I’ve tested this recipe multiple times (yes, several times in one week — no shame) to get the balance just right, and I’m confident you’ll appreciate how it stands out.
- Quick & Easy: Comes together in about 30 minutes, perfect for an afternoon treat or a last-minute dessert craving.
- Simple Ingredients: No need for fancy or hard-to-find items. Just pantry staples like peanut butter, chocolate, and powdered sugar.
- Perfect for Celebrations: Makes a fun, oversized candy that’s great for parties, gift-giving, or just a cozy night in.
- Crowd-Pleaser: Kids love it, adults love it, and it’s always the first thing gone at gatherings.
- Unbelievably Delicious: The creamy, slightly salty peanut butter filling wrapped in a smooth chocolate shell offers the ultimate comfort food experience.
What makes this recipe different? The peanut butter filling is whipped with just the right amount of powdered sugar and a touch of butter to create a smooth yet firm texture — not too soft, not too crumbly. And instead of melting the chocolate in a microwave (which can be tricky), I use a gentle stovetop double boiler method for silky, shiny chocolate that hardens perfectly. This giant peanut butter cup isn’t just another imitation; it’s a carefully crafted treat that feels homemade but looks impressive.
It’s the kind of recipe that invites you to slow down for a moment and savor something truly special — without any fuss or complicated steps.
What Ingredients You Will Need
This recipe uses simple, wholesome ingredients to deliver bold flavor and satisfying texture without the fuss. Most are pantry staples, so it’s easy to pull together anytime you want a giant Reese’s peanut butter cup fix.
- For the Chocolate Shell:
- 12 oz (340 g) semi-sweet chocolate chips (I recommend Ghirardelli for a smooth, rich finish)
- 1 tsp coconut oil or vegetable oil (helps the chocolate set glossy and smooth)
- For the Peanut Butter Filling:
- 1 cup (250 g) creamy peanut butter (natural or store-bought, whichever you prefer)
- 1/4 cup (57 g) unsalted butter, softened (adds richness and firmness)
- 1 cup (120 g) powdered sugar, sifted (balances sweetness and texture)
- 1 tsp vanilla extract (for subtle depth)
- 1/4 tsp salt (enhances peanut butter flavor)
Ingredient tips: For the peanut butter, I usually use a smooth, creamy brand rather than chunky because it blends better for that classic Reese’s texture. If you want to make this gluten-free, all ingredients here are naturally gluten-free, which is a bonus. You can swap the semi-sweet chocolate chips with dark or milk chocolate depending on your preference—just keep in mind that milk chocolate will be sweeter.
Equipment Needed
- Large mixing bowl for combining peanut butter filling
- Double boiler or heatproof bowl + saucepan for melting chocolate (you can DIY by placing a glass bowl over simmering water)
- 9-inch (23 cm) round cake pan or springform pan lined with parchment paper (for shaping the giant peanut butter cup)
- Spatula for stirring and scraping
- Measuring cups and spoons for precise ingredient amounts
- Refrigerator space for setting the candy
Honestly, you don’t need any fancy candy molds or specialty tools here. I’ve tried silicone molds before, but the simple lined pan works just fine and makes cleanup easy. If you don’t have a double boiler, just be sure to keep the heat low under your bowl to avoid burning the chocolate. A cheap candy thermometer isn’t necessary but can help if you want extra precision melting chocolate.
Preparation Method
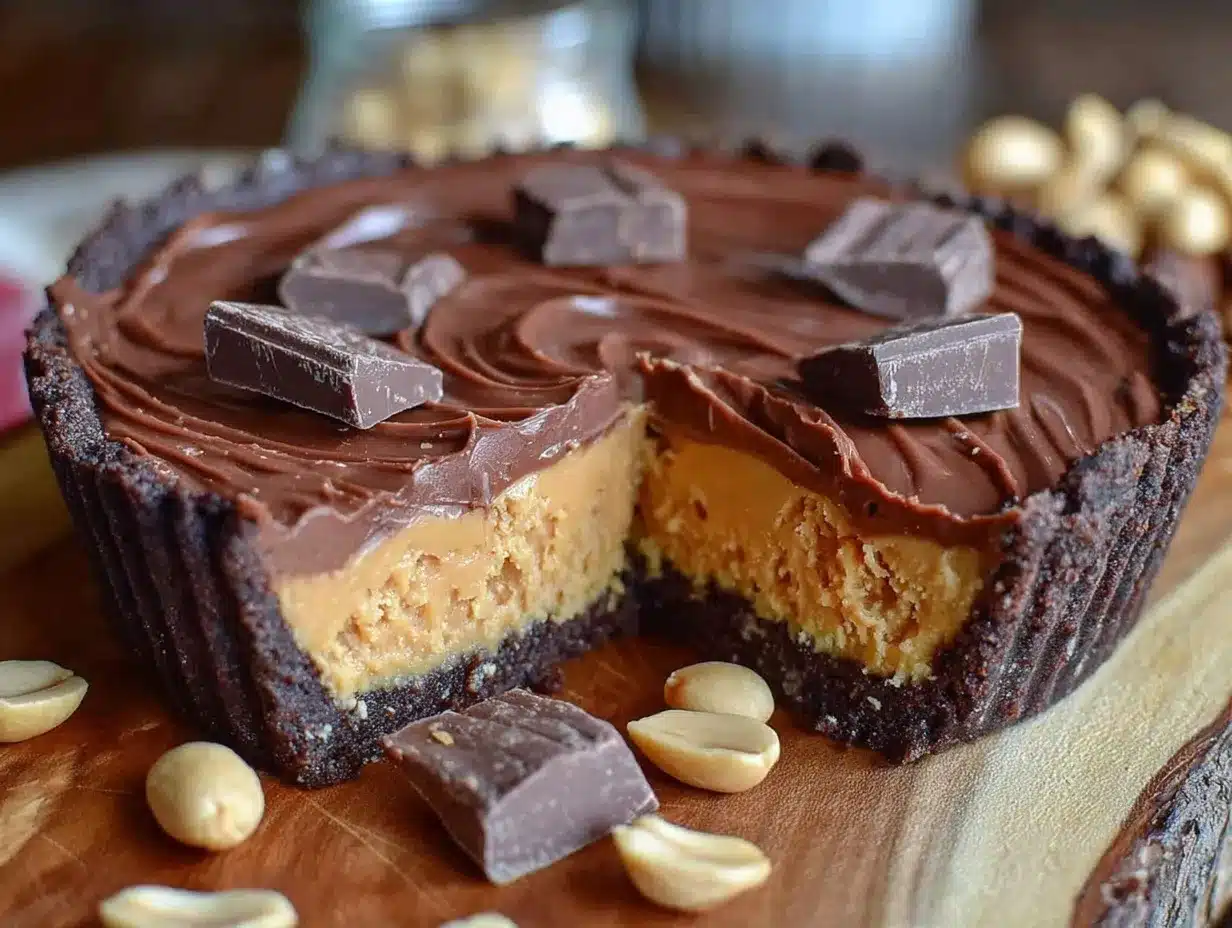
- Prepare your pan: Line a 9-inch round cake pan with parchment paper, leaving some overhang on the sides for easy removal later. This will be the mold for your giant Reese’s peanut butter cup. Set aside.
- Make the peanut butter filling: In a large bowl, beat together 1 cup creamy peanut butter and 1/4 cup softened unsalted butter until smooth and creamy (about 2-3 minutes). Add 1 tsp vanilla extract and 1/4 tsp salt, then gradually sift in 1 cup powdered sugar. Stir or beat until the mixture is thick and holds shape — it should be firm but still spreadable. If it feels too soft, add a little more powdered sugar, a tablespoon at a time.
- Melt the chocolate: Set up a double boiler by filling a saucepan with about 1-2 inches of water and bring it to a simmer. Place a heatproof bowl on top, making sure it doesn’t touch the water. Add 12 oz semi-sweet chocolate chips and 1 tsp coconut oil to the bowl. Stir gently and continuously until the chocolate is fully melted and smooth. Remove from heat.
- Form the bottom chocolate layer: Pour about half of the melted chocolate into your lined pan. Use a spatula to spread it evenly along the bottom and slightly up the sides, creating a chocolate shell. Place the pan in the fridge for about 10-15 minutes until the chocolate firms up but isn’t completely hard.
- Add the peanut butter filling: Remove the pan from the fridge and spoon the peanut butter mixture into the center. Spread it evenly over the chocolate base, pressing gently to eliminate any air pockets or gaps. Try to keep the thickness consistent across the layer.
- Top with remaining chocolate: Pour the rest of the melted chocolate over the peanut butter layer, spreading it carefully to fully cover the filling and seal the edges. The goal is to trap the peanut butter inside a smooth chocolate shell.
- Chill to set: Place the pan back into the fridge for at least 1 hour or until fully set and firm to the touch.
- Slice and serve: Use the parchment paper overhang to gently lift the giant peanut butter cup out of the pan. Slice into wedges with a sharp knife (warming the knife under hot water helps get cleaner cuts). Enjoy immediately or store in an airtight container in the fridge.
Cooking Tips & Techniques
Melting chocolate can be a bit tricky if you’re not used to it — I’ve had my share of burned chocolate disasters. The key is patience and low heat. Never let water get into the chocolate bowl, or it will seize up and become grainy. Stirring constantly helps the chocolate melt evenly.
When mixing the peanut butter filling, softened butter is crucial. If the butter is too cold, the filling will be lumpy and hard to spread. Let it sit on the counter for 30 minutes before starting if needed.
Make sure the chocolate’s bottom layer is chilled but still slightly tacky before adding the peanut butter filling — this helps the layers stick together better. Also, pressing the peanut butter filling gently avoids bubbles, which can cause the top chocolate layer to crack.
Allow the giant Reese’s peanut butter cup to chill fully before slicing. Cutting too early will cause the layers to crumble or the chocolate to crack. If you want cleaner slices, warm your knife slightly by running it under hot water and drying it before cutting.
Multitasking tip: While the chocolate chills after the bottom layer, you can prep your peanut butter filling to save time. This recipe pairs nicely with easy weeknight dinners like honey mustard glazed chicken thighs or savory sausage and peppers skillet, so you can have dinner and dessert ready around the same time!
Variations & Adaptations
- Nut-Free Option: Substitute peanut butter with sunflower seed butter or almond butter for a nut-free or different nutty twist. Keep in mind the flavor will change but the texture remains similar.
- Chocolate Varieties: Use dark chocolate for a richer, less sweet version or milk chocolate for a sweeter, creamier taste. You can even mix white chocolate with milk chocolate for a marbled effect.
- Extra Crunch: Add chopped roasted peanuts or crispy rice cereal into the peanut butter filling for a delightful crunch inside the cup.
- Mini Versions: Use muffin tins lined with cupcake liners to make individual-sized giant peanut butter cups, perfect for portion control or party favors.
- Salted Caramel Twist: Drizzle a thin layer of salted caramel sauce between the peanut butter filling and top chocolate layer for a decadent surprise.
Personally, I love adding a pinch of sea salt on top of the finished chocolate layer before chilling. It contrasts beautifully with the sweetness and brings out the peanut butter flavor even more.
Serving & Storage Suggestions
This giant Reese’s peanut butter cup is best served chilled or at cool room temperature. If it’s too warm, the chocolate gets soft and gooey, which can be messy to eat. For a nice presentation, slice into generous wedges and serve on a decorative plate or parchment paper.
It pairs wonderfully with a cold glass of milk or a scoop of vanilla ice cream for a classic combo. If you want to keep it simple, having it alongside a cup of coffee or hot chocolate also makes for a cozy treat.
Store leftovers in an airtight container in the refrigerator for up to one week. You can freeze slices wrapped tightly in plastic wrap and foil for up to 3 months; thaw in the fridge overnight before serving.
Flavors tend to meld and deepen after a day or two in the fridge, so if you can wait, letting it sit overnight makes it even tastier.
Nutritional Information & Benefits
Each serving of this giant peanut butter cup (assuming 8 slices) contains approximately:
| Calories | 320 |
|---|---|
| Fat | 24g |
| Carbohydrates | 22g |
| Protein | 7g |
The peanut butter provides a good source of protein and healthy fats, while the semi-sweet chocolate contains antioxidants. This isn’t a low-calorie treat by any means, but it’s a satisfying indulgence made with quality ingredients you control. It’s gluten-free naturally and can be adapted to be dairy-free by swapping butter for plant-based margarine and using dairy-free chocolate chips.
Personally, I find this treat hits the spot when I want something comforting but still want to avoid overly processed candy bars full of additives.
Conclusion
This ultimate homemade giant Reese’s peanut butter cup recipe is one of those rare desserts that feels indulgent and impressive but is surprisingly straightforward to make. You get that perfect combination of creamy, slightly salty peanut butter and rich, smooth chocolate — just like the classic candy, but way bigger and better.
Feel free to customize it by playing with different chocolates, nut butters, or adding your own personal twists. I love how this recipe lets me slow down and enjoy a sweet moment without any complicated steps or weird ingredients.
Making this giant peanut butter cup is my favorite way to share a little homemade joy with friends or just keep as a secret stash for myself! If you try it, I’d love to hear how you make it your own or what variations you discover.
Frequently Asked Questions
Can I use crunchy peanut butter instead of creamy?
You can, but the texture of the filling will be chunkier and might not spread as smoothly. For the classic Reese’s texture, creamy peanut butter works best.
How long does this giant peanut butter cup last?
Store it in the fridge in an airtight container for up to a week. You can also freeze it for up to 3 months, just thaw in the fridge before serving.
Can I make this dairy-free or vegan?
Yes! Swap the butter with a plant-based alternative and use dairy-free chocolate chips to make it vegan-friendly.
What’s the best way to melt chocolate without burning it?
Use a double boiler method with low heat, stirring constantly. Avoid direct heat and never let water get into the chocolate.
Can I make mini peanut butter cups instead?
Absolutely! Use a muffin tin lined with cupcake liners and layer the chocolate and peanut butter filling the same way for bite-sized treats.
Pin This Recipe!
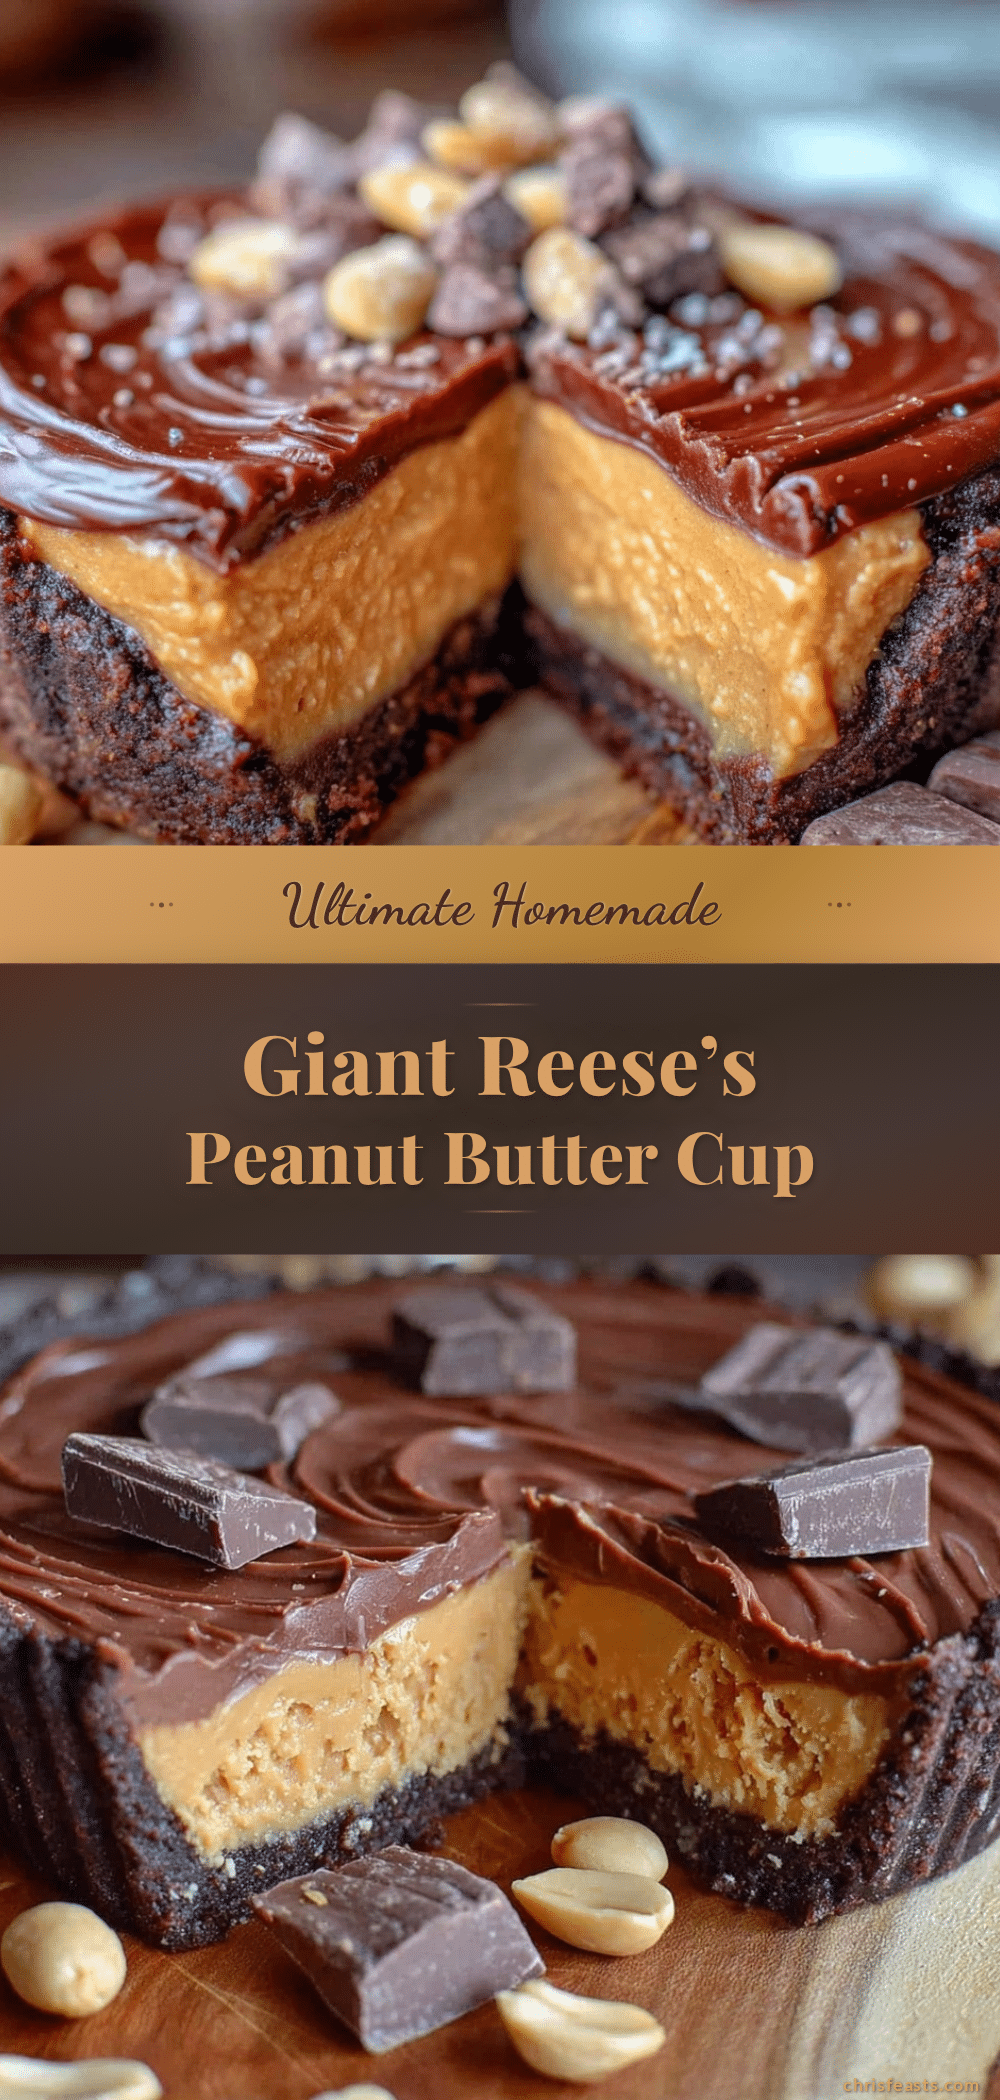
Ultimate Homemade Giant Reese’s Peanut Butter Cup Recipe Easy Copycat Guide
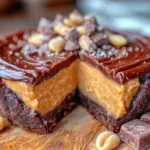
A rich and creamy giant peanut butter cup with a smooth chocolate shell, perfect for satisfying your sweet tooth with simple pantry ingredients.
- Prep Time: 15 minutes
- Cook Time: 15 minutes
- Total Time: 1 hour 30 minutes
- Yield: 8 servings 1x
- Category: Dessert
- Cuisine: American
Ingredients
- 12 oz semi-sweet chocolate chips
- 1 tsp coconut oil or vegetable oil
- 1 cup creamy peanut butter
- 1/4 cup unsalted butter, softened
- 1 cup powdered sugar, sifted
- 1 tsp vanilla extract
- 1/4 tsp salt
Instructions
- Line a 9-inch round cake pan with parchment paper, leaving some overhang on the sides for easy removal.
- In a large bowl, beat together peanut butter and softened unsalted butter until smooth and creamy (about 2-3 minutes).
- Add vanilla extract and salt, then gradually sift in powdered sugar. Stir or beat until thick and holds shape; add more powdered sugar if too soft.
- Set up a double boiler by simmering water in a saucepan and placing a heatproof bowl on top without touching the water.
- Add semi-sweet chocolate chips and coconut oil to the bowl. Stir gently and continuously until chocolate is fully melted and smooth. Remove from heat.
- Pour about half of the melted chocolate into the lined pan. Spread evenly along the bottom and slightly up the sides to create a chocolate shell.
- Place the pan in the fridge for 10-15 minutes until the chocolate firms but is not completely hard.
- Remove the pan from the fridge and spoon the peanut butter mixture into the center. Spread evenly over the chocolate base, pressing gently to remove air pockets.
- Pour the remaining melted chocolate over the peanut butter layer, spreading carefully to fully cover and seal the edges.
- Place the pan back in the fridge for at least 1 hour or until fully set and firm to the touch.
- Use the parchment paper overhang to lift the giant peanut butter cup out of the pan. Slice into wedges with a sharp knife warmed under hot water for cleaner cuts.
- Enjoy immediately or store in an airtight container in the fridge.
Notes
Use creamy peanut butter for best texture. Keep heat low when melting chocolate to avoid burning. Chill the bottom chocolate layer until tacky before adding filling to help layers stick. Warm knife under hot water for cleaner slices. Can be made dairy-free by substituting butter and chocolate with plant-based alternatives.
Nutrition
- Serving Size: 1 slice (1/8 of the
- Calories: 320
- Fat: 24
- Carbohydrates: 22
- Protein: 7
Keywords: peanut butter cup, giant peanut butter cup, homemade candy, Reese's copycat, chocolate peanut butter dessert, easy dessert, peanut butter filling