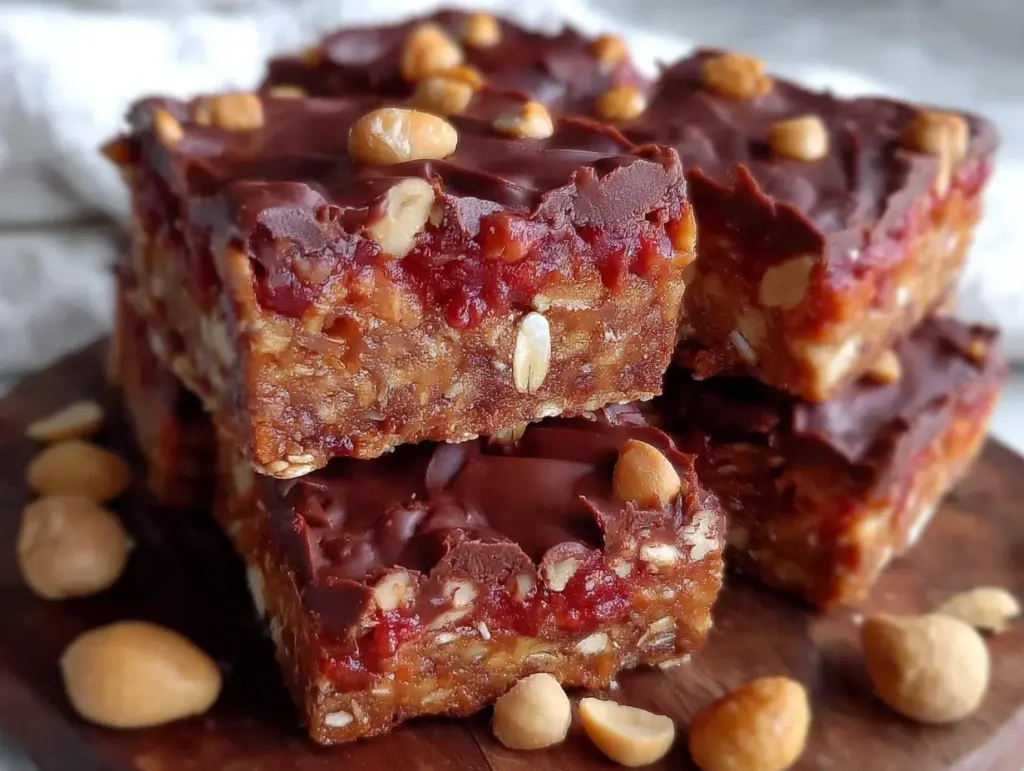
Three-time in a week and the texture still surprises me—these easy no-bake chocolate peanut butter granola bars have become a borderline obsession. It started last Friday when I was scrambling for a snack that didn’t require firing up the oven or a complicated list of steps. Honestly, I thought it’d be just another “meh” granola bar, but the moment I pressed the mixture into the pan and let it chill, something clicked. The peanut butter’s creaminess mixed with that dark chocolate hit was just begging for another round. By the third batch, I was tweaking ratios, swapping brands, and even testing different peanut butters (creamy vs. crunchy, naturally). Each attempt felt like a little victory, even if my kitchen looked borderline chaotic.
The smell of melted chocolate mingling with roasted peanuts filled the air in a way that made me pause—like, okay, this snack actually means business. Maybe it’s the no-bake ease or the combo of salty and sweet, but something about these bars kept pulling me back every afternoon. They’re the kind of treat you want by your side during a late-night work sprint or a quick mid-hike refuel. No fuss, no oven heat, just pure grab-and-go goodness that somehow feels homemade and thoughtful.
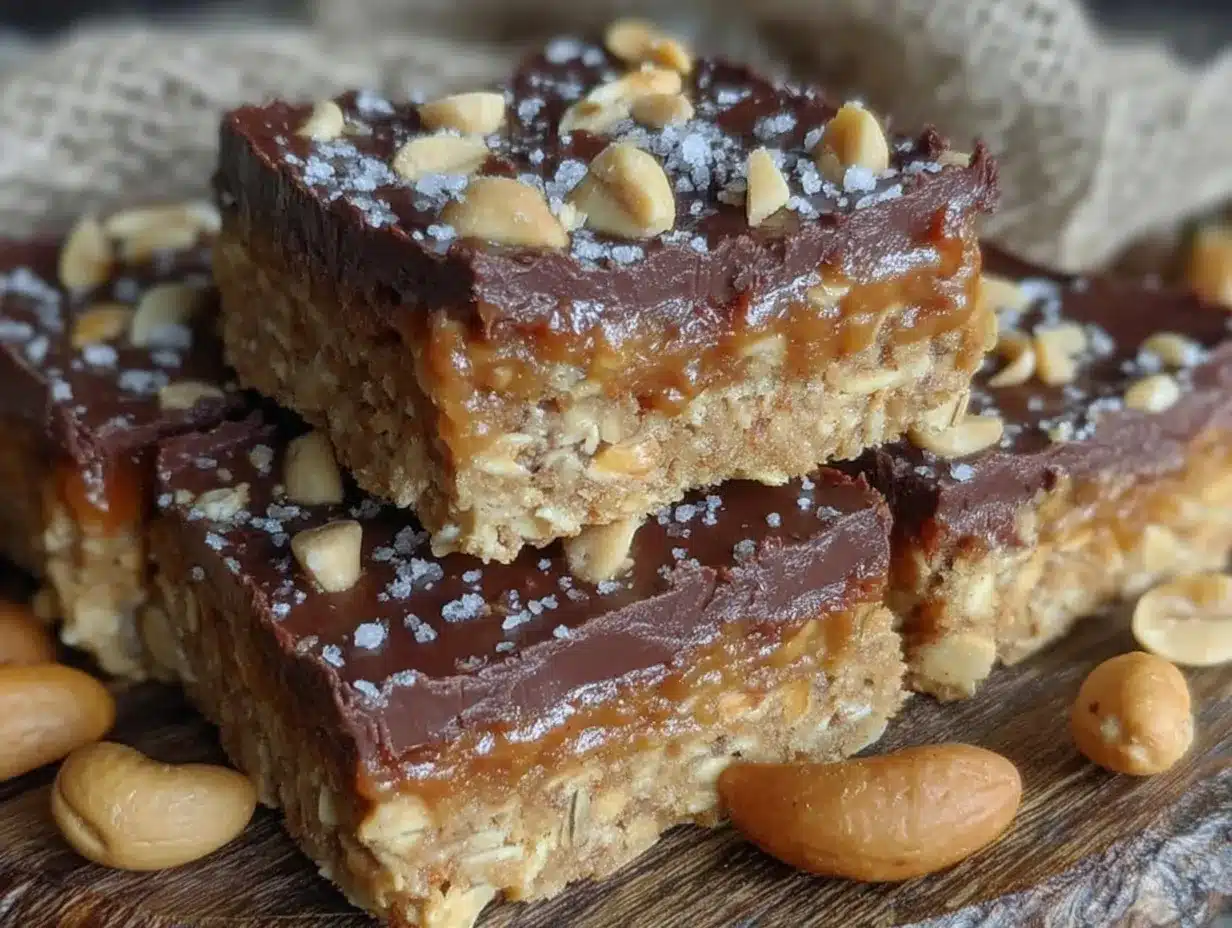
What really sticks with me is that subtle snap when you bite in and the way the oats hold everything together without getting soggy or crumbly. It’s a quiet little win in the snack game that I didn’t see coming. I guess it’s the kind of recipe that sneaks into your routine, unannounced but quickly indispensable. So here we are—my easy no-bake chocolate peanut butter granola bars recipe, ready to be your new favorite snack without any fuss but with plenty of heart.
Why You’ll Love This Recipe
From my many rounds of testing, these bars stood out not just because they taste great, but because they fit so seamlessly into busy days—it’s a snack that respects your time and your taste buds. Here’s what really makes them a keeper:
- Quick & Easy: Whip these bars up in under 15 minutes, perfect when you’re in a pinch or craving something satisfying without a long prep.
- Simple Ingredients: No exotic items here. Chances are you already have peanut butter, oats, and chocolate hiding in your pantry.
- Perfect for On-the-Go: Toss them in your bag for work, hikes, or school lunches. They hold up well without crumbling into a mess.
- Crowd-Pleaser: Whether you’re feeding kids or adults, these bars get nods of approval—sweet enough but not overpowering.
- Unbelievably Delicious: The balance of creamy peanut butter and rich chocolate with a touch of honey or maple syrup keeps you reaching for more.
- What Makes This Recipe Different: Unlike typical granola bars that can be dry or overly chewy, these have a soft, chewy bite with just enough firmness. The no-bake method keeps the oats tender but not mushy, and melting the chocolate into the peanut butter creates a luscious binder that’s pure magic.
This isn’t just any granola bar recipe—it’s the one that made me realize snacks don’t have to be complicated to feel like a treat. Plus, it’s a nice break from the usual oven-baked options like the crunchy maple pecan granola clusters I love making on weekends.
What Ingredients You Will Need
This recipe uses simple, wholesome ingredients to deliver bold flavor and satisfying texture without the fuss. Most of them are pantry staples, which means no special grocery trips needed. Here’s what you’ll want to gather:
- Rolled oats (old-fashioned, 2 cups / 180 g): The backbone of the bars, providing chew and heartiness. Quick oats can work, but they’ll make the texture softer.
- Natural creamy peanut butter (1 cup / 240 g): I recommend a brand like Smucker’s Natural or Justin’s for that perfect balance of creaminess and nutty flavor. Crunchy peanut butter can be swapped in for extra texture.
- Honey or maple syrup (⅓ cup / 80 ml): Acts as a natural sweetener and sticky binder. Maple syrup gives a subtle earthy note, while honey is classic.
- Unsweetened cocoa powder (¼ cup / 25 g): Adds rich chocolate flavor without extra sugar. Use a good-quality Dutch-processed cocoa if you have it for a smoother taste.
- Mini chocolate chips (½ cup / 90 g): For melty chocolate pockets throughout. Ghirardelli or Enjoy Life (dairy-free) chips work well.
- Vanilla extract (1 tsp): Brings out the sweetness and rounds out the flavors nicely.
- Salt (¼ tsp): Just a pinch to highlight the chocolate and balance sweetness.
- Optional mix-ins:
- Chopped nuts (almonds, walnuts, or peanuts, ½ cup / 60 g)
- Shredded coconut (¼ cup / 20 g)
For a gluten-free option, make sure to use certified gluten-free oats. If peanut allergies are a concern, almond or sunflower seed butter are tasty alternatives. For a vegan version, swap honey with pure maple syrup or agave nectar.
Equipment Needed
- Mixing bowl: A medium to large bowl for combining ingredients. Glass or stainless steel works best.
- Measuring cups and spoons: Accurate measuring is key for consistent bars.
- Spatula or wooden spoon: For mixing everything together thoroughly without overworking.
- 8×8-inch (20×20 cm) baking pan: Preferably lined with parchment paper for easy removal. If you don’t have one, a similar-sized dish or loaf pan will do.
- Microwave-safe bowl or small saucepan: To gently melt peanut butter and honey together.
- Refrigerator: For chilling the bars to firm them up.
If you’re budget-conscious, a simple glass baking dish and a butter knife to press the mixture down can work just fine. I’ve also found that silicone spatulas are the best for scraping sticky mixtures cleanly, so if you don’t own one yet, it’s a worthwhile little investment.
Preparation Method
- Line your baking pan. Start by lining an 8×8-inch (20×20 cm) pan with parchment paper, leaving some overhang on the sides for easy bar removal later. This step saves a lot of cleanup hassle.
- Melt the peanut butter and honey. In a microwave-safe bowl, combine 1 cup (240 g) of creamy peanut butter and ⅓ cup (80 ml) of honey. Heat in 20-second bursts, stirring in between, until smooth and easily pourable (about 1 minute total). Alternatively, melt gently in a small saucepan over low heat. Don’t overheat — you want it warm but not scorching.
- Add cocoa powder and vanilla. Stir in ¼ cup (25 g) of unsweetened cocoa powder and 1 tsp vanilla extract into the melted mixture. Mix thoroughly until fully combined and glossy.
- Mix dry ingredients. In your mixing bowl, combine 2 cups (180 g) rolled oats, ½ cup (90 g) mini chocolate chips, and any optional add-ins like ½ cup (60 g) chopped nuts or ¼ cup (20 g) shredded coconut. Add ¼ tsp salt to balance the flavors.
- Combine wet and dry. Pour the melted peanut butter mixture over the oat mixture. Use a spatula to fold everything together gently but thoroughly, ensuring every oat flake is coated. The texture should be sticky but manageable.
- Press mixture into pan. Transfer the mixture into your prepared pan. Use the back of a spatula or a piece of parchment paper to press down firmly and evenly. The firmer you press, the better the bars hold together.
- Chill to set. Place the pan in the refrigerator for at least 2 hours, or until the bars are firm and sliceable. If you’re in a rush, freezing for 30-45 minutes works too.
- Slice and serve. Use a sharp knife to cut into 12 even bars. For cleaner cuts, wipe the knife between slices or warm it slightly under hot water.
Watch out for overheating the peanut butter mixture; if it gets too hot, the bars can harden too much or become oily. Also, don’t skip the chilling step—this is what transforms the mix into bars instead of crumbly clusters. I learned that the hard way after one too many “snack disasters.”
Cooking Tips & Techniques
There’s some trickiness in no-bake bars that I only figured out after trial and error. First, always use natural peanut butter without added oils or sugars for the best texture and flavor. The oils in natural peanut butter help bind the bars without leaving a greasy finish.
When mixing the dry ingredients with the wet, folding gently but completely is key. Overmixing can crush the oats and change the texture, but undermixing leaves dry pockets that fall apart. I usually stop when I see every oat coated but the mixture still looks chunky.
Temperature matters: if the peanut butter and honey mix is too hot, it can melt the chocolate chips, making the bars look less appealing and changing the texture. I let the mixture cool slightly before adding cocoa powder and vanilla, which also helps with flavor balance.
Pressing the mixture evenly and firmly in the pan can’t be overstated. I use parchment paper to press down without sticking or tearing. This step is what gives the bars their signature snap instead of crumbling crumbs.
Last but not least, chill time is non-negotiable. If you slice the bars too soon, they’ll fall apart. I keep mine refrigerated or frozen if I need a quick snack later, which also intensifies the flavors.
Variations & Adaptations
One of the best parts about this easy no-bake chocolate peanut butter granola bars recipe is how flexible it is. Here are a few variations I’ve played with:
- Nut-Free Version: Swap peanut butter for sunflower seed butter and use dairy-free chocolate chips for allergy-friendly bars.
- Protein Boost: Stir in a scoop of vanilla or chocolate protein powder (about ¼ cup / 30 g) to the dry mix for an energizing snack post-workout.
- Seasonal Twist: Add dried cranberries or chopped dried apricots for a pop of tartness and chewiness that pairs well with the chocolate and peanut butter.
- Spiced Up: Sprinkle in a pinch of cinnamon or cayenne pepper for warmth and a little kick—this was a happy accident I discovered on batch two.
- Different Nut Butters: Almond butter or cashew butter can replace peanut butter for a milder, creamier flavor.
For folks who want to bake instead, you can press the mixture into a pan and bake at 350°F (175°C) for about 10-12 minutes to get a crispier edge. Just watch closely so the bars don’t dry out. I often pair these bars with the chocolate chip cookie dough protein balls for a snack lineup that covers every craving.
Serving & Storage Suggestions
These bars are best served chilled or at room temperature. They hold their shape nicely, so you can grab one straight from the fridge or pack them in your lunchbox without worrying about mess. I love wrapping individual bars in parchment paper for quick snacks on the go.
They pair beautifully with a cold glass of milk, a cup of coffee, or even a refreshing green tea. For a more substantial snack, try them alongside fresh fruit or a dollop of Greek yogurt.
Store the bars in an airtight container in the refrigerator for up to a week. For longer storage, freeze them for up to three months—just thaw for 15 minutes at room temperature before eating. The flavors actually deepen after chilling overnight, so making a batch ahead feels like a little secret reward.
Nutritional Information & Benefits
Each bar (assuming 12 bars per batch) roughly contains:
| Calories | 190 |
|---|---|
| Protein | 5 g |
| Fat | 11 g |
| Carbohydrates | 18 g |
| Fiber | 3 g |
| Sugar | 9 g |
The combination of oats and peanut butter provides fiber and protein, which helps keep you full longer. Cocoa powder adds antioxidants without a sugar overload. Using natural peanut butter avoids hydrogenated oils and excess sugars found in some commercial brands. This snack is gluten-free if you use certified oats and can be vegan by swapping honey with maple syrup.
For those mindful of allergens, peanuts are the main concern, but swapping with other nut or seed butters broadens accessibility. Personally, I appreciate how this recipe balances indulgence with wholesome ingredients, making it a guilt-free pleasure that fits with an active lifestyle.
Conclusion
This easy no-bake chocolate peanut butter granola bars recipe has honestly become one of my most reliable go-tos when a crave hits or I need a quick energy boost. It’s simple, forgiving, and surprisingly satisfying, which makes it a winner in my book. I love how you can tweak it endlessly or keep it classic and still end up with a snack that feels special.
Whether you’re new to homemade granola bars or a seasoned snack-maker, this recipe invites you to make it your own. Play with your favorite mix-ins or swap ingredients based on what’s in your pantry. It’s a small kitchen win that doesn’t overcomplicate things but still delivers on flavor and texture.
Feel free to leave a comment below sharing your favorite twists or how these bars fit into your routine. It’s always fun to hear how a little recipe like this becomes a part of someone else’s day. Here’s to snacks that actually make you smile.
Frequently Asked Questions
Can I use crunchy peanut butter instead of creamy?
Yes! Crunchy peanut butter adds extra texture and nutty bites, but the bars may hold together slightly less firmly. Press the mixture more firmly into the pan to compensate.
How long do these granola bars last?
Stored airtight in the refrigerator, they stay fresh for up to a week. You can freeze them for up to three months for longer storage.
Can I substitute the oats with gluten-free oats?
Absolutely. Just make sure to use certified gluten-free oats to keep the recipe safe for gluten sensitivities.
Is it possible to make these bars without chocolate?
Yes, simply omit the cocoa powder and chocolate chips and increase the honey or maple syrup slightly for sweetness. Adding vanilla and a pinch of cinnamon helps keep the flavor interesting.
Can I add protein powder to these bars?
Definitely! Adding about ¼ cup (30 g) of your favorite protein powder to the dry ingredients boosts the protein content and makes the bars more filling.
Pin This Recipe!
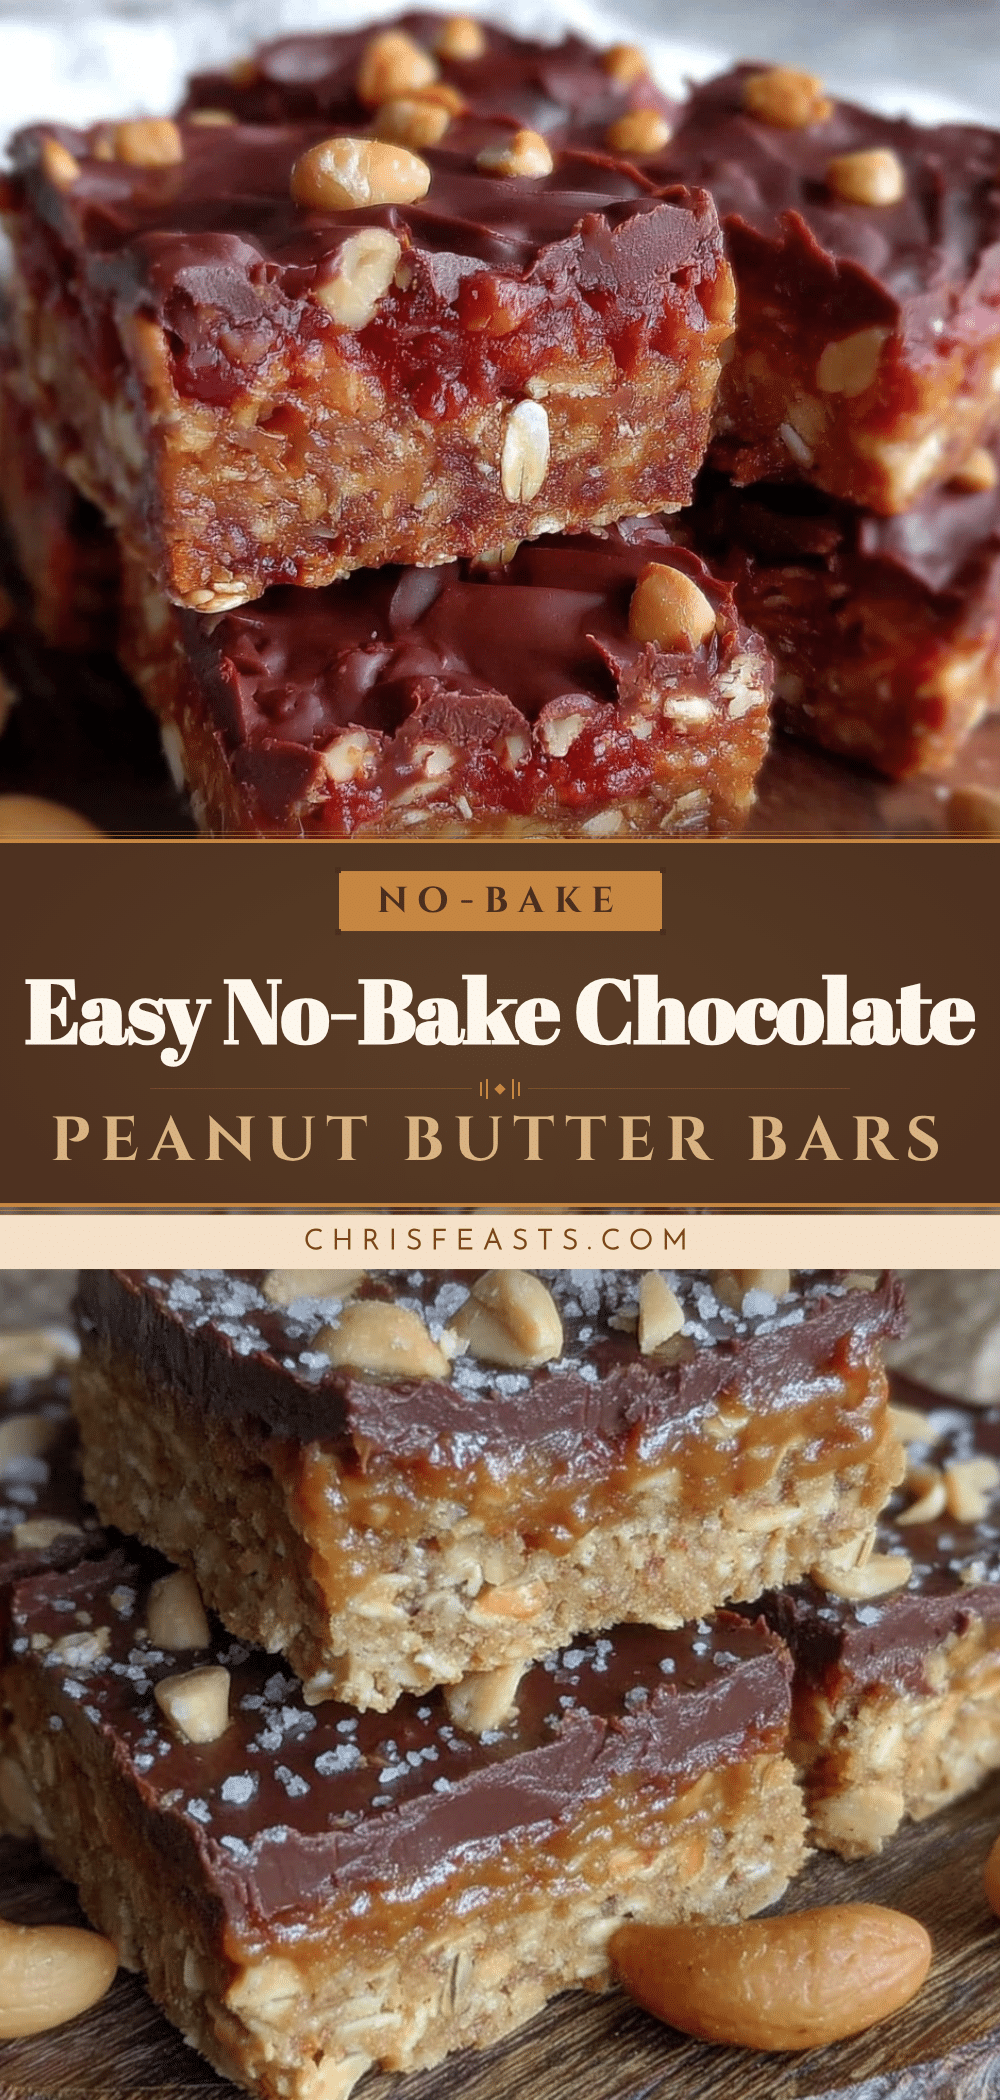
Easy No-Bake Chocolate Peanut Butter Granola Bars
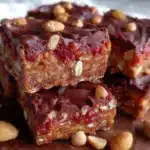
These easy no-bake chocolate peanut butter granola bars are a quick, delicious snack combining creamy peanut butter and rich chocolate with a chewy oat base. Perfect for on-the-go snacking without any oven time.
- Prep Time: 10 minutes
- Cook Time: 0 minutes
- Total Time: 2 hours 10 minutes
- Yield: 12 bars 1x
- Category: Snack
- Cuisine: American
Ingredients
- 2 cups (180 g) rolled oats (old-fashioned)
- 1 cup (240 g) natural creamy peanut butter
- ⅓ cup (80 ml) honey or maple syrup
- ¼ cup (25 g) unsweetened cocoa powder
- ½ cup (90 g) mini chocolate chips
- 1 tsp vanilla extract
- ¼ tsp salt
- Optional: ½ cup (60 g) chopped nuts (almonds, walnuts, or peanuts)
- Optional: ¼ cup (20 g) shredded coconut
Instructions
- Line an 8×8-inch (20×20 cm) baking pan with parchment paper, leaving overhang for easy removal.
- In a microwave-safe bowl, combine peanut butter and honey. Heat in 20-second bursts, stirring until smooth and pourable (about 1 minute total). Alternatively, melt gently in a small saucepan over low heat.
- Stir in cocoa powder and vanilla extract into the melted mixture until fully combined and glossy.
- In a mixing bowl, combine rolled oats, mini chocolate chips, optional chopped nuts or shredded coconut, and salt.
- Pour the melted peanut butter mixture over the oat mixture and fold gently but thoroughly until every oat flake is coated and the texture is sticky but manageable.
- Transfer the mixture into the prepared pan and press down firmly and evenly using the back of a spatula or parchment paper.
- Chill in the refrigerator for at least 2 hours until firm and sliceable. Alternatively, freeze for 30-45 minutes if in a rush.
- Slice into 12 even bars using a sharp knife. For cleaner cuts, wipe the knife between slices or warm it under hot water.
Notes
Use natural peanut butter without added oils or sugars for best texture and flavor. Avoid overheating the peanut butter and honey mixture to prevent oily or hard bars. Press the mixture firmly and chill thoroughly to ensure bars hold together well. For vegan version, substitute honey with maple syrup or agave nectar. Gluten-free oats should be certified gluten-free. Optional add-ins like nuts or shredded coconut add texture and flavor. Protein powder can be added to boost protein content.
Nutrition
- Serving Size: 1 bar
- Calories: 190
- Sugar: 9
- Fat: 11
- Carbohydrates: 18
- Fiber: 3
- Protein: 5
Keywords: no-bake, granola bars, peanut butter, chocolate, easy snack, healthy snack, quick snack, gluten-free option, vegan option