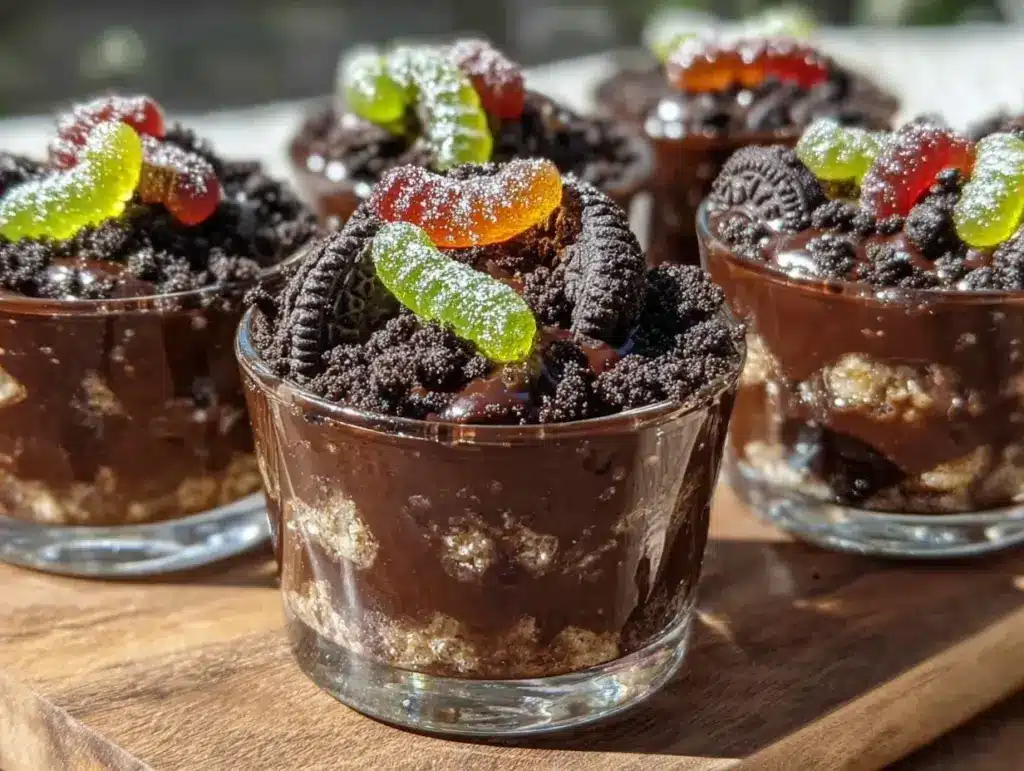
Crumbly, dark, and oddly inviting — that’s the whole point of these Graveyard Dirt Pudding Cups. The way the crushed chocolate cookies scatter like fresh soil, uneven and rich, is exactly why I made this recipe. You don’t just eat these cups; you touch them first, feel that gritty contrast between the creamy pudding and the crunchy “dirt.” Honestly, it’s the texture obsession that hooked me to this dessert long before the spooky decorations came into play.
There’s something mesmerizing about breaking through that crumbled cookie layer with your spoon, uncovering the silky chocolate pudding hiding underneath — it’s like unearthing a secret graveyard. I remember the first time I made these for a Halloween party, standing back as kids poked gummy worms into their cups, giggling with that mix of delight and mock horror. The visual texture combined with the playful theme made the recipe stick around in my rotation.
It’s not just about the creepy factor, though. The balance between crunchy and smooth, dark and sweet, is oddly comforting. It’s the kind of treat that sneaks up on you, making you pause for a moment — and that’s why I keep coming back to this recipe. It’s a quiet reminder that desserts can be fun, tactile, and surprisingly satisfying without overcomplicating things.
Why You’ll Love This Recipe
Having tested this recipe multiple times, I can say it’s a winner for anyone who loves easy, playful desserts with that special textural punch. Here’s why these Graveyard Dirt Pudding Cups stand out:
- Quick & Easy: Ready in under 20 minutes, making it perfect for last-minute Halloween plans or anytime you want a spooky treat without fuss.
- Simple Ingredients: Mostly pantry staples — no hunting for weird candy or specialty items. You probably have all the essentials already.
- Perfect for Halloween Parties: The creepy theme is a crowd-pleaser for kids and adults alike, adding fun to any spooky gathering.
- Crowd-Pleaser: Everyone loves the combo of creamy pudding and crunchy cookie “dirt.” The gummy worms on top are just the cherry on the grave.
- Unbelievably Delicious: The rich chocolate pudding isn’t too sweet, with the cookie crumbs adding just enough bite. It’s comfort food with a mischievous twist.
What makes this recipe different? I blend real cocoa powder with instant pudding mix to deepen the chocolate flavor, and I crush the cookies by hand for that uneven, realistic dirt texture. Plus, layering gummy worms and candy tombstones (optional) makes it more than a dessert — it’s an experience. Honestly, it’s the kind of recipe that makes you pause, savor, and maybe even smile a little at your own creativity.
It’s not just a Halloween gimmick; it’s a treat that sticks around for family movie nights or a playful weekend dessert. You can even tweak it for less sugar or different flavors, which I’ll share later. But for now, let’s get dirty.
What Ingredients You Will Need
This recipe uses simple, wholesome ingredients to deliver bold flavor and satisfying texture without the fuss. Most are pantry staples, and substitutions are easy if needed.
- For the pudding:
- Instant chocolate pudding mix (1 package, about 3.9 oz / 110 g) – I prefer Jell-O for its smooth texture
- Milk, cold (2 cups / 480 ml) – whole milk for creaminess or almond milk for dairy-free
- For the dirt topping:
- Chocolate sandwich cookies (crushed, about 20 cookies) – classic Oreo or store brand works fine; crush by hand for texture
- For decoration:
- Gummy worms (about 1 cup / 150 g) – the more colorful, the better
- Mini candy tombstones or candy eyes (optional) – adds a little spooky flair
- Optional mix-ins or twists:
- Chocolate chips or mini marshmallows (for extra texture)
- Vanilla or mint extract (1 tsp) – to personalize the pudding flavor
When selecting cookies, look for ones with a good balance of crunch and cream filling. I recommend leaving the cream in if you like the extra richness, but you can scrape it off for a more intense chocolate “dirt” vibe. For a gluten-free option, crushed gluten-free chocolate cookies work well, too.
Equipment Needed
- Mixing bowls (medium and large) – I prefer glass or ceramic for easy cleanup
- Whisk or electric mixer – to get that pudding silky smooth without lumps
- Food processor or rolling pin – for crushing the cookies; crushing by hand with a zip-top bag works if you don’t have these
- Measuring cups and spoons – precise measurements make a difference here
- Individual serving cups or small jars – clear cups show off the layers beautifully; I use 8 oz (240 ml) clear plastic cups
- Spoons – for layering and serving
I’ve tried crushing cookies in a blender, but it pulverizes too finely, losing that crumbly dirt texture, so a food processor or hand-crushing is best. For a budget-friendly option, just place the cookies in a sealed plastic bag and crush with a rolling pin or even a heavy pan. It’s messy but worth it.
Preparation Method
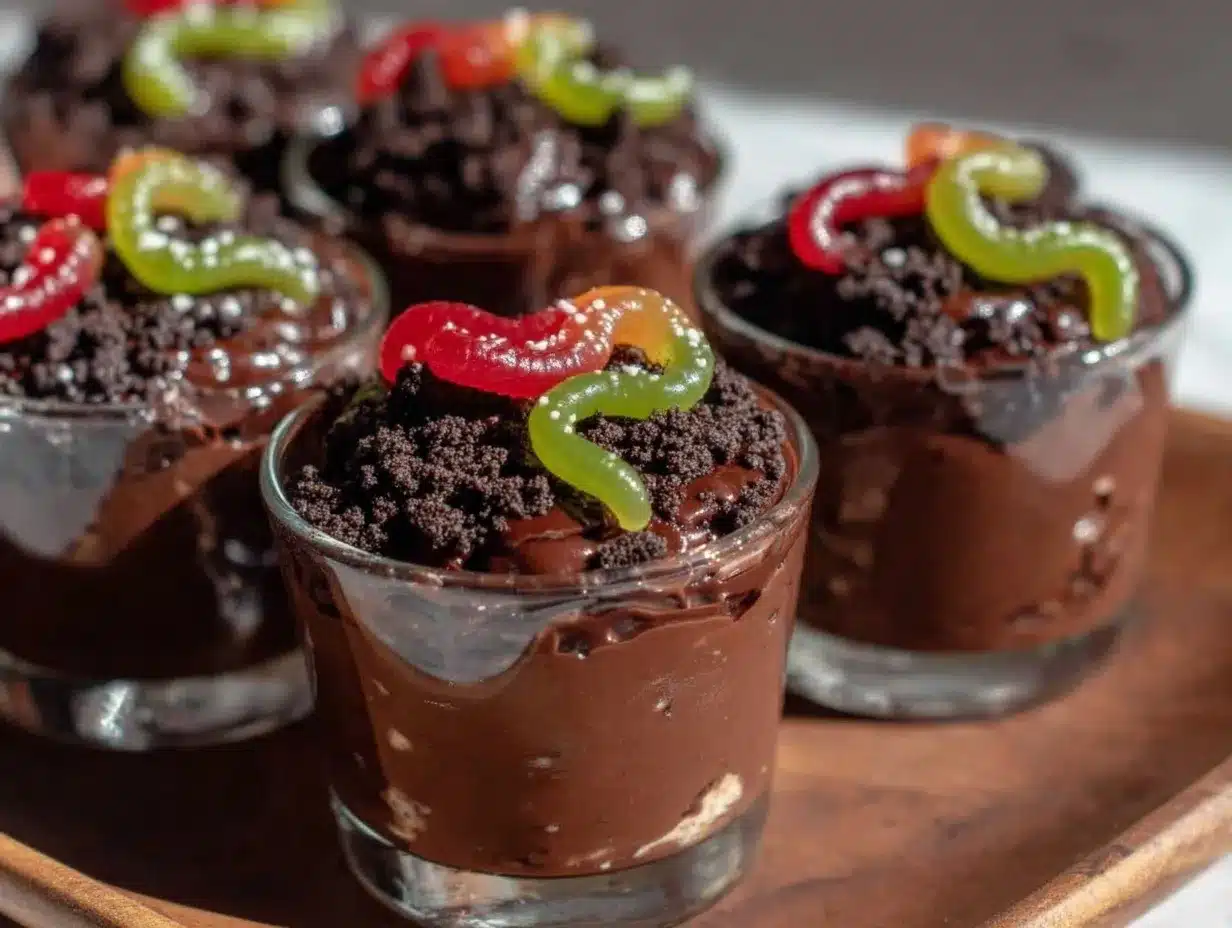
- Prepare the pudding: In a large bowl, whisk together the instant chocolate pudding mix and cold milk (2 cups / 480 ml). Whisk vigorously for about 2 minutes until the mixture thickens and is smooth. If you want, add 1 tsp of vanilla or mint extract here for an extra flavor kick. Set aside for 5 minutes to let it fully set.
- Crush the cookies: Place the chocolate sandwich cookies in a zip-top bag and crush with a rolling pin until you have uneven crumbs with some small chunks. Avoid pulverizing into powder — you want that gritty, soil-like texture. Reserve about 1/4 cup (30 g) of crumbs for topping.
- Assemble the cups: Spoon a layer of pudding into the bottom of each serving cup (about 1/3 cup or 80 ml). Add a generous layer of crushed cookies on top (about 2 tablespoons). Alternate layers ending with a cookie crumb topping. This layering creates the illusion of dirt and soil layers in a graveyard.
- Add the creepy decorations: Place gummy worms poking out from the “dirt” layers. If you have mini candy tombstones or candy eyes, add those on top for extra spooky fun. You can also tuck gummy worms inside the layers for a surprise.
- Chill and serve: Refrigerate the pudding cups for at least 30 minutes before serving. This chilling helps the flavors meld and the pudding firm up for cleaner spoonfuls. Serve cold and watch the reactions!
Pro tip: If your pudding seems too thin after resting, give it a quick stir and let it chill a bit longer. The cookie crumbs will keep their crunch if you add them just before serving. I’ve learned the hard way that adding crumbs too early can lead to sogginess, and nobody wants that with a dirt pudding cup.
Cooking Tips & Techniques
Making Graveyard Dirt Pudding Cups is playful, but a few key tips make all the difference between “meh” and “wow.”
- Don’t rush pudding setting: Let the pudding rest a full 5 minutes to thicken. Instant pudding sometimes looks set but is still runny underneath.
- Crushing cookies by hand: Use a zip-top bag and a rolling pin for uneven crumbs. This adds realistic texture and visual appeal. Avoid over-processing in a blender.
- Layer with care: Use a spoon to gently layer pudding and crumbs to keep layers distinct. This keeps the “graveyard” effect sharp and fun.
- Toppings timing: Add gummy worms and candy decorations just before serving to keep them fresh and less sticky.
- Multitasking: While pudding sets, crush cookies and set up your decorations. It makes assembly super quick.
- Watch sweetness: If you prefer less sweet, try half the sugar in the pudding mix or add unsweetened cocoa powder for depth.
I’ve had batches where I crushed cookies too fine or mixed everything too quickly, and the result was more mud than dirt — not the vibe you want. Patience and careful layering are key, and honestly, it’s a fun recipe to involve kids with because they love the hands-on texture play.
Variations & Adaptations
Feel free to customize these Graveyard Dirt Pudding Cups to your taste or dietary needs:
- Flavor swaps: Use vanilla or butterscotch instant pudding instead of chocolate for a lighter graveyard look.
- Dairy-free version: Use coconut milk or almond milk with a compatible dairy-free pudding mix and gluten-free cookies.
- Seasonal themes: Swap gummy worms for candy pumpkins or candy bones around Halloween or for a more general “dirt” look year-round.
- Adult twist: Add a splash of coffee or chocolate liqueur to the pudding for a grown-up kick.
- Personal touch: I once added crushed peppermint candies for a minty surprise that balanced the chocolate — unexpected but delicious!
For a less sweet and more textured dessert, try mixing crushed nuts or granola into the cookie crumbs. Just avoid sogginess by adding these right before serving. You can also serve these in mini jars for party favors or as part of a spooky dessert table alongside something hearty like the honey mustard glazed chicken thighs for a complete meal with a fun finish.
Serving & Storage Suggestions
These pudding cups are best served chilled, straight from the fridge. The cool temperature keeps the pudding firm and the cookie crumbs crunchy — you don’t want your “dirt” turning into mud!
For presentation, clear cups work great to show off the layered effect. Garnish with extra gummy worms or candy tombstones for the full graveyard look. They pair well with light, fruity drinks or sparkling sodas to balance the richness.
Store leftovers covered tightly in the refrigerator for up to 3 days. Avoid freezing as the texture of pudding changes and cookie crumbs get soggy. When reheating is necessary, let the cups sit at room temperature for 10 minutes to soften slightly, but honestly, these are best cold.
Flavors meld beautifully after a few hours, making them even more delightful if you prepare them in advance. Just add gummy worms right before serving so they stay fresh and chewy.
Nutritional Information & Benefits
Each serving of Graveyard Dirt Pudding Cups contains about 250-300 calories, depending on portion size and toppings. The pudding provides calcium and some protein from the milk, while the cookies add indulgent chocolate flavor.
For those watching sugar intake, you can reduce sugar by choosing low-sugar pudding mixes or swapping in unsweetened cocoa powder and adjusting sweeteners. Using almond or coconut milk makes it dairy-free and suitable for lactose intolerance.
While this is definitely a treat, the portion control makes it easy to enjoy without overdoing it. Plus, it’s a fun way to get kids interested in homemade desserts instead of processed candy.
Conclusion
This Graveyard Dirt Pudding Cups recipe is a must-have for anyone who loves playful desserts that combine texture, flavor, and a little bit of spooky fun. It’s simple enough to whip up on a whim but special enough to impress at parties or family nights.
I love this recipe because it’s tactile and interactive — a dessert you get to poke, prod, and discover. It’s a reminder that food can be both comforting and a little mischievous at the same time. I’d love to hear how you customize it or what decorations you add to make your own haunted graveyard.
Don’t hesitate to experiment, and if you try it, share your thoughts or photos — there’s always room for more dirt in the kitchen!
FAQs
What kind of cookies work best for the dirt topping?
Chocolate sandwich cookies like Oreos are ideal because they have a crunchy texture and dark color perfect for “dirt.” You can leave the cream filling or scrape it off, depending on your preference.
Can I make these pudding cups ahead of time?
Yes! Prepare the pudding and crumbs in advance, assemble the cups, and refrigerate for up to 3 days. Add gummy worms and decorations just before serving for the best texture.
How do I make this recipe dairy-free?
Use a dairy-free pudding mix and substitute regular milk with almond, coconut, or oat milk. Also, check that your cookies are dairy-free or use suitable gluten-free/dairy-free alternatives.
Can I use homemade pudding instead of instant mix?
Absolutely! Homemade chocolate pudding works well, though the setting time may be longer. Just make sure it’s thick enough to hold layers without mixing with the cookie crumbs.
Any tips for making the gummy worms look more realistic?
Try partially burying gummy worms in the cookie crumbs with just the head or tail sticking out. You can also bend them slightly to mimic movement for a creepier effect.
Pin This Recipe!
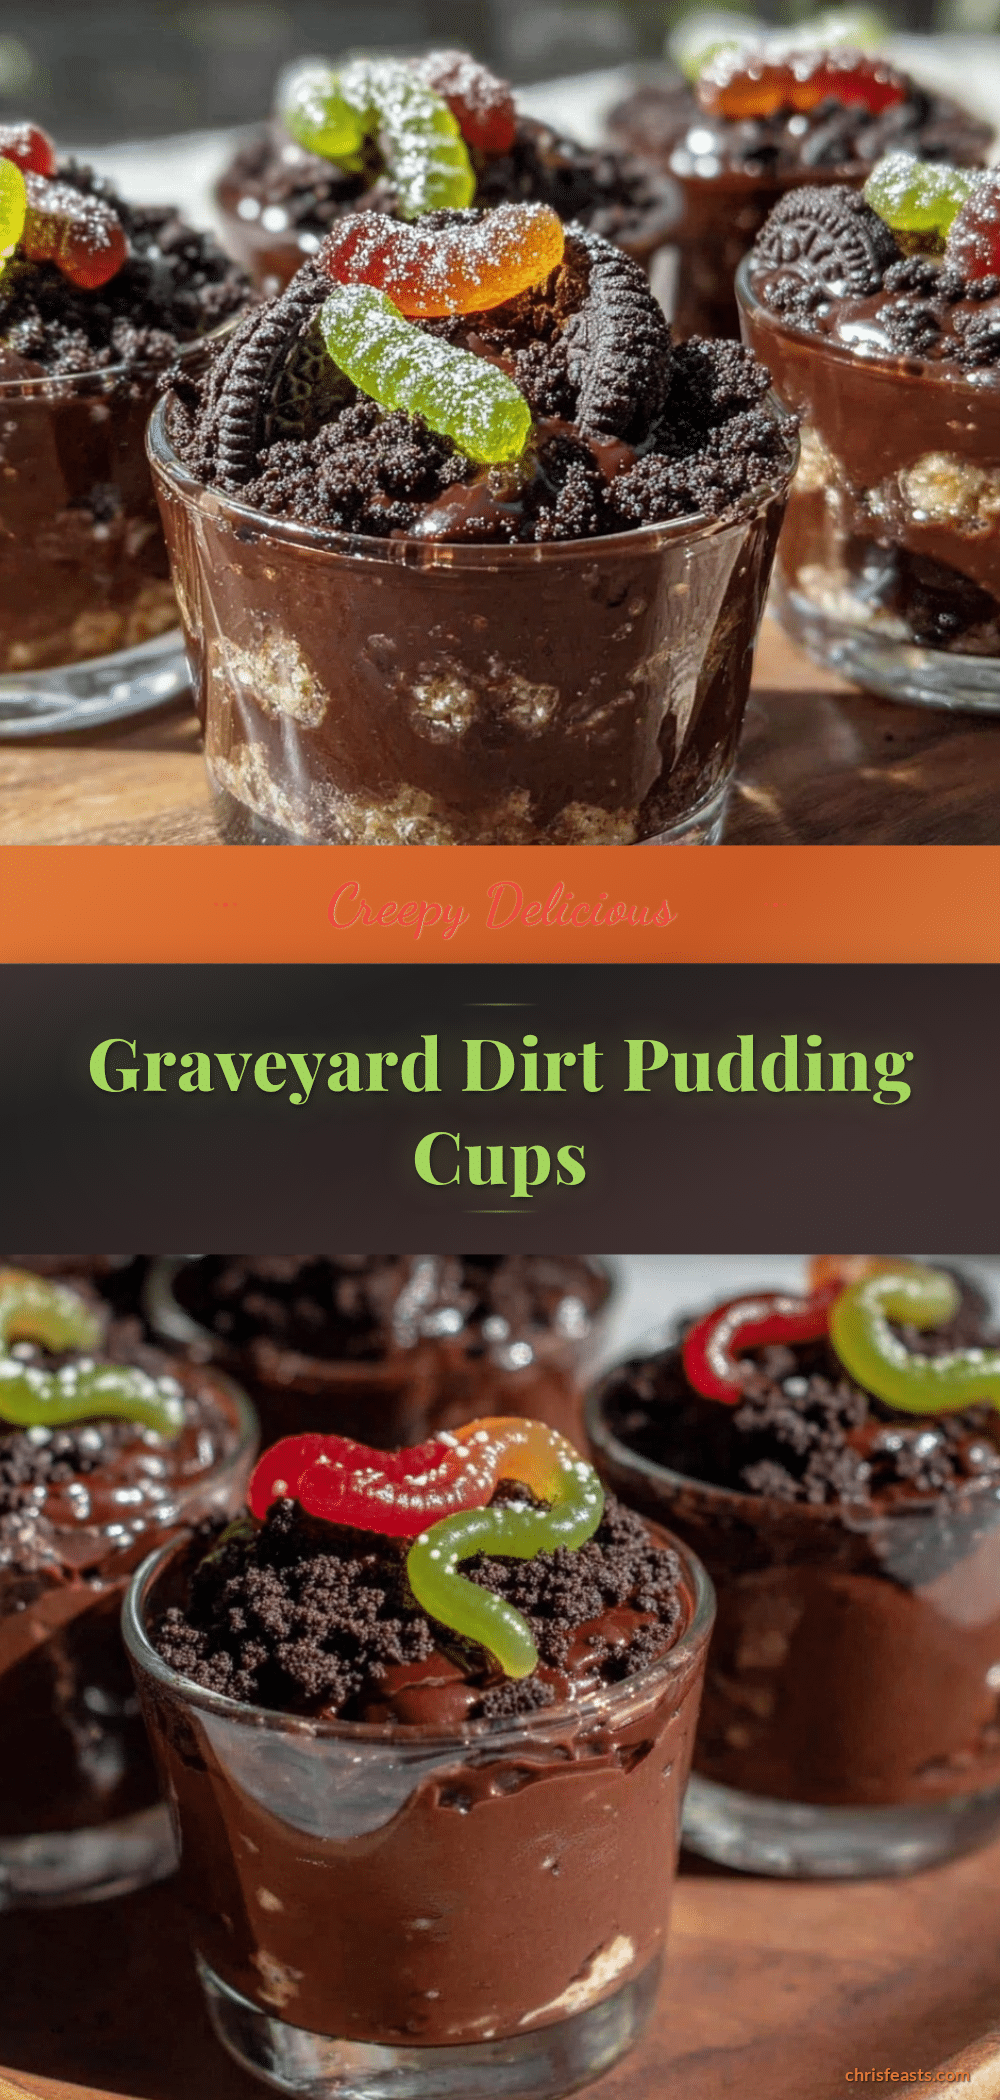
Graveyard Dirt Pudding Cups
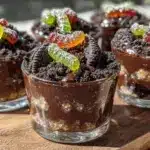
A playful and creepy dessert featuring layers of creamy chocolate pudding and crunchy crushed chocolate cookies, topped with gummy worms and optional candy decorations. Perfect for Halloween parties or fun family treats.
- Prep Time: 10 minutes
- Cook Time: 0 minutes
- Total Time: 40 minutes
- Yield: 8 servings 1x
- Category: Dessert
- Cuisine: American
Ingredients
- 1 package instant chocolate pudding mix (about 3.9 oz / 110 g)
- 2 cups cold milk (whole milk or almond milk for dairy-free)
- About 20 chocolate sandwich cookies (crushed, e.g., Oreos)
- 1 cup gummy worms (about 150 g)
- Mini candy tombstones or candy eyes (optional)
- Optional: chocolate chips or mini marshmallows
- Optional: 1 tsp vanilla or mint extract
Instructions
- In a large bowl, whisk together the instant chocolate pudding mix and cold milk. Whisk vigorously for about 2 minutes until thick and smooth. Add vanilla or mint extract if desired. Set aside for 5 minutes to fully set.
- Place the chocolate sandwich cookies in a zip-top bag and crush with a rolling pin until you have uneven crumbs with some small chunks. Reserve about 1/4 cup (30 g) of crumbs for topping.
- Spoon a layer of pudding (about 1/3 cup or 80 ml) into the bottom of each serving cup. Add a generous layer of crushed cookies (about 2 tablespoons). Alternate layers ending with cookie crumb topping to create a dirt effect.
- Place gummy worms poking out from the cookie layers. Add mini candy tombstones or candy eyes on top if using. You can also tuck gummy worms inside the layers for surprise.
- Refrigerate the pudding cups for at least 30 minutes before serving to let flavors meld and pudding firm up. Serve cold.
Notes
Add cookie crumbs just before serving to keep them crunchy. Let pudding set fully for best texture. Crushing cookies by hand or with a rolling pin preserves the gritty dirt texture better than a blender. For dairy-free, use almond or coconut milk and dairy-free pudding mix. Store leftovers covered in refrigerator up to 3 days; avoid freezing.
Nutrition
- Serving Size: 1 pudding cup (about
- Calories: 275
- Sugar: 30
- Sodium: 180
- Fat: 10
- Saturated Fat: 4
- Carbohydrates: 42
- Fiber: 2
- Protein: 4
Keywords: Halloween dessert, pudding cups, chocolate pudding, crushed cookies, gummy worms, spooky treats, easy dessert