Honestly, I thought making pickles at home sounded like a mistake until I found myself staring at a jar of soggy, bland cucumbers my aunt had made once. The idea of quick refrigerator dill pickles being crispy and flavorful felt like wishful thinking—surely, real pickles need time, salt, and patience, right? But after a particularly disappointing batch of store-bought dills that tasted like vinegar and sadness, I decided to give this easy crispy quick refrigerator dill pickles recipe a real shot.
What surprised me wasn’t just the crunch that held up after days in the fridge but the way the flavors actually came alive. The dill was fresh but not overpowering, the garlic added a punch while the brine balanced tartness with a subtle sweetness. It was like a little crunchy miracle happening in my fridge, ready to brighten sandwiches, salads, or just snack time without fuss.
This recipe stuck with me, not because it’s fancy or complicated, but because it’s honest and reliable. And you know, when you’ve been burned by soggy pickles one too many times, finding something that truly delivers that satisfying snap and zing feels like winning a small but meaningful battle in the kitchen. That quiet realization—that homemade pickles can be quick, crisp, and totally snack-worthy—made me a convert for life.
Why You’ll Love This Recipe
- Quick & Easy: This recipe takes less than 15 minutes of active prep, and you can have pickles ready to enjoy in just 24 hours. Perfect for busy days or last-minute cravings.
- Simple Ingredients: No need for fancy or hard-to-find items. Most ingredients are pantry staples or fresh herbs you can grab easily.
- Perfect for Snacking & More: These pickles make a fantastic crunchy snack, a zesty sandwich topper, or an unexpected side for dishes like the savory sausage and peppers skillet.
- Crowd-Pleaser: Kids and adults alike love the crisp texture and balanced tang. I’ve brought these to family gatherings where they disappeared fast.
- Unbelievably Delicious: The brine is perfectly seasoned, not too sour or salty, with a fresh dill kick that makes every bite pop.
- What Makes This Recipe Different: The trick is soaking the cucumber slices in an ice water bath before pickling to lock in crispness, plus a dash of mustard seeds for subtle warmth. It’s not just your average quick pickle—it’s the best version I’ve found after trying many.
- Emotionally Satisfying: There’s something deeply comforting about grabbing a cold, crunchy dill pickle straight from your own fridge. It feels like a small pleasure that brightens the day.
What Ingredients You Will Need
This recipe uses simple, wholesome ingredients to deliver bold flavor and satisfying crunch without fuss. Most items are pantry staples, and you can easily swap a few if needed.
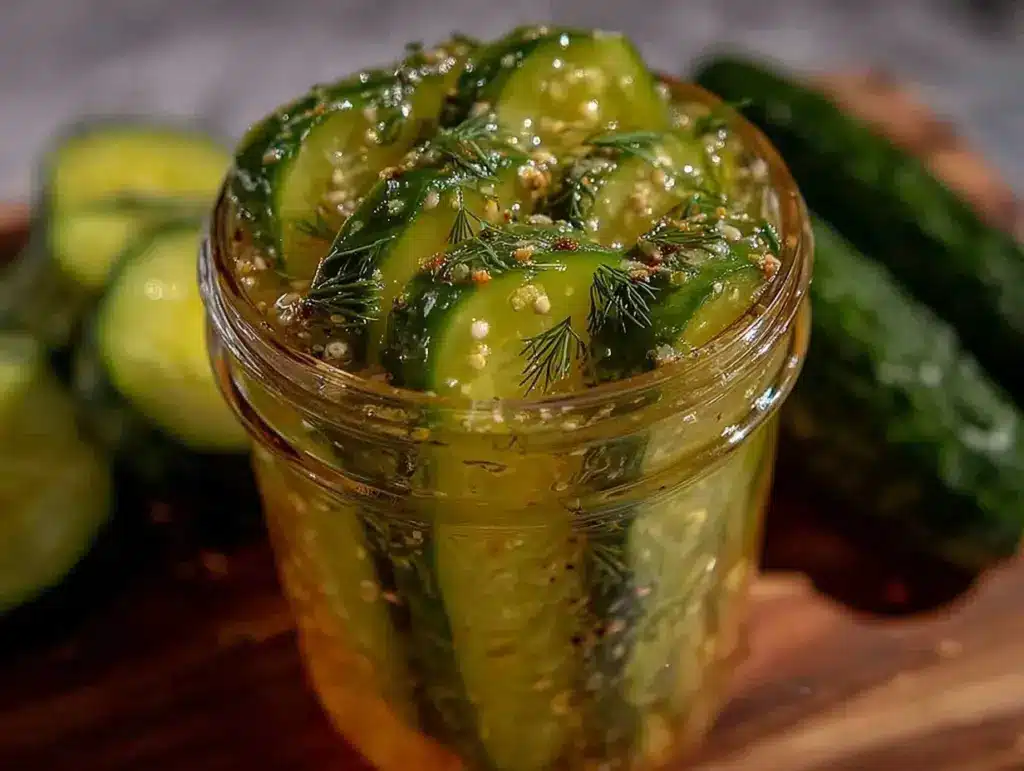
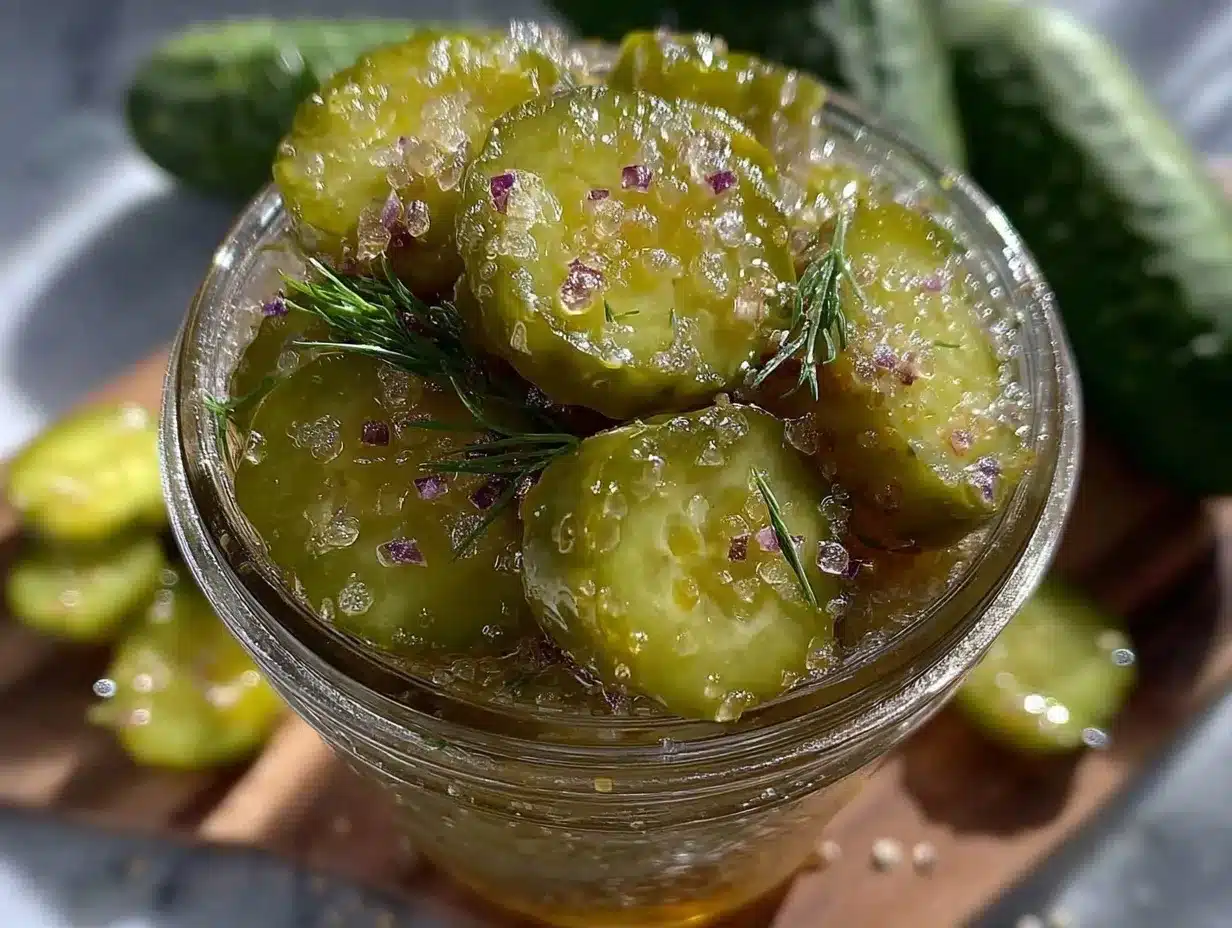
- Kirby cucumbers or small pickling cucumbers, sliced into ¼-inch thick rounds (Kirbys are best for crunch)
- Fresh dill sprigs (about 4-5 sprigs) – the star herb for authentic dill flavor
- Garlic cloves, peeled and lightly smashed (3-4 cloves) – adds punch and aroma
- White vinegar (1 cup / 240 ml) – sharp and clean acidity
- Water (1 cup / 240 ml) – balances the vinegar
- Pickling salt (1 tablespoon) – helps maintain crispness and flavor (kosher salt works too but avoid iodized table salt)
- Granulated sugar (1 teaspoon) – just enough to mellow the acidity
- Mustard seeds (1 teaspoon) – gives a mild, warm spiciness
- Black peppercorns (½ teaspoon) – adds subtle heat and complexity
- Red pepper flakes (optional, ¼ teaspoon) – for a little kick if you like heat
- Ice cubes – for soaking cucumbers to keep them crisp before pickling
Pro tip: I usually pick up pickling salt from trusted brands like Diamond Crystal for consistent results. If fresh dill isn’t available, dill seeds can substitute but the flavor will be less vibrant. And if you want to try a low-sodium version, reduce the salt but expect a slight texture change.
Equipment Needed
- One large mixing bowl – for soaking the cucumber slices in ice water
- Measuring cups and spoons – precise measurements matter for balanced brine
- A sharp knife and cutting board – clean, even slices help with uniform pickling
- Quart-sized glass jar with lid or airtight container – glass is best to avoid any metallic taste
- Small saucepan – for warming the brine ingredients (optional, but helps dissolve salt and sugar faster)
- Colander or strainer – to drain cucumbers after soaking
If you don’t have a glass jar, a BPA-free plastic container with a tight lid works fine, but glass preserves flavor best. I keep a few quart mason jars on hand specifically for quick pickling projects like this one. And honestly, no fancy equipment needed here—just everyday kitchen basics.
Preparation Method
- Slice the cucumbers: Using a sharp knife, cut 4-5 Kirby cucumbers into ¼-inch thick rounds. Aim for uniform slices so they pickle evenly. This should take about 5 minutes.
- Soak cucumbers in ice water: Place the cucumber slices in a large mixing bowl filled with cold water and plenty of ice cubes. Let them soak for 30 minutes. This step is key to locking in that coveted crispness.
- Prepare the brine: In a small saucepan, combine 1 cup (240 ml) white vinegar, 1 cup (240 ml) water, 1 tablespoon pickling salt, and 1 teaspoon granulated sugar. Warm over low heat, stirring occasionally, just until salt and sugar dissolve (about 3-4 minutes). No need to boil. Remove from heat and let cool slightly.
- Add aromatics and spices: Into your clean quart-sized jar, add 4-5 fresh dill sprigs, 3-4 lightly smashed garlic cloves, 1 teaspoon mustard seeds, ½ teaspoon black peppercorns, and optional ¼ teaspoon red pepper flakes for a gentle heat.
- Drain the cucumbers: After soaking, drain the cucumber slices well in a colander and pat dry with a clean kitchen towel or paper towels to remove excess moisture.
- Pack cucumbers into the jar: Layer the cucumber slices tightly into the jar, pressing down gently to fit as many as possible without crushing.
- Pour the brine: Pour the warm brine over the cucumbers and spices, making sure everything is submerged. Leave about ½ inch (1.3 cm) of headspace at the top.
- Seal and refrigerate: Close the jar with a tight-fitting lid and place it in the refrigerator. Let the pickles marinate for at least 24 hours before tasting. They get more flavorful if you wait 2-3 days.
Note: If your pickles float above the brine, press them down with a clean utensil or add a small clean weight to keep them submerged. This prevents spoilage and keeps the flavor consistent.
Cooking Tips & Techniques
One thing I learned the hard way is that skipping the ice water soak leads to soft, sad pickles. That step is non-negotiable if you want that satisfying crunch. Also, don’t rush the pickling time—24 hours minimum is a must, but I swear by waiting a full 48 hours for the best texture and flavor depth.
When slicing cucumbers, a sharp knife is your friend. Dull blades bruise the flesh, inviting mushiness. And packing the jar firmly helps keep the slices submerged and evenly pickled. I usually use a spoon or tamper to gently press them in.
Warming the brine is optional, but it helps dissolve salt and sugar quickly, which means a more even flavor throughout. Just don’t boil it; too hot a brine can cook the cucumbers slightly, changing the texture.
If you want to get fancy, adding a few peppercorns or a tiny bit of fresh horseradish root gives a subtle kick. I tried this once with a creamy Tuscan chicken dish, and the pickles cut through the richness beautifully.
Variations & Adaptations
- Spicy Dill Pickles: Add extra red pepper flakes or a small sliced jalapeño to the jar for heat lovers.
- Garlic Lover’s Pickles: Double the garlic cloves or add garlic powder to the brine for an intense garlicky punch.
- Low-Sodium Version: Use less pickling salt or swap with a salt substitute, but expect a slightly softer texture.
- Herb Twist: Try fresh thyme or tarragon instead of dill for a unique flavor profile.
- Quick Spear Pickles: Slice cucumbers lengthwise into spears instead of rounds; they work just as well for sandwiches or snacking.
One variation I love is adding a splash of apple cider vinegar instead of white vinegar for a fruitier tang. I served those with honey mustard glazed chicken thighs and it was a hit.
Serving & Storage Suggestions
Serve these pickles chilled straight from the fridge for maximum crunch and zest. They make an excellent side to rich dishes, like the creamy ground beef stroganoff, cutting through the heaviness with bright acidity.
Store pickles in their brine in a sealed glass jar in the refrigerator. They keep well for up to 3 weeks, though honestly, they rarely last that long at my house! The flavors deepen over time, so if you can wait, you’ll be rewarded with even more complexity.
When reheating meals that include these pickles as sides, keep them separate until serving to maintain their crisp texture. If you want to refresh their crunch after storage, briefly soak the slices again in ice water for 10 minutes before draining and serving.
Nutritional Information & Benefits
These easy crispy quick refrigerator dill pickles are low in calories—about 5-10 calories per slice—and naturally gluten-free, making them a great snack for many diets. The vinegar and dill provide some antioxidants, and the cucumbers add hydration and fiber.
Be mindful of sodium content due to the pickling salt; if you’re watching salt intake, adapt accordingly. These pickles are a guilt-free way to add flavor and crunch to meals without added fats or sugars.
From a wellness perspective, I appreciate how they encourage snacking on veggies in a way that feels indulgent but stays healthy. Honestly, they’re a small change that can make a big difference in eating habits.
Conclusion
This easy crispy quick refrigerator dill pickles recipe is proof that homemade pickles don’t have to be complicated or time-consuming to be delicious. It’s a recipe that stuck with me because it’s straightforward, reliable, and genuinely tasty.
Feel free to tweak the spices or add your own twist—this recipe is a great foundation. I love how these pickles bring a satisfying crunch and bright flavor to everything from sandwiches to snacks, and they’ve become a staple in my kitchen.
Give this recipe a try and let me know how you customize your pickles or pair them with your favorite meals. There’s something so rewarding about eating a snack you made yourself, especially when it snaps with that perfect dill bite.
Enjoy your pickling adventure!
FAQs
How long do quick refrigerator dill pickles last in the fridge?
They typically last up to 3 weeks when stored in an airtight jar submerged in brine. Always check for off smells or mold before eating.
Can I use regular cucumbers instead of Kirby cucumbers?
You can, but Kirby cucumbers are firmer and better for pickling. Regular slicing cucumbers might get soggy faster.
Do I have to cook the brine?
Warming the brine helps dissolve salt and sugar but boiling isn’t necessary. You can also mix the brine cold and stir until dissolved.
Why are my pickles not crunchy?
Skipping the ice water soak, using too much salt, or packing the jar loosely can cause soft pickles. Make sure cucumbers are fresh and stay submerged in brine.
Can I make these pickles without vinegar?
Vinegar is essential for pickling and food safety in this recipe. For vinegar-free options, you’d need a fermentation process, which takes longer and is a different technique.
Pin This Recipe!
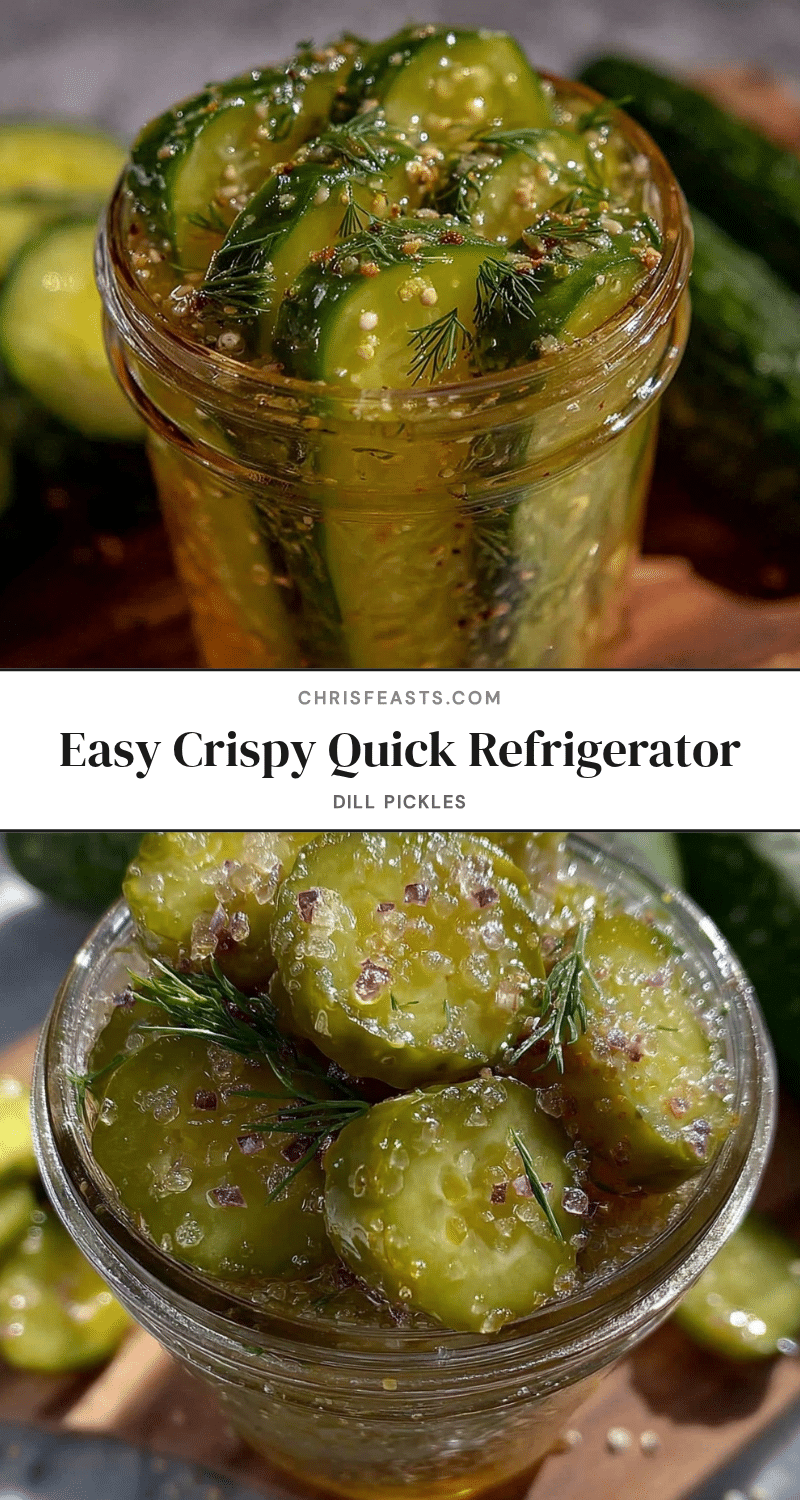
Easy Crispy Quick Refrigerator Dill Pickles Recipe for Perfect Homemade Snacks

A quick and easy recipe for homemade refrigerator dill pickles that are crispy, flavorful, and ready to enjoy in just 24 hours. Perfect for snacking, sandwiches, or as a zesty side.
- Prep Time: 15 minutes
- Cook Time: 5 minutes
- Total Time: 24 hours 20 minutes
- Yield: 4 servings 1x
- Category: Snack
- Cuisine: American
Ingredients
- 4–5 Kirby cucumbers or small pickling cucumbers, sliced into ¼-inch thick rounds
- 4–5 fresh dill sprigs
- 3–4 garlic cloves, peeled and lightly smashed
- 1 cup (240 ml) white vinegar
- 1 cup (240 ml) water
- 1 tablespoon pickling salt (kosher salt works too, avoid iodized table salt)
- 1 teaspoon granulated sugar
- 1 teaspoon mustard seeds
- ½ teaspoon black peppercorns
- ¼ teaspoon red pepper flakes (optional)
- Ice cubes (for soaking cucumbers)
Instructions
- Slice the cucumbers into ¼-inch thick rounds using a sharp knife.
- Place the cucumber slices in a large mixing bowl filled with cold water and plenty of ice cubes. Soak for 30 minutes to lock in crispness.
- In a small saucepan, combine white vinegar, water, pickling salt, and granulated sugar. Warm over low heat, stirring occasionally until salt and sugar dissolve (about 3-4 minutes). Remove from heat and let cool slightly.
- In a clean quart-sized glass jar, add fresh dill sprigs, smashed garlic cloves, mustard seeds, black peppercorns, and optional red pepper flakes.
- Drain the cucumber slices well in a colander and pat dry with a clean kitchen towel or paper towels.
- Pack the cucumber slices tightly into the jar, pressing down gently to fit as many as possible without crushing.
- Pour the warm brine over the cucumbers and spices, ensuring everything is submerged. Leave about ½ inch of headspace at the top.
- Seal the jar with a tight-fitting lid and refrigerate. Let the pickles marinate for at least 24 hours before tasting; for best flavor and texture, wait 2-3 days.
- If pickles float above the brine, press them down with a clean utensil or add a small clean weight to keep them submerged.
Notes
Soaking cucumbers in ice water before pickling is essential for crispness. Warming the brine helps dissolve salt and sugar but do not boil. Keep pickles submerged in brine to prevent spoilage. For best flavor, wait 2-3 days before eating. Variations include adding jalapeño for spice or doubling garlic for more punch.
Nutrition
- Serving Size: About 1/4 of the jar
- Calories: 10
- Sugar: 1
- Sodium: 400
- Carbohydrates: 2
- Fiber: 0.5
Keywords: quick pickles, refrigerator pickles, dill pickles, crispy pickles, homemade pickles, easy pickles, snack, pickling


