“Hey, do you have any ice cream left?” my friend texted me one sweltering afternoon, just as the sun was getting uncomfortably relentless. Honestly, I wasn’t prepared for company, and running out to grab something felt like a mission impossible. So, I rummaged through my freezer, found some leftover heavy cream and sweetened condensed milk, and thought, why not whip up a quick frozen treat? I had this bag of toffee bits from a baking experiment months ago and a leftover cup of strong coffee from the morning that had been sitting on the counter. The idea of mixing them all into a creamy, no-churn ice cream bar sounded too easy and kind of perfect for that moment.
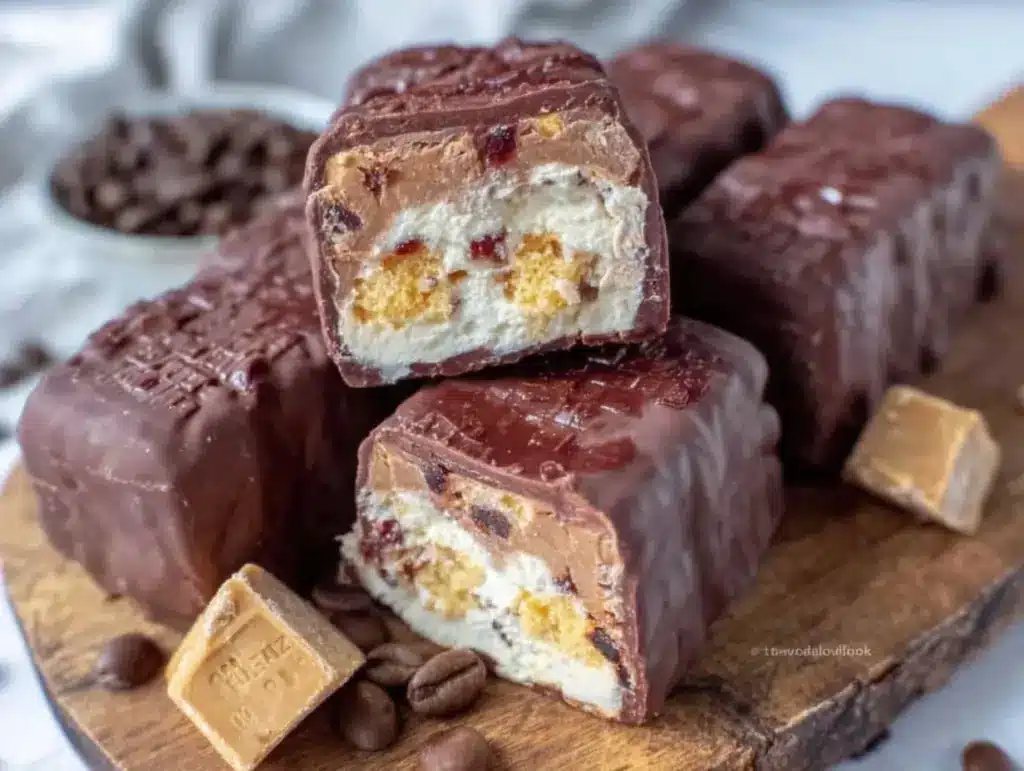
Fast forward a couple of hours, I was holding these rich, velvety coffee toffee crunch ice cream bars, and let me tell you, the crackle of the toffee with every bite combined with the smooth coffee undertone was unexpectedly addictive. My skepticism about whipping something so simple into a fancy dessert completely vanished. It felt like a little win—comfort and a cool-down all in one, without the fuss of churning or fancy equipment. This recipe stuck with me because it’s that rare combination of effortless and fancy-ish, perfect for those days when you want something special but don’t have extra time or energy.
It’s funny how a casual text and a bit of improvisation turned into one of my go-to treats for summer afternoons, a small moment of joy that I keep coming back to. If you’re someone who likes your desserts creamy, with a bit of crunch and that unmistakable coffee kick, you might find yourself making these bars more often than you expect. It’s a simple recipe but one that quietly promises that little pause of sweetness when you need it most.
Why You’ll Love This Creamy No-Churn Coffee Toffee Crunch Ice Cream Bars Recipe
This recipe isn’t just a dessert; it’s a shortcut to happiness that I’ve tested and tweaked through many summer days. It’s perfect for anyone who wants indulgence without the long wait or complicated steps. Here’s why it’s become a favorite in my kitchen:
- Quick & Easy: Ready in under 30 minutes, no ice cream maker needed—perfect for those last-minute cravings or a casual get-together.
- Simple Ingredients: Uses pantry staples like sweetened condensed milk and heavy cream, plus coffee and toffee bits for that special touch—no special trips to fancy stores required.
- Perfect for Summer: These bars are a cool treat for weekend afternoons, BBQs, or just when the heat demands something refreshing yet satisfying.
- Crowd-Pleaser: The combo of coffee’s bold flavor with the crunchy toffee surprises everyone, from kids who love the sweetness to adults who appreciate the coffee kick.
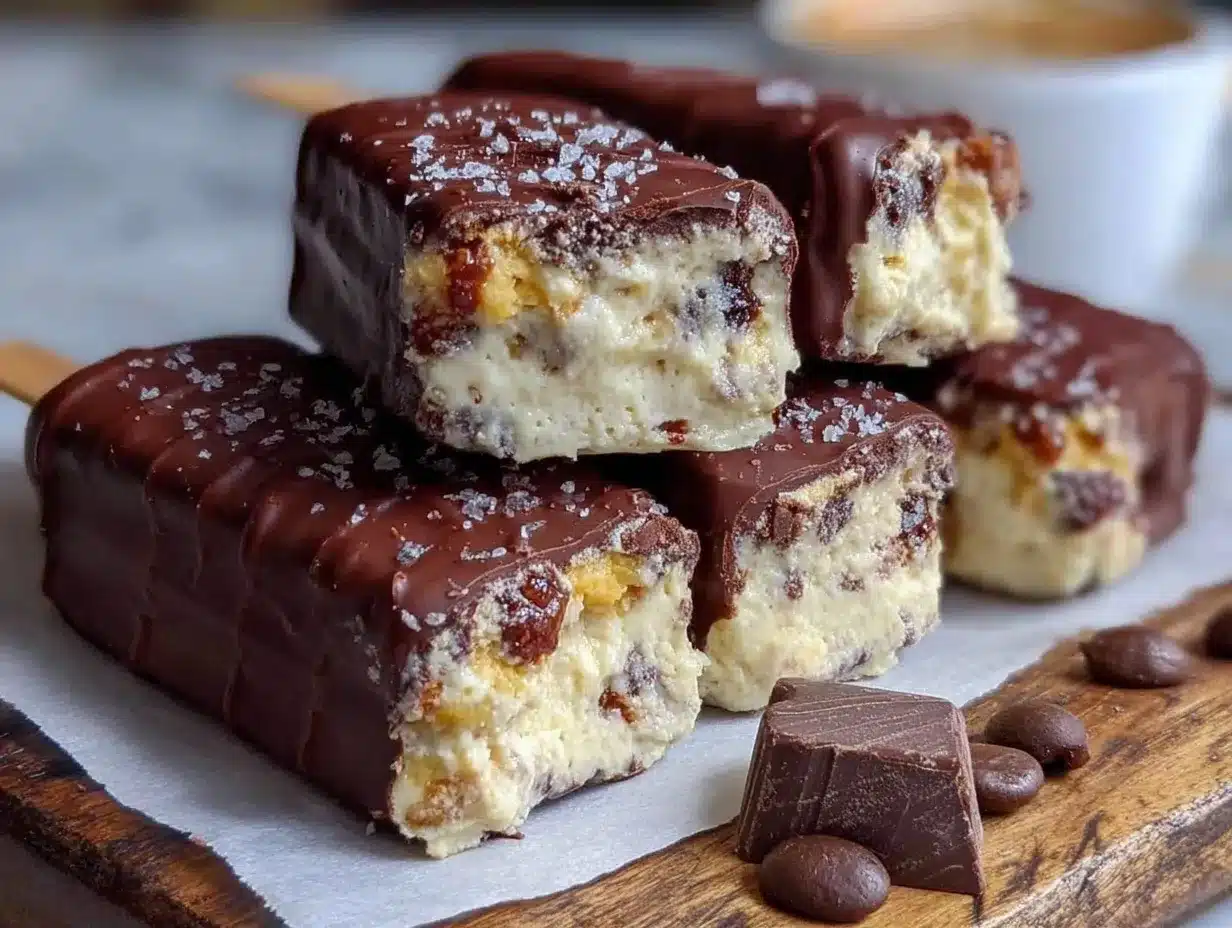
- Unbelievably Delicious: The texture is creamy and smooth, with bursts of crunchy toffee that keep every bite interesting—comfort food with a twist.
This recipe stands apart because it blends strong coffee flavor right into the ice cream base without bitterness, thanks to the balance of sweetened condensed milk and toffee crunch for texture. The no-churn method means you get a silky, dense bar that feels homemade but effortless. Honestly, it’s the kind of treat that makes you pause mid-bite and savor the moment.
If you’ve ever loved a good coffee dessert but felt daunted by complicated recipes, this is a fresh way to satisfy that craving without any stress. And if you enjoy simple weeknight meals like the honey mustard glazed chicken thighs that don’t skimp on flavor, this dessert pairs beautifully to round out your dinner with something special yet fuss-free.
What Ingredients You Will Need
This recipe uses simple, wholesome ingredients that come together to deliver that bold coffee flavor and satisfyingly crunchy texture without any fuss. Most are pantry staples, with a few easy-to-find extras that give it the special touch.
- Heavy Cream (2 cups / 480 ml) – Provides the creamy, rich base. Use full-fat for best texture.
- Sweetened Condensed Milk (1 cup / 300 g) – Adds sweetness and creaminess while keeping it no-churn friendly. I like Eagle Brand for consistent results.
- Strong Brewed Coffee (1/2 cup / 120 ml), cooled – The heart of the flavor. Use freshly brewed espresso or dark roast coffee for a robust taste.
- Vanilla Extract (1 teaspoon) – Enhances the coffee notes and rounds out the flavor.
- Toffee Bits (3/4 cup / 120 g) – Adds that irresistible crunch and caramel sweetness. Heath or Skor bits work great.
- Salt (a pinch) – Balances sweetness and intensifies flavors.
Optional: If you want to add an extra chocolate touch, stirring in a handful of mini chocolate chips or drizzling melted bittersweet chocolate after freezing works wonders. For a dairy-free version, substitute coconut cream for heavy cream and coconut sweetened condensed milk (available at specialty stores or homemade) for a slightly tropical twist.
Seasonal tip: If you prefer a bit of fruity zest, a sprinkle of orange zest on top before freezing adds a surprising brightness that pairs well with the coffee and toffee.
Equipment Needed
- Mixing Bowls: One large bowl for whipping cream and another for combining the base ingredients.
- Electric Mixer or Whisk: For whipping the heavy cream to stiff peaks. A handheld mixer speeds this up but a sturdy whisk works with some elbow grease.
- Loaf Pan or Silicone Mold: To shape the ice cream bars. I personally use a standard 9×5-inch loaf pan lined with parchment paper to make removal easy.
- Spatula: For gentle folding to keep the mixture light and airy.
- Freezer-safe Popsicle Sticks: For turning your frozen mixture into bars. Bamboo sticks are budget-friendly and eco-friendly.
If you don’t have a loaf pan, a shallow baking dish works just fine—you can slice the frozen ice cream into squares instead of bars. For those without an electric mixer, whipping cream by hand is definitely doable, just takes a bit more patience. To keep your toffee bits crunchy, store them in an airtight container before mixing.
Preparation Method
- Prepare the Coffee Base: Brew a strong cup of coffee (about 1/2 cup or 120 ml) and let it cool completely. This step is crucial because warm coffee can melt your whipped cream later.
- Whip the Cream: In a large bowl, use an electric mixer (or a whisk) to whip 2 cups (480 ml) of heavy cream until stiff peaks form. This usually takes about 3-5 minutes with a mixer. The cream should be fluffy and hold its shape well.
- Mix Condensed Milk and Flavorings: In another bowl, combine 1 cup (300 g) sweetened condensed milk, cooled coffee, 1 teaspoon vanilla extract, and a pinch of salt. Stir gently until blended. This mixture forms the rich coffee-flavored base.
- Fold Ingredients Together: Carefully fold the coffee-condensed milk mixture into the whipped cream. Use gentle strokes to keep the air in the whipped cream, which makes the bars creamy and light. Avoid overmixing or the mixture will deflate.
- Add Toffee Bits: Fold in 3/4 cup (120 g) of toffee bits, reserving a small handful to sprinkle on top later. This adds delightful crunch throughout.
- Transfer to Pan and Add Sticks: Line a 9×5-inch loaf pan with parchment paper. Pour the mixture into the pan, smoothing the top with a spatula. Sprinkle the reserved toffee bits evenly over the surface. Insert popsicle sticks at evenly spaced intervals, pushing them down about halfway into the mixture.
- Freeze: Cover the pan tightly with plastic wrap or foil and freeze for at least 6 hours, preferably overnight. The bars should be firm to the touch.
- Serve: To release the bars, lift the parchment paper from the pan and cut the frozen block into bars along the sticks. Serve immediately or keep stored in an airtight container in the freezer.
Tip: If the bars are too hard straight from the freezer, let them sit at room temperature for 2-3 minutes before eating for the perfect creamy bite. If you want a smoother cut, run your knife under hot water before slicing.
Cooking Tips & Techniques for Perfect Coffee Toffee Crunch Bars
One of the trickiest parts is whipping the cream just right. You want stiff peaks, but not overwhipped butter. I’ve learned the hard way that chilling your mixing bowl and beaters beforehand really helps speed things along and improves texture. Also, fold your condensed milk-coffee mixture gently; folding too aggressively will deflate the cream and result in icy bars.
Another tip is to make sure your coffee is fully cooled before mixing. I once tried this with warm coffee and ended up with a runnier texture that didn’t set well. Patience pays off here! Using quality toffee bits matters, too—cheap ones can get soggy or lose flavor. I prefer Heath bits for their perfect crunch and buttery notes.
Multitasking while making this? Whip the cream first, then mix your coffee and condensed milk while the cream chills briefly in the fridge. It saves a few minutes. And don’t skip that sprinkle of salt — it really brightens the flavors and balances the sweetness.
If you want to add a chocolate drizzle, melt some dark chocolate and drizzle it over the bars right after freezing, then freeze again for a few minutes to set. It adds a gourmet touch without extra work.
Variations & Adaptations
This recipe is flexible enough to tweak for different tastes and needs:
- Mocha Twist: Add 2 tablespoons of unsweetened cocoa powder to the coffee-condensed milk mixture for a mocha-flavored bar that’s rich and chocolatey.
- Nutty Crunch: Swap some toffee bits for chopped toasted pecans or almonds to add a nutty layer of texture.
- Dairy-Free Version: Use coconut cream instead of heavy cream and coconut milk-based sweetened condensed milk. The coffee flavor shines through with a subtle tropical twist.
- Spiced Coffee: Add a pinch of cinnamon and nutmeg to the base mixture for a cozy, spiced flavor that’s perfect for cooler summer nights.
Once, I tried swirling in a bit of salted caramel sauce before freezing, and it was a total hit—extra gooey pockets of caramel that paired beautifully with the toffee crunch. If you want to experiment with form, try freezing the mixture in silicone molds shaped like mini popsicles for fun presentation at parties.
Serving & Storage Suggestions
These ice cream bars are best served straight from the freezer, though letting them soften just slightly enhances that creamy texture. They pair wonderfully with a scoop of vanilla or a drizzle of caramel sauce for an indulgent twist. If you’re serving at a summer gathering, place them on a chilled tray lined with parchment paper to keep them from melting too fast in the heat.
For storage, keep the bars tightly wrapped in plastic wrap or in an airtight container to prevent freezer burn and maintain toffee crunchiness. They’ll keep well for up to 2 weeks in the freezer without losing texture or flavor.
When reheating (if you can call it that), just let the bars sit at room temperature for a few minutes before serving. The flavors actually deepen over time, so if you make them a day ahead, they’ll taste even better. These bars have become my favorite after-dinner treat, especially when paired with a hot cup of coffee or a simple lemon garlic butter cod for a light dinner that feels special.
Nutritional Information & Benefits
Each bar (assuming 8 servings) has approximately 220 calories, 14g fat, 22g carbohydrates, and 3g protein. The sweetened condensed milk and heavy cream contribute to its richness, so it’s definitely a treat to enjoy in moderation. The coffee adds antioxidants and a subtle caffeine boost, perfect for a summer afternoon pick-me-up.
For those watching sugar intake, you can reduce the toffee bits or try sugar-free alternatives, though the texture and flavor will shift slightly. This recipe is naturally gluten-free, which is great for folks with gluten sensitivities.
From a wellness perspective, I appreciate how this recipe uses real ingredients with no artificial stabilizers or additives, unlike many store-bought ice creams. It’s a simple homemade dessert that satisfies sweet cravings with wholesome pantry staples.
Conclusion
These creamy no-churn coffee toffee crunch ice cream bars have become my favorite quick treat for warm days when I want something indulgent but fuss-free. The balance of smooth coffee flavor with crunchy toffee bits is just right, and the no-churn method means anyone can whip this up without special equipment or stress.
Whether you stick to the classic recipe or try spicing it up with mocha or nuts, it’s a dessert that invites you to experiment and make it your own. I still find myself reaching for this recipe when friends drop by unexpectedly or after a long day, knowing it will deliver that little sweet moment of joy. If you try it, I’d love to hear how you like to customize your bars or what your favorite coffee dessert is—sharing those stories makes cooking all the more fun.
Enjoy every creamy, crunchy bite!
FAQs About Creamy No-Churn Coffee Toffee Crunch Ice Cream Bars
Can I use instant coffee instead of brewed coffee?
Yes! Dissolve about 1-2 teaspoons of instant coffee granules in 1/2 cup (120 ml) of warm water and let cool before using. It works well and intensifies the coffee flavor.
How long do these ice cream bars last in the freezer?
Stored properly in an airtight container, they stay fresh and delicious for up to 2 weeks. After that, texture and flavor may start to decline.
Can I make these bars without toffee bits?
Absolutely! You can leave them out or replace with chopped nuts or chocolate chips for different crunch options.
What if I don’t have popsicle sticks?
No worries. Freeze the mixture in a loaf pan and slice into bars or squares once frozen. You can eat them with a fork or by hand.
Is there a way to make these bars less sweet?
You can reduce the sweetened condensed milk by up to 1/4 cup (75 g) and add a little extra vanilla or coffee to keep flavor balanced. Just note the texture might be less creamy.
Pin This Recipe!
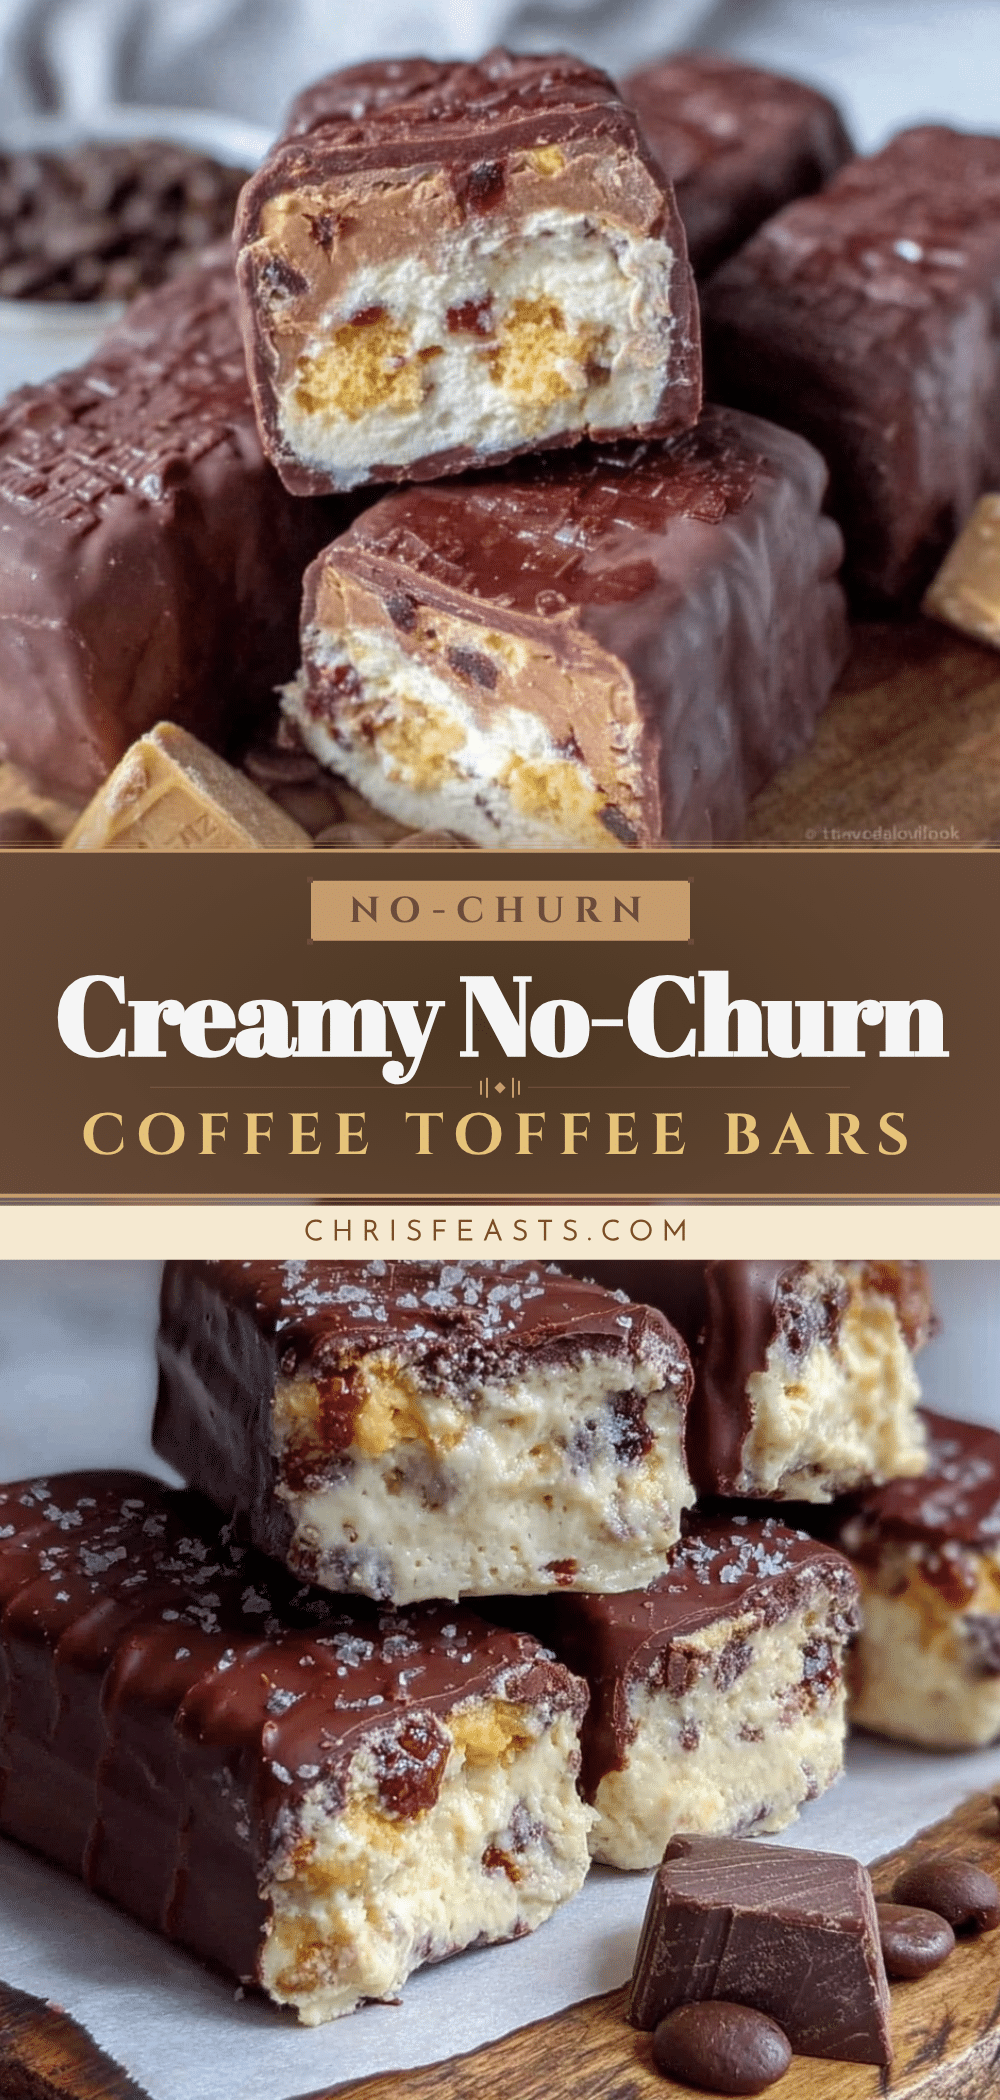
Creamy No-Churn Coffee Toffee Crunch Ice Cream Bars
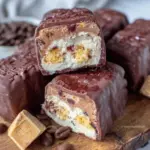
A quick and easy no-churn ice cream bar recipe combining rich coffee flavor with crunchy toffee bits, perfect for summer treats without the need for an ice cream maker.
- Prep Time: 15 minutes
- Cook Time: 6 hours (freezing time)
- Total Time: 6 hours 15 minutes
- Yield: 8 servings 1x
- Category: Dessert
- Cuisine: American
Ingredients
- 2 cups (480 ml) heavy cream, full-fat
- 1 cup (300 g) sweetened condensed milk
- 1/2 cup (120 ml) strong brewed coffee, cooled
- 1 teaspoon vanilla extract
- 3/4 cup (120 g) toffee bits (Heath or Skor recommended)
- Pinch of salt
- Optional: mini chocolate chips or melted bittersweet chocolate for drizzle
- Optional dairy-free substitutions: coconut cream for heavy cream and coconut sweetened condensed milk
- Optional: orange zest for topping
Instructions
- Brew a strong cup of coffee (about 1/2 cup or 120 ml) and let it cool completely.
- In a large bowl, whip 2 cups (480 ml) of heavy cream until stiff peaks form, about 3-5 minutes with an electric mixer.
- In another bowl, combine 1 cup (300 g) sweetened condensed milk, cooled coffee, 1 teaspoon vanilla extract, and a pinch of salt. Stir gently until blended.
- Carefully fold the coffee-condensed milk mixture into the whipped cream using gentle strokes to keep the mixture airy.
- Fold in 3/4 cup (120 g) of toffee bits, reserving a small handful to sprinkle on top.
- Line a 9×5-inch loaf pan with parchment paper. Pour the mixture into the pan and smooth the top with a spatula.
- Sprinkle the reserved toffee bits evenly over the surface and insert freezer-safe popsicle sticks evenly spaced, pushing them halfway into the mixture.
- Cover the pan tightly with plastic wrap or foil and freeze for at least 6 hours or overnight until firm.
- To serve, lift the parchment paper from the pan and cut the frozen block into bars along the sticks. Let bars sit at room temperature for 2-3 minutes before eating for a creamy bite.
Notes
Chill mixing bowl and beaters before whipping cream for best results. Use cooled coffee to prevent melting whipped cream. Fold gently to keep mixture airy. Store toffee bits in airtight container before use to maintain crunch. Let bars soften slightly before serving for best texture. Optional chocolate drizzle can be added after freezing.
Nutrition
- Serving Size: 1 ice cream bar
- Calories: 220
- Fat: 14
- Carbohydrates: 22
- Protein: 3
Keywords: no-churn ice cream, coffee ice cream bars, toffee crunch, summer dessert, easy ice cream recipe, no ice cream maker, creamy ice cream bars