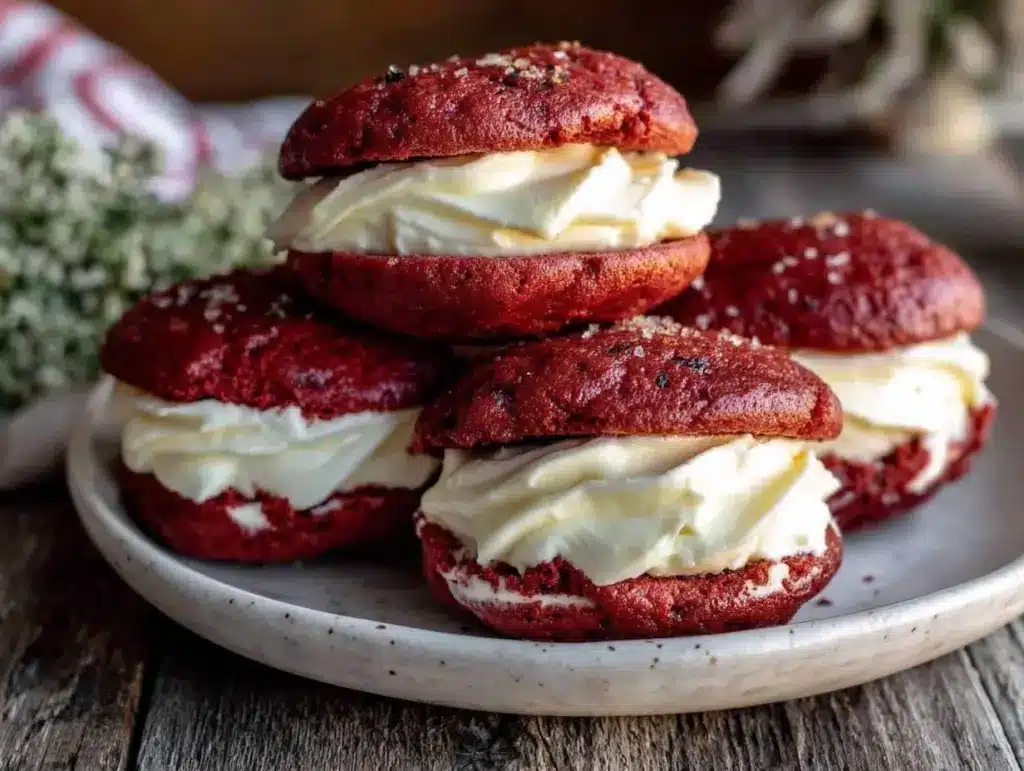
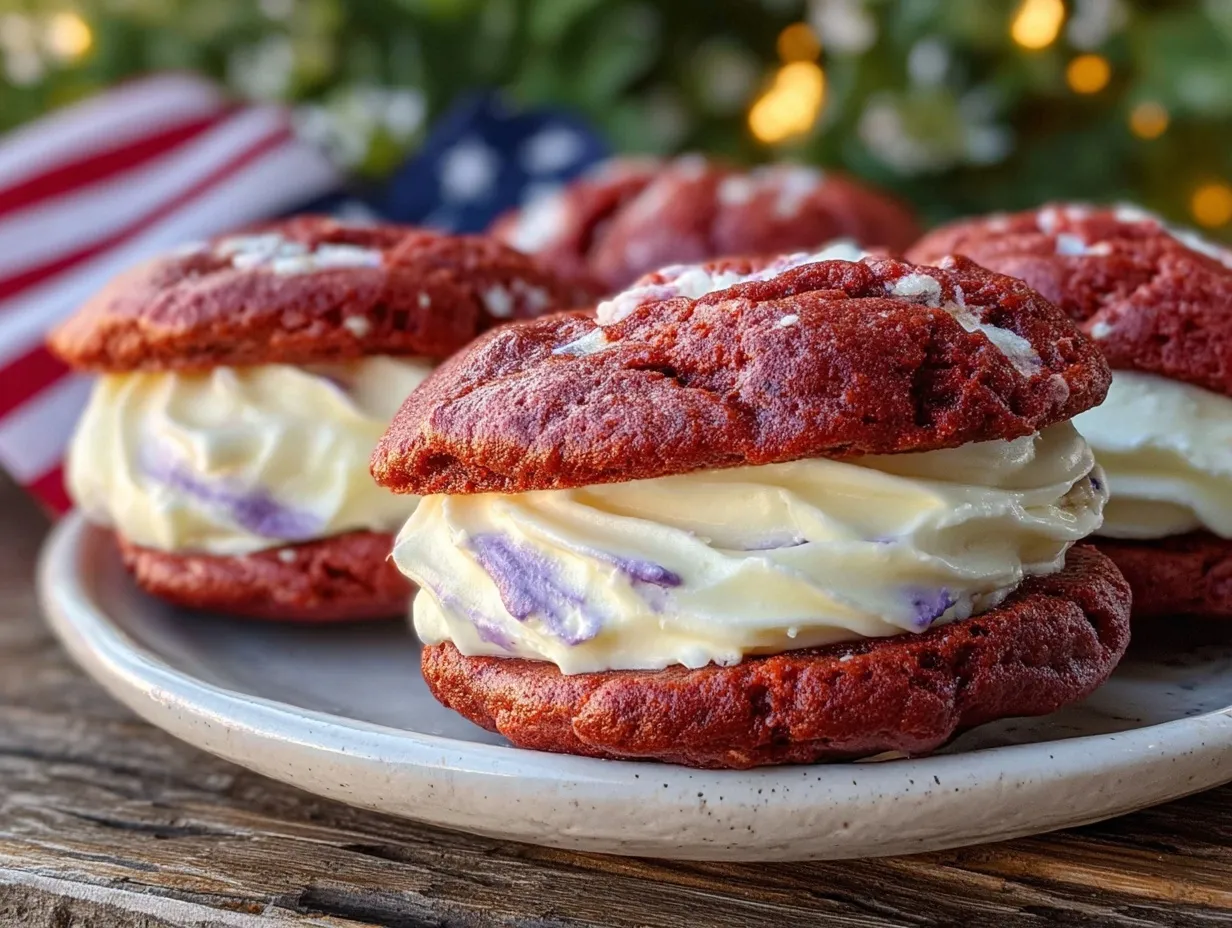
“You really think red velvet and blue cream cheese can steal the show at a July 4th picnic?” my cousin joked the first time I brought these Red Velvet Whoopie Pies with Blue Cream Cheese Filling to our family barbecue. Honestly, I wasn’t sure either. But after a chaotic morning of trying to juggle last-minute side dishes and grill flames that had a mind of their own, these little beauties turned out to be the surprise hit. The way the vibrant red cake paired with the tangy, cool blue filling was like fireworks on your tongue—not too sweet, just the right balance.
It’s funny how sometimes the best recipes come from those hectic, “I just need something that works” moments. The recipe for these perfect July 4th Red Velvet Whoopie Pies with Blue Cream Cheese Filling started as a whim—I wanted a festive dessert that could be made ahead, easy to pack, and visually pop at the party. The blue cream cheese filling was a last-minute idea when I found some natural blue food coloring in my pantry. I was skeptical, but it looked so cool and tasted even better.
Since then, this recipe has quietly become my go-to for patriotic celebrations. It’s not just about the colors or the flavor—it’s about how these whoopie pies bring everyone together, whether it’s kids grabbing seconds or neighbors asking for the recipe. The best part? They’re surprisingly easy to make even when you’re pulled in a million directions. I’m pretty sure you’ll find yourself making these again and again, just like I did.
Why You’ll Love This Recipe
After testing this Red Velvet Whoopie Pies recipe multiple times (sometimes twice in one week, no kidding), I can say it ticks all the boxes for a stress-free, crowd-pleasing dessert that feels special but isn’t complicated. Here’s why it stands out:
- Quick & Easy: The batter comes together in under 20 minutes, and the whole batch bakes in about 15 minutes—perfect for those last-minute holiday dessert decisions.
- Simple Ingredients: You likely have all these staples in your pantry and fridge. No hunting for obscure items or specialty stores.
- Perfect for July 4th and Beyond: The red velvet base and blue cream cheese filling make it ideal for patriotic celebrations or any gathering that calls for a little festive flair.
- Crowd-Pleaser: Kids and adults alike love the rich, moist cake combined with the tangy, creamy filling. It’s got that feel-good comfort food vibe with a fun twist.
- Unbelievably Delicious: Thanks to the perfect balance of cocoa and buttermilk in the red velvet, plus a subtly sweet and smooth cream cheese filling, you get a texture and flavor combo that’s hard to beat.
This isn’t just another whoopie pie recipe—it’s the one I keep tweaking for the perfect crumb and filling consistency. The blue cream cheese filling? It’s not just for looks; it’s a tangy surprise that cuts through the sweetness beautifully. Plus, it’s a nice change from the usual white frosting and adds that patriotic pop without the extra sugar overload.
Honestly, this recipe is comfort food with a festive heart, making it easy to impress guests without spending hours in the kitchen. For a savory balance at your party, pairing these with dishes like honey mustard glazed chicken thighs works like a charm—trust me, I’ve done it.
What Ingredients You Will Need
This recipe uses straightforward, wholesome ingredients that come together to create bold flavor and a satisfying texture without fuss. Most are pantry staples, but with a few special notes to get that perfect red velvet taste and blue cream cheese pop.
- For the Red Velvet Cake:
- All-purpose flour (2 ¼ cups / 280g) – sifted for lightness
- Unsweetened cocoa powder (2 tbsp / 15g) – I prefer Dutch-processed for a smoother, richer flavor
- Baking soda (1 tsp)
- Salt (½ tsp)
- Granulated sugar (1 ¾ cups / 350g)
- Unsalted butter (½ cup / 115g), softened – room temperature for easy creaming
- Large eggs (2), room temperature – helps with better rise and texture
- Buttermilk (1 cup / 240ml) – adds tang and moisture, but plain milk with 1 tbsp lemon juice is a fine substitute
- Vanilla extract (1 tsp) – use pure for best aroma
- Red food coloring (2 tbsp) – gel-based for vibrant color without thinning the batter
- Distilled white vinegar (1 tsp) – reacts with baking soda for lift
- For the Blue Cream Cheese Filling:
- Cream cheese (8 oz / 225g), softened – I recommend full-fat for creaminess
- Unsalted butter (¼ cup / 56g), softened
- Powdered sugar (2 cups / 240g), sifted to avoid lumps
- Vanilla extract (1 tsp)
- Blue food coloring (natural or gel, 1-2 tsp) – adjust for your preferred shade
For a fun twist, you can swap the blue food coloring for natural blueberry powder or spirulina for a healthier hue. And if dairy isn’t your thing, try a dairy-free cream cheese and butter alternative; I’ve tested this with great results using vegan brands like Kite Hill.
Equipment Needed
- Mixing bowls – a large bowl for the batter and a medium one for the filling
- Electric mixer or stand mixer – makes creaming the butter and sugar so much easier, but a sturdy hand whisk works in a pinch
- Measuring cups and spoons – accuracy is key, especially with baking soda and vinegar
- Baking sheets – lined with parchment paper or silicone mats to prevent sticking
- Cookie scoop (about 2 tablespoons) – helps keep the whoopie pies uniform in size
- Cooling racks – for letting the cakes rest without steam making them soggy
- Spatula – for folding and spreading the filling
If you don’t have a cookie scoop, use two spoons to drop batter onto the sheets. For a budget-friendly option, parchment paper is great, but silicone mats are reusable and give an even bake, which I love for consistent results.
Preparation Method
- Preheat your oven to 350°F (175°C) and line two baking sheets with parchment paper or silicone mats. This prevents sticking and promotes even baking.
- Sift together the dry ingredients: In a medium bowl, sift the all-purpose flour, cocoa powder, baking soda, and salt. Set aside. This helps avoid clumps and ensures a light crumb.
- Cream the butter and sugar: In a large bowl, use an electric mixer to beat the softened butter and granulated sugar on medium speed until light and fluffy, about 3-4 minutes. This step traps air for a tender cake.
- Add eggs and vanilla: Beat in eggs one at a time, fully incorporating each before adding the next. Add vanilla extract and mix well.
- Mix in red food coloring and vinegar: Stir in the red food coloring and vinegar. The vinegar will react with the baking soda for a slight lift and tang – don’t skip it!
- Alternate adding dry ingredients and buttermilk: With mixer on low, add the dry ingredients in thirds, alternating with buttermilk, beginning and ending with dry ingredients. Mix until just combined. Overmixing can make the cakes tough.
- Portion the batter: Using a cookie scoop or two spoons, drop rounded tablespoons of batter onto the prepared baking sheets about 2 inches apart. Aim for uniform sizes so they bake evenly.
- Bake: Place sheets in the preheated oven and bake for 12-15 minutes until the cakes spring back lightly when touched and a toothpick inserted comes out clean or with a few moist crumbs.
- Cool completely: Transfer the cakes to cooling racks and let them cool fully before filling. Warm cakes will melt the filling, and that’s messy, trust me.
- Prepare the blue cream cheese filling: In a medium bowl, beat together softened cream cheese and butter until smooth and creamy, about 3 minutes. Gradually add powdered sugar and vanilla extract. Beat until fluffy.
- Add blue coloring: Add blue food coloring a little at a time, mixing until you get the desired shade. A natural powder like blueberry powder works too if you prefer.
- Assemble the whoopie pies: Pair the cakes by size. Pipe or spread a generous dollop (about 2 tablespoons) of filling onto one cake and sandwich with the matching cake. Press gently to spread the filling to edges without squishing it out.
- Chill before serving: Refrigerate the assembled pies for at least 30 minutes to set the filling and let flavors meld.
Pro tip: If you want to save time, you can bake the cakes the day before and keep them in an airtight container. The filling is best fresh but can be made a few hours ahead too.
Cooking Tips & Techniques
Baking the perfect whoopie pies means paying attention to a few key details. For starters, make sure your butter and eggs are at room temperature—that’s a simple thing but it really makes the batter smoother and helps with rise. When adding the dry ingredients, don’t rush mixing; fold gently to keep the texture tender.
One mistake I made early on was using liquid food coloring, which thinned the batter and threw off the texture. Gel-based coloring keeps the batter thick and the color vibrant. Also, spacing the batter drops well apart is crucial. If they’re too close, you’ll end up with a giant cookie sheet, and while that sounds fun, it’s not the right texture.
Filling consistency matters too. If the cream cheese filling is too soft, it will ooze out when sandwiched. Beat it until fluffy but firm. If you’re in a hurry, pop the filling in the fridge for 10-15 minutes before assembling.
Lastly, timing is everything. These whoopie pies come together quickly, but don’t skip cooling the cakes fully before filling. I learned this the hard way when the filling melted and created a mess. Letting them chill after assembly also helps the pies hold their shape better.
Variations & Adaptations
While the classic Red Velvet Whoopie Pies with Blue Cream Cheese Filling are the star here, you can mix things up for different occasions or preferences easily:
- Dietary Twist: Use almond flour or gluten-free flour blend to make them gluten-free. For the filling, a dairy-free cream cheese alternative keeps it vegan-friendly.
- Seasonal Flavors: Swap the blue food coloring for natural berry purée or lemon zest to brighten the filling in warmer months. In fall, a pumpkin spice twist in the batter works wonders.
- Cooking Method: Try baking the cakes as mini cupcakes in a muffin tin for a different shape and easy portion control. Adjust baking time to about 10-12 minutes.
- Flavor Boost: Add a pinch of espresso powder to the batter to deepen the cocoa flavor. Or stir in finely chopped toasted pecans into the filling for a bit of crunch.
- Personal Favorite: I once made these with a swirl of raspberry jam in the filling for a tangy surprise. It was a hit with the family and added a lovely burst of color inside.
Serving & Storage Suggestions
These Red Velvet Whoopie Pies are best served chilled or at room temperature—chilling firms up the filling nicely but letting them sit out for 10-15 minutes before eating brings out the full flavor. Present them on a festive platter with little American flags or star picks for that extra holiday vibe.
They pair beautifully with iced tea, lemonade, or even a sparkling berry mocktail. If you’re planning a full meal, balance the sweetness with savory dishes like the sausage and peppers skillet or a fresh seasonal salad.
Store leftovers in an airtight container in the refrigerator for up to 4 days. They also freeze well—wrap each pie individually in plastic wrap and place in a freezer bag for up to 2 months. To thaw, leave in the fridge overnight and bring to room temperature before serving.
Fun tip: The flavors mellow and meld after a day, so these whoopie pies taste even better the next day if you can wait that long!
Nutritional Information & Benefits
Each Red Velvet Whoopie Pie with Blue Cream Cheese Filling contains approximately 280-320 calories depending on size and ingredient brands. The recipe provides a good balance of carbohydrates and fats, with protein coming mainly from cream cheese and eggs.
The use of buttermilk adds calcium and probiotics, while the cream cheese filling offers a dose of vitamin A and calcium. By controlling sugar amounts and using natural coloring, it’s a more mindful treat compared to overly processed desserts.
For those watching gluten or dairy, the recipe adapts well to substitutions like gluten-free flour blends and dairy-free cream cheese. Just keep in mind that texture and flavor may shift slightly.
Overall, these whoopie pies are a festive indulgence that, when enjoyed in moderation, fit nicely into balanced celebrations.
Conclusion
Perfect July 4th Red Velvet Whoopie Pies with Blue Cream Cheese Filling aren’t just dessert—they’re a little piece of holiday joy you can bake in your own kitchen without stress. The recipe’s simplicity and vibrant colors make them a standout choice for any patriotic party or summer gathering.
Feel free to tweak the filling shades or try one of the variations to make these pies your own. They’ve become a personal favorite for casual get-togethers and festive events alike, and I hope they become part of your tradition too.
When you bake these whoopie pies, you’re not just making dessert—you’re creating moments. And that’s what good food is all about.
If you love a good party dish that pairs sweet with savory, you might enjoy the lemon garlic butter cod or the creamy ground beef stroganoff—both are easy to prepare and crowd favorites.
FAQs about Red Velvet Whoopie Pies Recipe
Can I make the whoopie pies ahead of time?
Yes! Bake the cakes and prepare the filling a day ahead. Assemble the pies and refrigerate in an airtight container. They taste great the next day and are easier to slice and serve.
What can I use if I don’t have buttermilk?
Mix 1 cup of milk with 1 tablespoon of lemon juice or white vinegar. Let it sit for 5 minutes before using. This DIY buttermilk works well in the recipe.
How do I get the blue color in the cream cheese filling?
You can use gel-based blue food coloring for vibrant color without thinning the filling. For a natural option, blueberry powder works but may slightly alter the flavor.
Can I freeze these whoopie pies?
Absolutely. Wrap each pie individually in plastic wrap, then place in a freezer bag. Freeze for up to 2 months. Thaw overnight in the fridge before serving.
What’s the best way to store leftover whoopie pies?
Store them in an airtight container in the refrigerator for up to 4 days. Let them come to room temperature before eating for the best flavor.
Pin This Recipe!
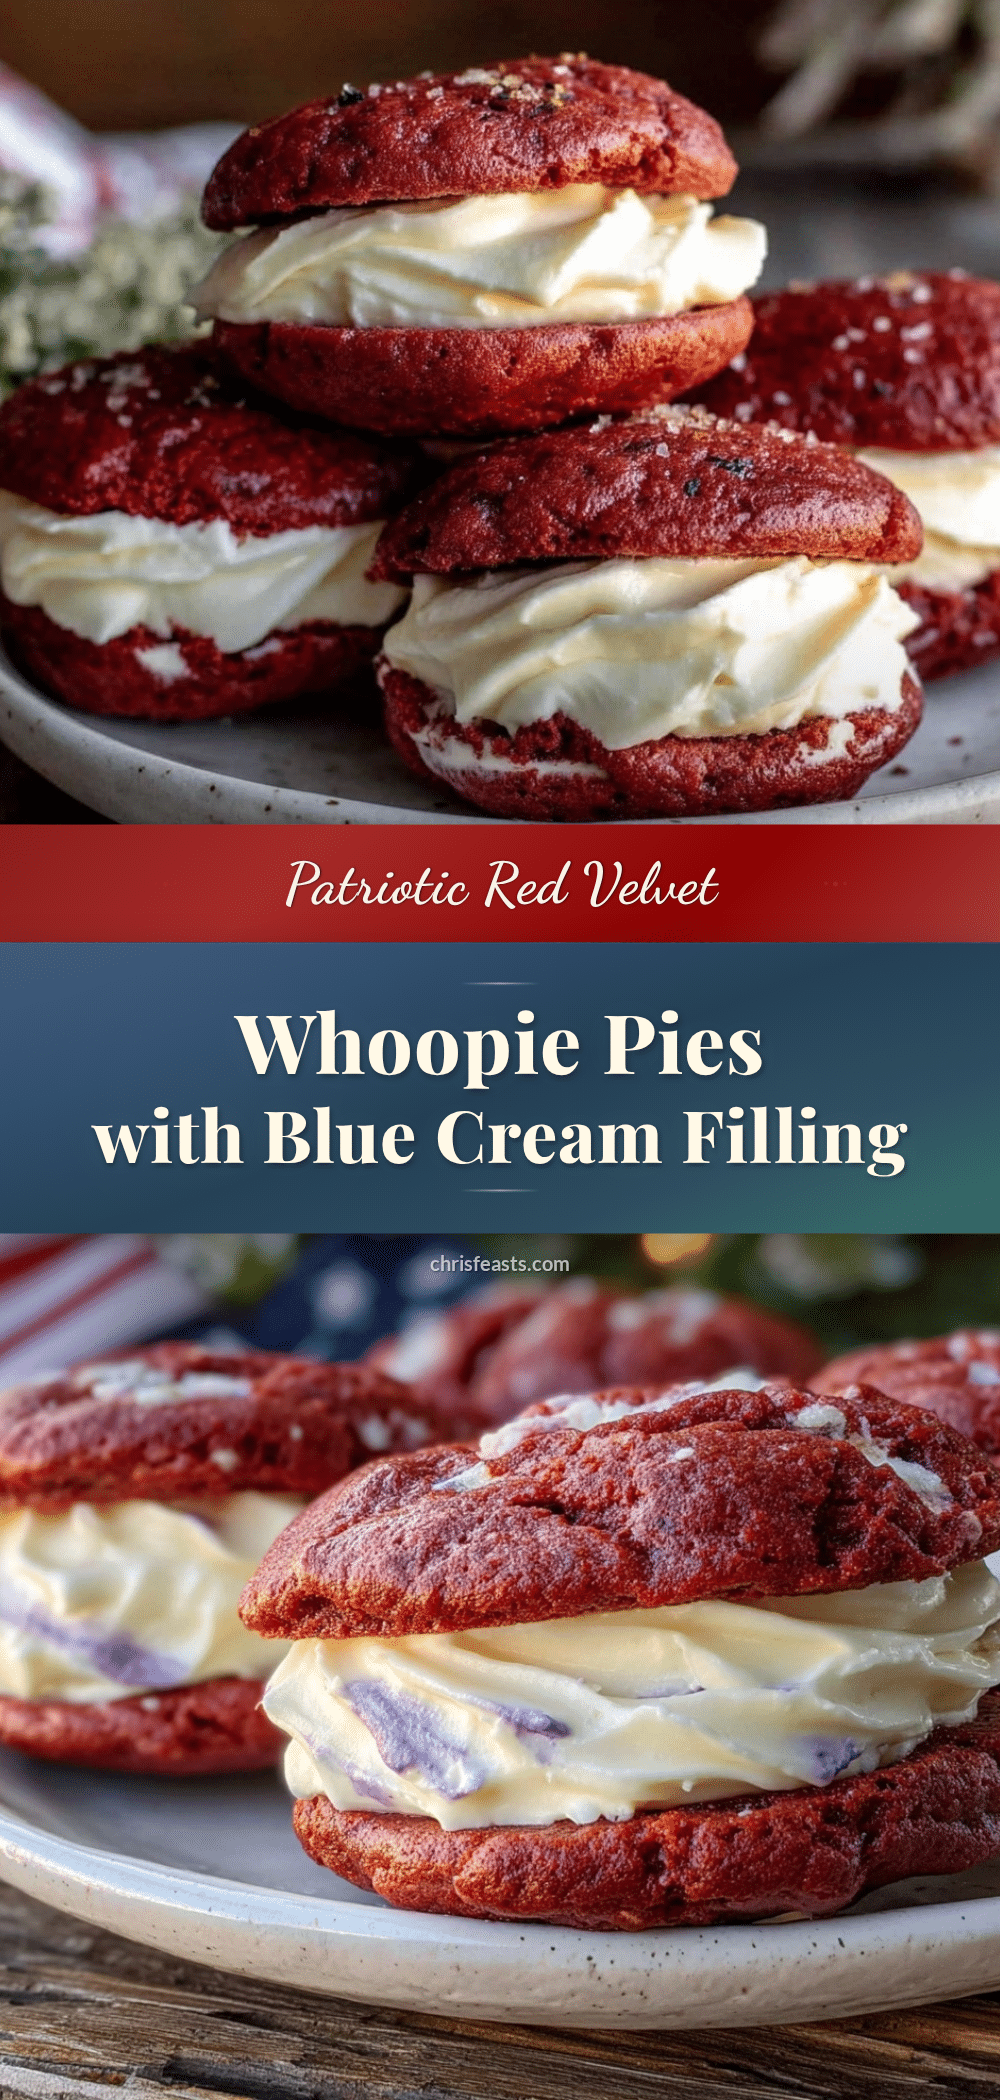
Red Velvet Whoopie Pies with Blue Cream Cheese Filling

These festive Red Velvet Whoopie Pies with a tangy blue cream cheese filling are a crowd-pleasing, easy-to-make dessert perfect for July 4th celebrations or any gathering.
- Prep Time: 20 minutes
- Cook Time: 15 minutes
- Total Time: 35 minutes
- Yield: 12 servings 1x
- Category: Dessert
- Cuisine: American
Ingredients
- 2 1/4 cups (280g) all-purpose flour, sifted
- 2 tbsp (15g) unsweetened cocoa powder (preferably Dutch-processed)
- 1 tsp baking soda
- 1/2 tsp salt
- 1 3/4 cups (350g) granulated sugar
- 1/2 cup (115g) unsalted butter, softened
- 2 large eggs, room temperature
- 1 cup (240ml) buttermilk (or 1 cup milk + 1 tbsp lemon juice/vinegar as substitute)
- 1 tsp vanilla extract
- 2 tbsp gel-based red food coloring
- 1 tsp distilled white vinegar
- 8 oz (225g) cream cheese, softened (full-fat recommended)
- 1/4 cup (56g) unsalted butter, softened
- 2 cups (240g) powdered sugar, sifted
- 1 tsp vanilla extract
- 1–2 tsp blue food coloring (gel or natural, e.g. blueberry powder)
Instructions
- Preheat oven to 350°F (175°C) and line two baking sheets with parchment paper or silicone mats.
- Sift together flour, cocoa powder, baking soda, and salt in a medium bowl; set aside.
- In a large bowl, cream softened butter and granulated sugar with an electric mixer on medium speed until light and fluffy, about 3-4 minutes.
- Beat in eggs one at a time, fully incorporating each before adding the next. Add vanilla extract and mix well.
- Stir in red food coloring and vinegar.
- With mixer on low, alternately add dry ingredients in thirds and buttermilk, beginning and ending with dry ingredients. Mix until just combined; avoid overmixing.
- Drop rounded tablespoons of batter onto prepared baking sheets about 2 inches apart using a cookie scoop or two spoons.
- Bake for 12-15 minutes until cakes spring back lightly when touched and a toothpick inserted comes out clean or with a few moist crumbs.
- Transfer cakes to cooling racks and cool completely before filling.
- In a medium bowl, beat cream cheese and butter until smooth and creamy, about 3 minutes.
- Gradually add powdered sugar and vanilla extract; beat until fluffy.
- Add blue food coloring gradually until desired shade is reached.
- Pair cakes by size. Spread about 2 tablespoons of filling onto one cake and sandwich with the matching cake. Press gently to spread filling to edges without squeezing out.
- Refrigerate assembled pies for at least 30 minutes to set filling and meld flavors.
Notes
Use gel-based food coloring to keep batter thick and vibrant. Ensure butter and eggs are at room temperature for better texture and rise. Cool cakes completely before filling to prevent melting. Chill assembled pies for at least 30 minutes before serving. Cakes can be baked a day ahead and stored airtight. Filling can be made hours ahead but is best fresh. For dairy-free or gluten-free versions, substitute with appropriate alternatives.
Nutrition
- Serving Size: 1 whoopie pie
- Calories: 300
- Sugar: 28
- Sodium: 220
- Fat: 15
- Saturated Fat: 9
- Carbohydrates: 40
- Fiber: 1
- Protein: 4
Keywords: Red Velvet Whoopie Pies, Blue Cream Cheese Filling, July 4th Dessert, Patriotic Dessert, Easy Dessert, Crowd-Pleaser, Festive Dessert


