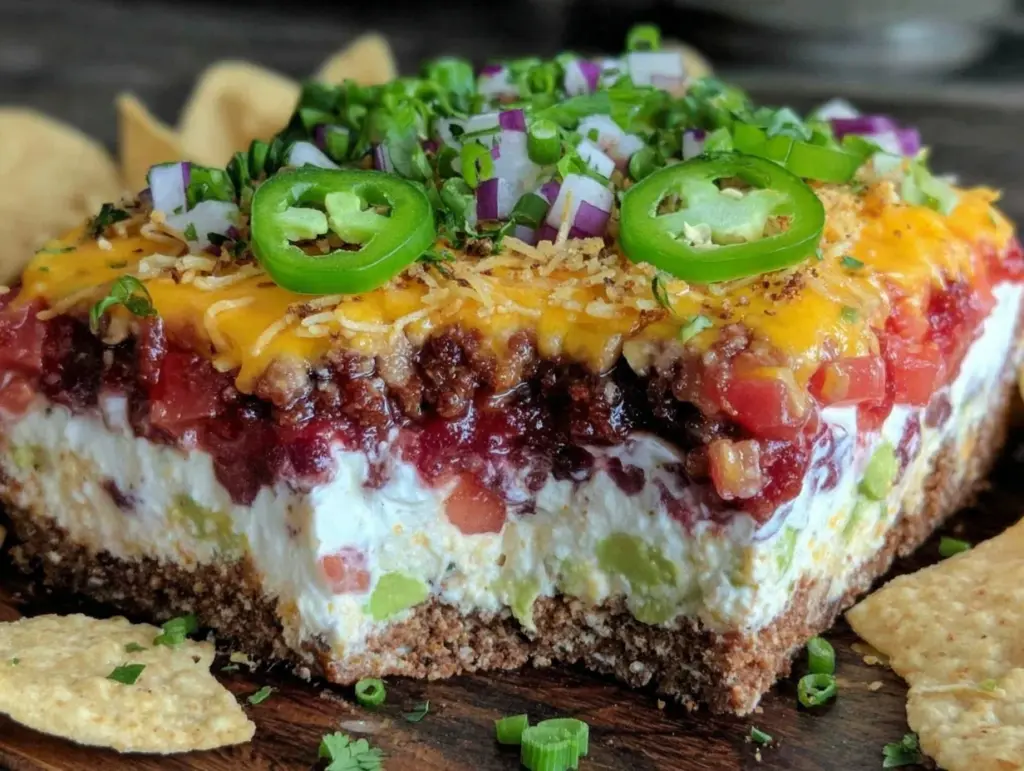
“Hey, you brought the pool dip, right?” was the casual demand from my neighbor as we gathered for an impromptu backyard hangout. Honestly, I wasn’t planning to make anything fancy — just something quick and tasty to keep everyone nibbling between swims. I grabbed my usual taco dip ingredients and threw together what I now call my Flavorful Pool Dip Layered Taco Dip. The layers stacked up like a dream, and the flavors? Well, they surprised even me.
That day, the dip disappeared faster than the sun behind the trees, and suddenly I was the go-to for party snacks. The best part? It’s not complicated or fussy, just a handful of fresh, bold ingredients that come together with zero stress. I’ve made it a dozen times since then — sometimes swapping out bits, sometimes sticking to the original — but it always hits the spot.
There’s something about the crunch of fresh veggies, creamy layers, and spicy hints that makes it an instant crowd favorite. And it’s perfect for pool days, game nights, or whenever your fridge is half empty but you want to impress without sweating it. I’m sharing this recipe because it’s stuck with me, not just for how good it tastes but how effortlessly it brings people together.
So if you’re looking for a flavorful, layered taco dip that’s easy to whip up and guaranteed to please, you’re in the right place. This dip has that fresh, zesty vibe and a little comfort-food soul — all in one bowl, ready for your next party.
Why You’ll Love This Recipe
After testing this layered taco dip more times than I can count, I can confidently say it’s a bit of a magic trick for any gathering. Here’s why it quickly became a staple in my snack arsenal:
- Quick & Easy: Ready to serve in under 20 minutes, which means no last-minute panic before guests arrive.
- Simple Ingredients: Uses pantry staples and fresh produce you probably already have — no need for a special trip to a gourmet store.
- Perfect for Pool Parties & Casual Gatherings: Its cold, layered texture makes it a refreshing snack on hot days or anytime you want a fuss-free party pleaser.
- Crowd-Pleaser: From kids to adults, this dip always gets rave reviews — the blend of creamy, spicy, and crunchy elements hits all the right notes.
- Unbelievably Delicious: The combination of seasoned beans, tangy salsa, smooth sour cream, and fresh veggies creates a flavor profile that’s both comforting and fresh.
What sets this dip apart is the layering technique paired with just the right seasoning — not too salty, mildly spicy, and balanced with cool dairy. I like to use a good-quality black bean mix for texture and a homemade taco seasoning blend that keeps everything lively without overwhelming the palate. And honestly, the crunch of fresh bell peppers and green onions on top is what keeps people coming back for more.
This isn’t just another taco dip; it’s the version that makes you pause between bites and quietly savor the layers. It’s the kind of recipe that turns a casual get-together into a moment everyone remembers — without any stress in the kitchen.
What Ingredients You Will Need
This recipe uses simple, wholesome ingredients to pack bold flavor and satisfying texture without much fuss. You’ll find most of these in your pantry or fridge, and many can be swapped to suit your taste or dietary needs.
- For the Base Layer:
- 1 can (15 oz / 425 g) black beans, rinsed and drained (I prefer Goya for consistent quality)
- 1 tablespoon taco seasoning (homemade or store-bought; I use a mix of chili powder, cumin, garlic powder, and smoked paprika)
- 1/2 cup (120 ml) salsa roja or your favorite chunky salsa
- For the Creamy Layer:
- 1 cup (240 ml) sour cream or Greek yogurt (for tang and creaminess)
- 1/2 cup (120 g) cream cheese, softened (adds richness and thickness)
- Juice of half a lime (brightens the flavor)
- For the Fresh Toppings:
- 1 cup (150 g) shredded sharp cheddar cheese
- 1/2 cup (75 g) diced tomatoes, seeds removed if watery
- 1/2 cup (75 g) finely diced red bell pepper (for sweetness and crunch)
- 1/4 cup (25 g) chopped green onions
- 1/4 cup (15 g) chopped fresh cilantro (optional but recommended for freshness)
- 1 small jalapeño, thinly sliced (optional, adds a kick)
- Extras & Substitutions:
- Use black bean puree for a smoother base if you prefer less texture
- Swap cream cheese for vegan cream cheese or skip for a lighter version
- In summer, fresh corn kernels make a great addition to the topping
- For a low-carb twist, serve with sliced cucumber or jicama instead of tortilla chips
Equipment Needed
Thankfully, this recipe calls for very basic kitchen gear — nothing fancy or specialized. Here’s what you’ll want handy:
- A medium mixing bowl for combining the bean and seasoning base.
- Another bowl for mixing the creamy layer smoothly.
- A 9-inch (23 cm) round or square glass serving dish to showcase those beautiful layers.
- A spatula or spoon for spreading the layers evenly.
- A sharp knife and cutting board for prepping your fresh veggies and herbs.
If you don’t have a glass dish, any shallow bowl or even a trifle bowl works great — just something wide enough for the layers to shine. I’ve even made this dip in mason jars for individual servings at a potluck (that was a hit!). No need for electric mixers — a good whisk or sturdy spoon will do just fine.
Preparation Method
- Prepare the Bean Layer (10 minutes): In a medium bowl, mash the rinsed black beans slightly with a fork or potato masher, leaving some texture. Stir in the taco seasoning and salsa roja until combined but not watery. Taste and adjust seasoning if needed — you want it zesty but balanced.
- Make the Creamy Layer (5 minutes): In another bowl, beat together the softened cream cheese and sour cream (or Greek yogurt) until smooth. Add lime juice and mix well. This layer should be thick enough to spread without running, so if too stiff, add a splash of milk or lime juice; if too loose, chill for a few minutes.
- Layer the Dip (5 minutes): Spread the bean mixture evenly into your serving dish, pressing down gently to create a flat base. Next, carefully spread the creamy layer over the beans, smoothing the surface for an even finish.
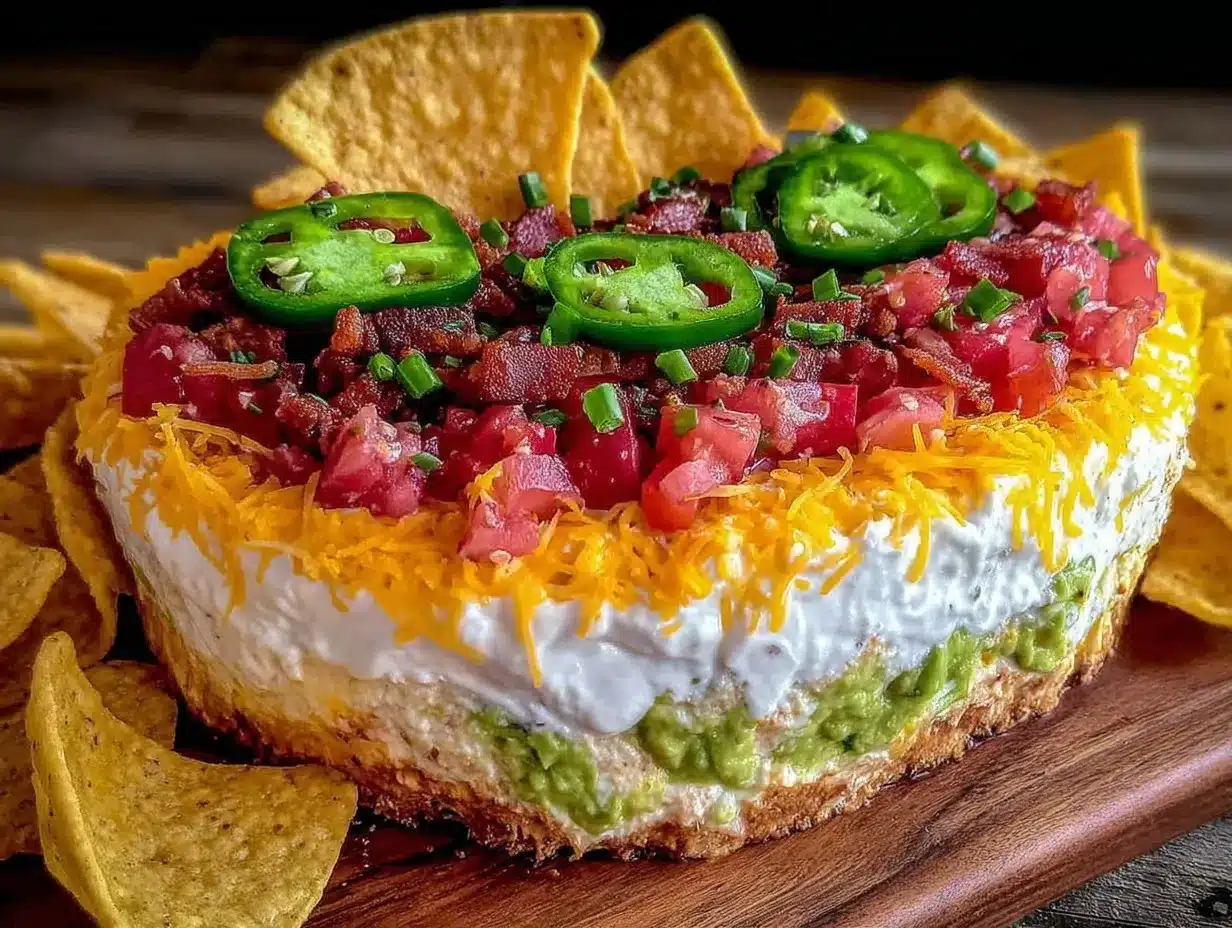
- Add the Toppings (5 minutes): Sprinkle shredded cheddar evenly over the creamy layer. Then scatter diced tomatoes, red bell peppers, green onions, cilantro, and jalapeño slices on top. The colors should pop — that’s part of the fun!
- Chill Before Serving (at least 30 minutes): Cover the dish with plastic wrap and refrigerate so the flavors get to know each other. The lime and spices mellow and blend, making every scoop more flavorful. If in a hurry, it’s still tasty immediately but better chilled.
Pro tip: If the dip seems watery after chilling, drain excess liquid from the salsa before mixing or add a bit more cream cheese to the creamy layer. Also, prepping the toppings fresh right before serving keeps them bright and crunchy.
Cooking Tips & Techniques
Making a layered taco dip sounds simple, but a few tricks can really make yours stand out. First, don’t skip the seasoning on the beans — plain beans are fine but seasoned ones bring that authentic taco flavor forward. I learned this the hard way after making a bland version that got politely ignored at a party.
When spreading the creamy layer, use the back of a spoon or a small offset spatula for a smooth finish. This helps the layers stay distinct and makes the dip look as good as it tastes. Also, take care not to mix or break the layers once assembled — the contrast is part of the appeal.
Timing is key: prepping the layers and topping early, then chilling, lets the flavors marry. I usually make this dip a few hours ahead and it holds perfectly, which is great for busy party prep. If you’re juggling other dishes like a crispy honey mustard glazed chicken or a shredded beef burrito bowl, this dip frees you up to focus elsewhere.
Lastly, fresh toppings make a big difference — don’t substitute canned or old veggies here. The crunch and color of fresh bell peppers and green onions bring life to the dip. If you want more heat, jalapeños are great, but balance with cooling sour cream.
Variations & Adaptations
This layered taco dip is a great canvas for customization. Here are some ways I’ve tweaked it to fit different moods and diets:
- Vegetarian & Vegan: Replace sour cream and cream cheese with dairy-free alternatives like cashew cream or coconut yogurt. Use a vegan cheese or skip it altogether and add extra veggies.
- Spicy Kick: Mix diced pickled jalapeños or a splash of hot sauce into the bean layer for an extra punch. A smoky chipotle powder in the taco seasoning also amps up flavor.
- Seasonal Twist: Swap diced tomatoes for roasted corn and black olives in the summer, or add sautéed mushrooms and caramelized onions in fall.
- Low-Carb Friendly: Skip the beans entirely and use a base of mashed avocado mixed with taco seasoning for a creamy, keto-friendly dip.
- Personal Favorite: I once tried adding crumbled crispy bacon on top, which gave a smoky crunch that disappeared fast at a game night. Definitely worth trying if you want to impress meat lovers.
Serving & Storage Suggestions
This dip is best served chilled or at cool room temperature — perfect for dipping with crunchy tortilla chips, crisp celery sticks, or even sturdy pita wedges. If you want to get creative, sliced jicama or cucumber rounds make refreshing, low-carb dippers.
Pair it with fresh margaritas, an ice-cold beer, or a sparkling water with lime for a classic poolside vibe. It also complements heartier mains like sausage and peppers skillet or creamy buffalo chicken dip for a full party spread.
Store leftovers tightly covered in the fridge for up to 3 days. The layers might meld together a bit, but the flavors only deepen. To re-serve, let it sit at room temperature for 15 minutes and stir gently before topping with fresh veggies again. Freezing isn’t recommended as the creamy layer may separate.
Nutritional Information & Benefits
Each serving of this flavorful pool dip layered taco dip offers a balanced mix of protein, fiber, and healthy fats. Black beans provide plant-based protein and fiber, which help keep you full and support digestion. The sour cream and cream cheese add richness and calcium, while fresh veggies contribute vitamins and antioxidants.
With moderate calories per serving, this dip fits well into most diets. You can adjust fat content by choosing low-fat dairy or dairy-free alternatives. It’s naturally gluten-free, making it accessible for many dietary needs. Just watch the chips you serve alongside if you’re managing carbs or gluten.
From a personal standpoint, I appreciate how this dip feels indulgent without being heavy — it’s the kind of snack that satisfies cravings and nourishes at the same time.
Conclusion
Flavorful Pool Dip Layered Taco Dip has become my go-to for easy, delicious party snacks that don’t require endless prep or fancy ingredients. It’s versatile enough to fit any occasion, from laid-back pool days to casual game nights. The layers of seasoned beans, creamy tang, and fresh crunch come together in a way that’s both satisfying and fun to eat.
Make it your own by swapping toppings or dialing in the spice level — I love seeing how others customize this recipe! For me, it’s not just a dip; it’s a reminder of good times with neighbors and friends, all sharing something simple and tasty.
If you give it a try, I’d love to hear how you layered your flavors or what you paired it with. Sharing these little moments and recipes is what makes cooking so rewarding. Here’s to many more flavorful gatherings!
Frequently Asked Questions (FAQs)
Can I make this layered taco dip ahead of time?
Absolutely! It actually tastes better after chilling for at least 30 minutes, and you can prep it up to a day in advance. Just cover tightly and refrigerate.
What can I use instead of black beans?
Refried beans or pinto beans work well as substitutes. If you want a smoother texture, mash them slightly before layering.
Is this dip gluten-free?
Yes, the dip itself contains no gluten. Just be sure to serve with gluten-free chips or veggies for dipping.
Can I make this dip vegan?
Yes! Swap the sour cream and cream cheese for plant-based alternatives like cashew cream or coconut yogurt, and use vegan cheese or omit it.
What’s the best way to serve this dip?
Chilled or at cool room temperature with crunchy tortilla chips, fresh veggies, or pita wedges. It pairs nicely with casual drinks and other party snacks.
Pin This Recipe!
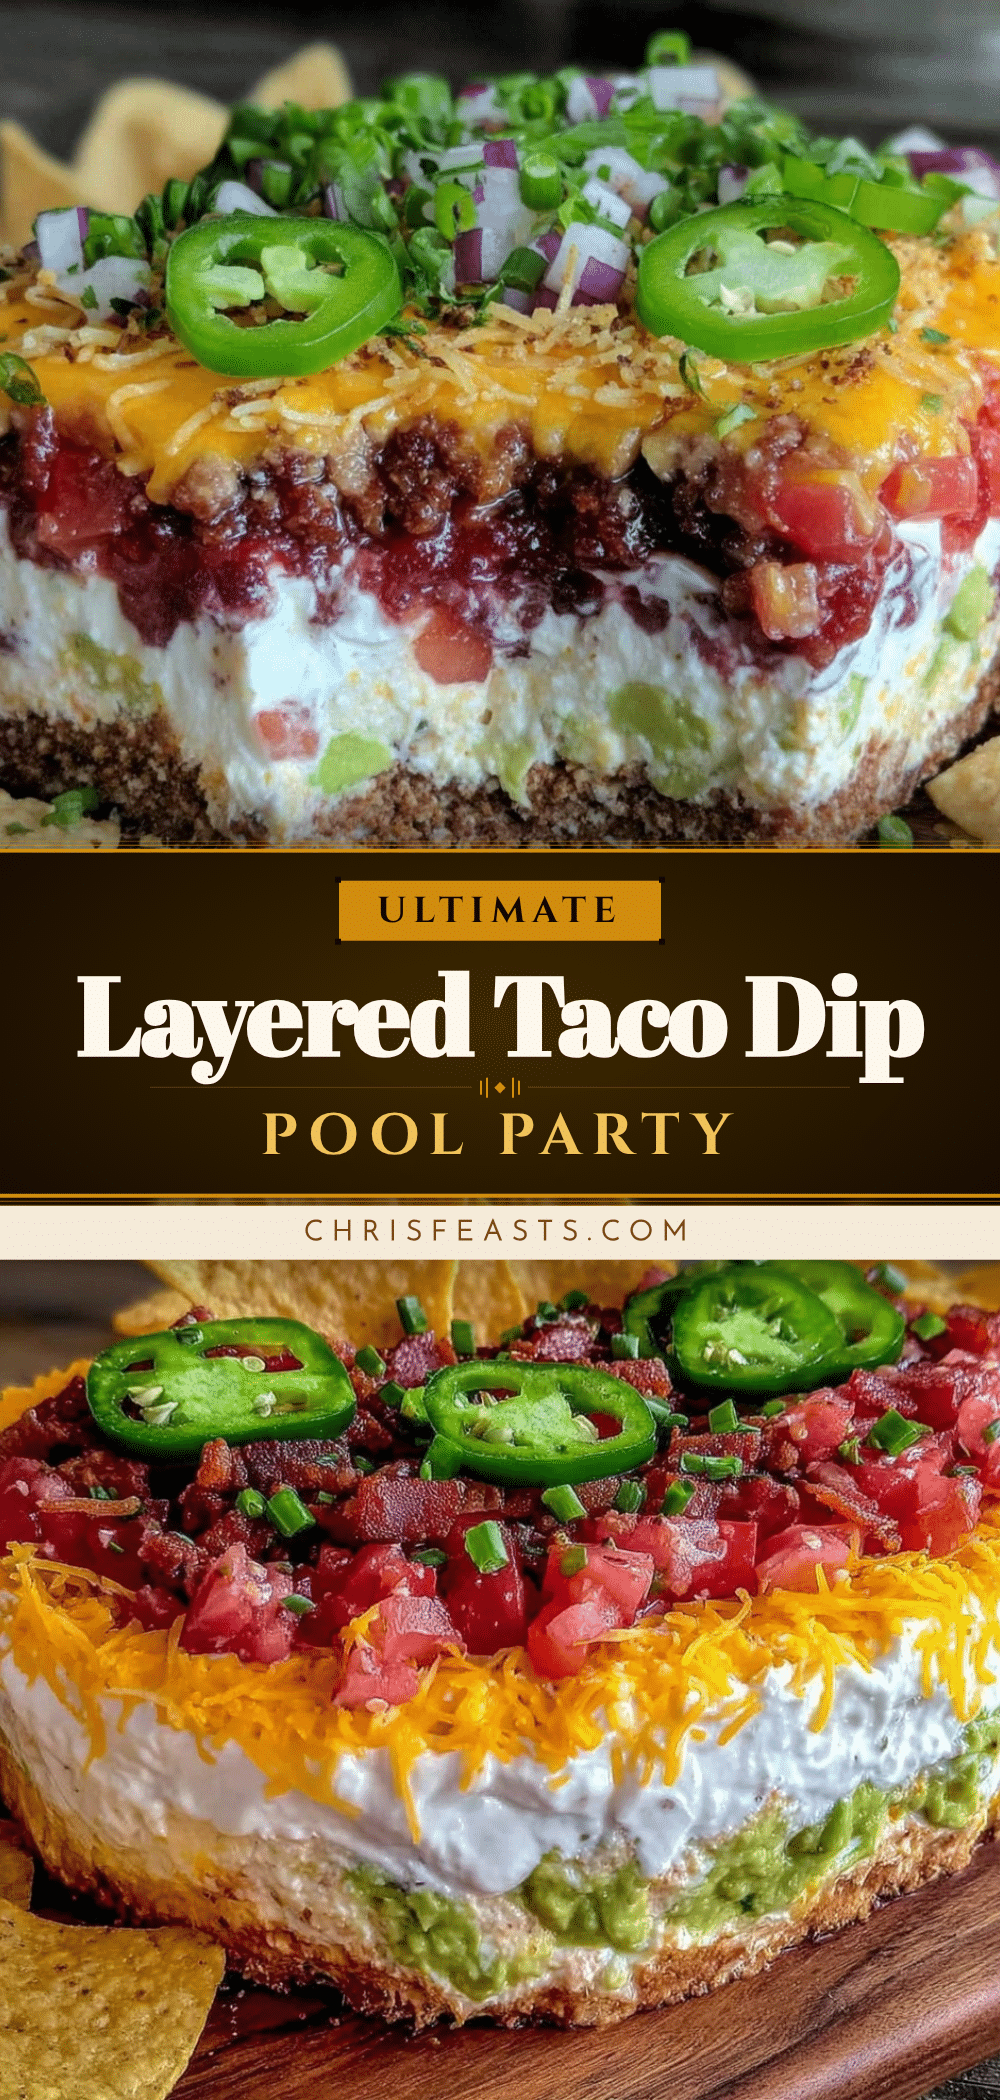
Flavorful Pool Dip Layered Taco Dip Recipe

A quick and easy layered taco dip perfect for pool parties and casual gatherings, combining seasoned black beans, creamy layers, and fresh crunchy toppings for a crowd-pleasing snack.
- Prep Time: 20 minutes
- Cook Time: 0 minutes
- Total Time: 50 minutes
- Yield: 8 servings 1x
- Category: Appetizer
- Cuisine: Mexican
Ingredients
- 1 can (15 oz / 425 g) black beans, rinsed and drained
- 1 tablespoon taco seasoning (chili powder, cumin, garlic powder, smoked paprika)
- 1/2 cup (4 fl oz / 120 ml) salsa roja or chunky salsa
- 1 cup (8 fl oz / 240 ml) sour cream or Greek yogurt
- 1/2 cup (4 oz / 120 g) cream cheese, softened
- Juice of half a lime
- 1 cup (5 oz / 150 g) shredded sharp cheddar cheese
- 1/2 cup (2.5 oz / 75 g) diced tomatoes, seeds removed if watery
- 1/2 cup (2.5 oz / 75 g) finely diced red bell pepper
- 1/4 cup (0.9 oz / 25 g) chopped green onions
- 1/4 cup (0.5 oz / 15 g) chopped fresh cilantro (optional)
- 1 small jalapeño, thinly sliced (optional)
Instructions
- Prepare the Bean Layer (10 minutes): In a medium bowl, mash the rinsed black beans slightly with a fork or potato masher, leaving some texture. Stir in the taco seasoning and salsa roja until combined but not watery. Taste and adjust seasoning if needed.
- Make the Creamy Layer (5 minutes): In another bowl, beat together the softened cream cheese and sour cream (or Greek yogurt) until smooth. Add lime juice and mix well. Adjust consistency if needed by adding a splash of milk or lime juice or chilling.
- Layer the Dip (5 minutes): Spread the bean mixture evenly into your serving dish, pressing down gently to create a flat base. Carefully spread the creamy layer over the beans, smoothing the surface.
- Add the Toppings (5 minutes): Sprinkle shredded cheddar evenly over the creamy layer. Scatter diced tomatoes, red bell peppers, green onions, cilantro, and jalapeño slices on top.
- Chill Before Serving (at least 30 minutes): Cover the dish with plastic wrap and refrigerate to allow flavors to meld. Serve chilled or at cool room temperature.
Notes
If the dip seems watery after chilling, drain excess liquid from salsa before mixing or add more cream cheese to the creamy layer. Prepare toppings fresh before serving for best crunch and color. Can be made ahead and chilled for at least 30 minutes or up to a day. Not recommended to freeze due to creamy layer separation.
Nutrition
- Serving Size: About 1/8 of the dip
- Calories: 180
- Sugar: 3
- Sodium: 350
- Fat: 12
- Saturated Fat: 6
- Carbohydrates: 12
- Fiber: 4
- Protein: 7
Keywords: layered taco dip, pool dip, party snack, easy dip recipe, black bean dip, layered dip, taco seasoning, creamy dip, fresh veggies, crowd-pleaser


