“You really think you can paint with icing?” my niece asked skeptically, arms crossed as she eyed my messy kitchen table scattered with piping bags and food coloring. Honestly, I wasn’t sure myself when I first tried this recipe. The idea of turning simple sugar cookies into delicate floral artworks with watercolor royal icing felt like a lofty challenge — but it quickly became my favorite weekend obsession.
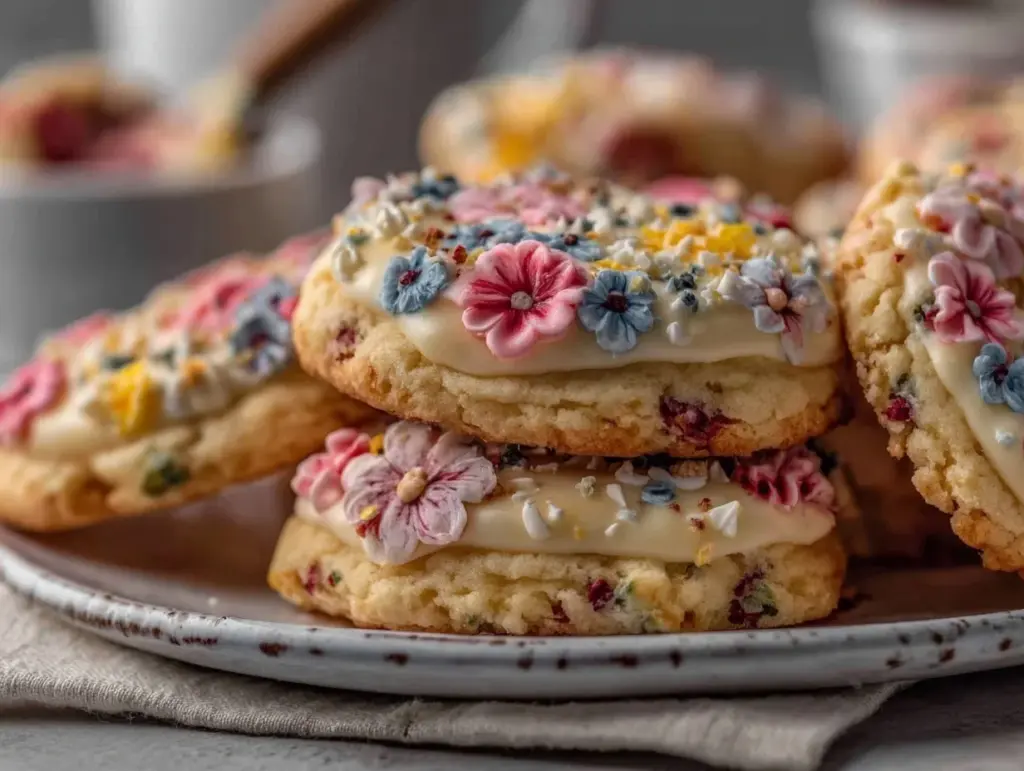
It started on a rainy Saturday afternoon when I had a craving for something creative but low-key. I stumbled on a forgotten stash of royal icing in the fridge and thought, why not try mixing colors right on the cookie? No fancy brushes, no perfect strokes — just a playful, imperfect splash of color. The results surprised me. These floral sugar cookies weren’t just pretty; they tasted perfectly tender with crisp edges, and the icing dried with that smooth, glossy finish that feels almost too good to eat.
Since then, I’ve baked these cookies multiple times a week, tweaking the icing consistency and experimenting with color blends — turning the kitchen into my makeshift studio. My friends started requesting these for birthdays and baby showers, marveling at how something so simple could look so elegant. And you know what? The best part is that anyone can do it, no fancy tools or artistic talent required.
Watching the colors bleed softly into each other, like a watercolor painting, reminds me that baking can be relaxing and fun rather than stressful. These cookies stuck with me because they’re a little celebration of creativity and sweetness rolled into one — a quiet reminder that beauty is often found in the simplest moments, like a shared cookie and a splash of color on a gray day.
Why You’ll Love This Recipe
As someone who’s always juggling time between work and life, these perfect floral sugar cookies with watercolor royal icing have been a surprisingly easy way to bring a bit of joy (and sweetness) into my routine. Here’s why I keep coming back to this recipe:
- Quick & Easy: The dough comes together in under 15 minutes, and you can chill it while prepping your icing—perfect for busy afternoons or last-minute celebrations.
- Simple Ingredients: You probably already have most of the pantry staples on hand, including basic baking ingredients and powdered sugar for the royal icing.
- Perfect for Special Occasions: Whether it’s a bridal shower, Mother’s Day brunch, or a cozy tea party, these cookies make any event feel thoughtfully crafted without the fuss.
- Crowd-Pleaser: Kids love the colorful look, and adults appreciate the buttery richness and delicate floral design — a win-win!
- Unbelievably Delicious: The buttery, crisp cookie base pairs beautifully with the smooth, slightly sweet royal icing that dries with a satisfying snap.
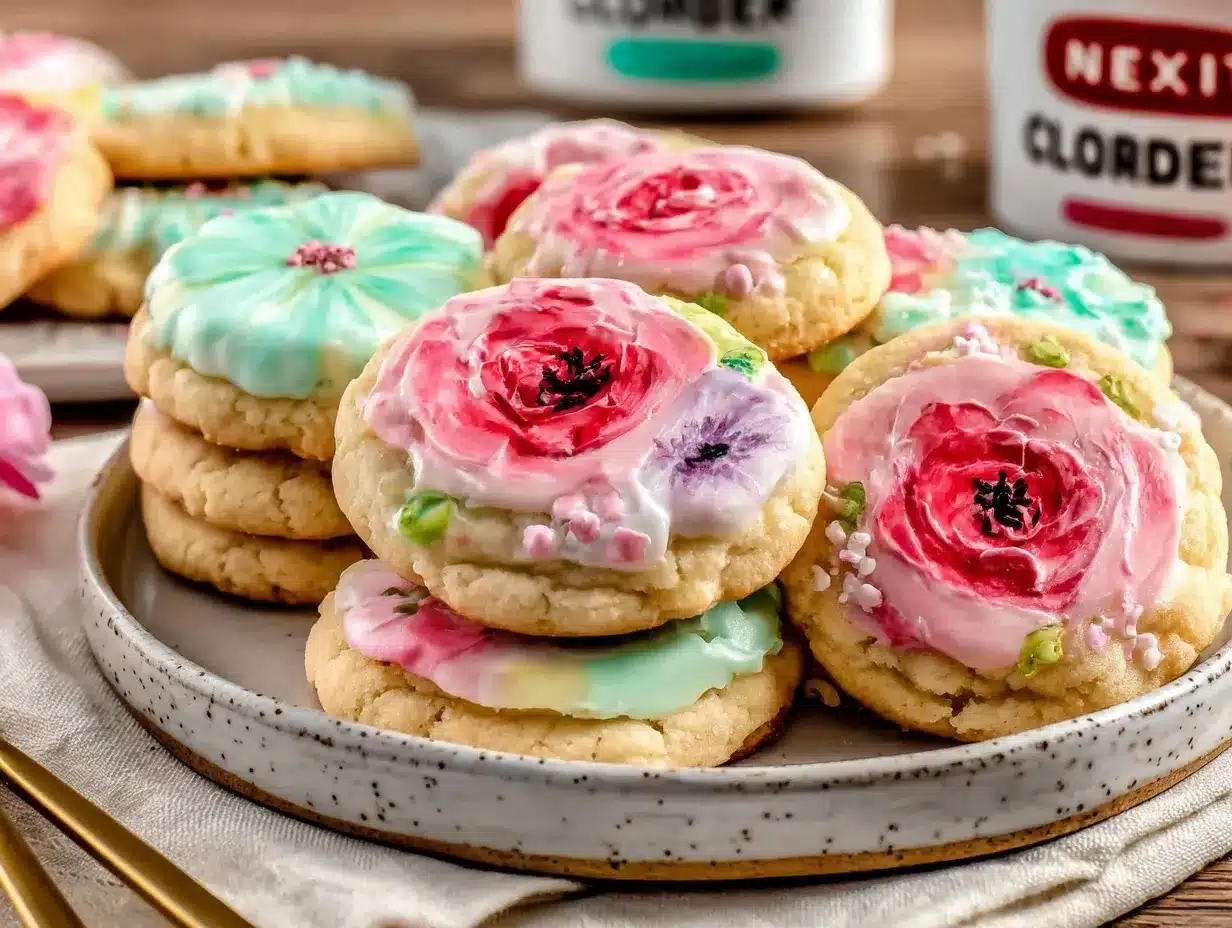
What makes this recipe stand out is the watercolor technique itself. Instead of painstakingly piping multiple colors for intricate designs, you gently blend food coloring into the wet royal icing right on the cookie surface. This creates spontaneous, soft floral patterns that feel both artistic and approachable.
This isn’t just another sugar cookie recipe; it’s a little creative escape with every batch. If you enjoy recipes that combine simple baking with a fun artistic twist, you’re going to find yourself reaching for this one again and again. And if you’re curious, it’s just as satisfying as the lemon blueberry pound cake I like to bake when I want a fresh, bright dessert.
What Ingredients You Will Need
This recipe uses simple, wholesome ingredients to deliver tender, flavorful sugar cookies with a smooth royal icing that’s perfect for watercolor effects. Most are pantry staples, and the few specialty items are easy to find or substitute.
- For the Sugar Cookies:
- All-purpose flour – 2 ¾ cups (345 g), sifted for a tender crumb
- Baking powder – 1 teaspoon (4 g), for a slight lift
- Salt – ¼ teaspoon (1.5 g), balances sweetness
- Unsalted butter – 1 cup (227 g), softened (I prefer Land O’Lakes for consistency)
- Granulated sugar – 1 cup (200 g), adds crispness
- Large egg – 1, room temperature (helps with binding)
- Pure vanilla extract – 1 teaspoon (5 ml), for warm flavor
- Almond extract – ½ teaspoon (2.5 ml), optional but adds subtle depth
- For the Watercolor Royal Icing:
- Powdered sugar – 4 cups (480 g), sifted for smooth icing
- Meringue powder – 3 tablespoons (30 g), stabilizes the icing
- Warm water – ⅔ cup (160 ml), adjust as needed for consistency
- Food coloring gels – assorted colors (I love AmeriColor gels for vibrant shades)
- Lemon juice – 1 teaspoon (5 ml), optional, brightens flavor
Ingredient Tips: For a dairy-free version, swap butter with a vegan margarine that behaves like butter in baking. If you don’t have almond extract, vanilla alone works just fine. When choosing food coloring, gel types work better than liquid for vibrant colors without thinning your icing.
Equipment Needed
- Mixing bowls – at least two, one for dough and one for icing
- Electric mixer – handheld or stand mixer with paddle attachment (makes creaming butter easier)
- Measuring cups and spoons – for accuracy
- Rolling pin – to roll out cookie dough evenly
- Cookie cutters – floral shapes or any shape you prefer (I use a set of assorted flower cutters)
- Baking sheets – lined with parchment paper or silicone mats (for easy cleanup)
- Piping bags or squeeze bottles – for royal icing application
- Fine brushes – for watercolor effect (small, food-safe paintbrushes work great)
- Cooling racks – to let cookies cool evenly without sogginess
Specialty tools like a stand mixer speed up the process, but a sturdy handheld mixer works just fine. If you don’t have piping bags, plastic sandwich bags with a small cut corner can substitute in a pinch. For brush maintenance, rinse them gently after use to keep the bristles soft and ready for next time.
Preparation Method
- Make the dough: In a medium bowl, whisk together 2 ¾ cups (345 g) flour, 1 teaspoon (4 g) baking powder, and ¼ teaspoon (1.5 g) salt. Set aside.
- Cream butter and sugar: Using an electric mixer, beat 1 cup (227 g) softened unsalted butter with 1 cup (200 g) granulated sugar on medium speed until light and fluffy, about 3-4 minutes.
- Add egg and extracts: Beat in 1 large egg, 1 teaspoon (5 ml) vanilla extract, and ½ teaspoon (2.5 ml) almond extract until combined.
- Combine wet and dry: Gradually add the flour mixture to the butter mixture, mixing on low speed just until the dough comes together. Avoid overmixing to keep cookies tender.
- Chill the dough: Flatten dough into a disk, wrap in plastic wrap, and chill for at least 1 hour (or overnight) to prevent spreading during baking.
- Preheat oven: Set oven to 350°F (175°C) and line baking sheets with parchment paper.
- Roll and cut: On a lightly floured surface, roll dough to about ¼ inch (6 mm) thickness. Use floral cookie cutters to cut shapes, transfer to baking sheets 1 inch (2.5 cm) apart.
- Bake cookies: Bake for 9-11 minutes until edges are just golden. Let cool on baking sheets for 5 minutes, then transfer to a wire rack to cool completely.
- Prepare royal icing: In a clean bowl, combine 4 cups (480 g) powdered sugar, 3 tablespoons (30 g) meringue powder, and ⅔ cup (160 ml) warm water. Beat on medium speed until icing is thick but spreadable (about 5-7 minutes). Add lemon juice if desired.
- Adjust and divide icing: Thin icing with a few drops of water if too thick. Divide into small bowls for different colors.
- Color the icing: Add gel food coloring to each bowl, mixing gently. Use only a tiny amount at first—you can always add more.
- Apply base coat: Use a piping bag or spoon to flood the cookie surface with a light base color. Let it set for about 10-15 minutes until slightly tacky.
- Paint watercolor details: Using a damp small brush, pick up a little colored icing and dab or stroke on top of the base coat. The colors will blend softly and create a painterly floral effect.
- Dry completely: Let the cookies dry at room temperature for at least 4 hours or overnight before stacking or packaging.
Pro tip: If your icing crusts too fast, mist it lightly with water to reactivate the surface for blending colors. Also, working in small batches helps keep the icing from drying out too quickly.
Cooking Tips & Techniques
Royal icing can be a bit intimidating at first, but a few tricks make the process way easier. First, consistency is key. For the base coat, your icing should flow smoothly but hold its shape—if it’s too runny, it will seep over the edges; too thick, and it won’t level out nicely.
Another tip is patience. Let each layer dry just enough before adding watercolor details to avoid muddy colors. The magic of the watercolor effect comes from gently blending colors on a tacky surface, so timing matters more than you might expect.
Don’t stress about perfection. I’ve had plenty of batches where the colors bled more than planned or the edges weren’t clean, but those “imperfect” cookies often ended up being the most charming. Baking and decorating is a practice, not a race — enjoy the process.
Also, use gel-based food colors rather than liquid. Liquids thin the icing and can ruin the texture. And if you want to speed up drying, place cookies near a fan or in a cool, dry room (not the fridge, which can cause condensation).
If you want sturdier cookies for shipping or gifting, a slightly longer baking time (just a minute or two extra) helps them hold their shape better. For inspiration on savory dishes that complement your cookie tea parties, you might enjoy the honey mustard glazed chicken thighs recipe — it’s a favorite around here for easy entertaining.
Variations & Adaptations
- Flavor twists: Add lemon zest or lavender extract to the cookie dough for a floral note that pairs beautifully with the watercolor icing.
- Dietary adaptations: Substitute all-purpose flour with a gluten-free blend for a gluten-free version. Use aquafaba as an egg replacer and vegan butter for dairy-free cookies.
- Color themes: Experiment with seasonal palettes — soft pastels for spring, rich jewel tones for fall, or bright primary colors for kids’ parties.
- Alternative decorations: Instead of watercolor, try piping delicate royal icing flowers on top for a more polished look. Or sprinkle edible glitter for a subtle sparkle.
- Cooking methods: You can bake the cookies on a pizza stone for extra crispness or use a convection oven setting if available for even baking.
Personally, I once swapped the floral cutters for heart shapes and used pink, red, and white colors for a whimsical Valentine’s Day batch. They disappeared faster than the savory sausage and peppers skillet I tried to serve alongside!
Serving & Storage Suggestions
These floral sugar cookies are best served at room temperature, allowing the royal icing to show off its glossy finish and delicate colors. Arrange them on a pretty platter for a brunch or tea party centerpiece — they pair wonderfully with light teas or sparkling lemonade.
You can store completely cooled and dried cookies in an airtight container at room temperature for up to 5 days. For longer storage, freeze the cookies (without icing) in a single layer, wrapped tightly in plastic wrap, then thaw before decorating.
If you’ve already iced them, store in a single layer separated by parchment paper to avoid smudging. Reheat is not recommended as it can soften the icing and cause colors to run.
Over time, the icing flavors mellow and deepen, so if you’re prepping ahead for a party, these cookies taste just as good a day or two later. Just keep them sealed well to protect the delicate surface.
Nutritional Information & Benefits
These sugar cookies are a treat best enjoyed in moderation. Each cookie (based on a 3-inch cutout) contains approximately:
| Nutrient | Amount |
|---|---|
| Calories | 140 kcal |
| Fat | 7 g |
| Carbohydrates | 18 g |
| Sugar | 10 g |
| Protein | 1 g |
Key ingredients like butter provide richness and satiety, while meringue powder in the royal icing adds protein. For those with allergies, these cookies contain gluten, eggs, and dairy, but substitutions can be made to accommodate dietary needs.
From a personal wellness perspective, I enjoy these as an occasional indulgence that pairs well with wholesome meals — like the lemon garlic butter cod I often serve for balanced dinners.
Conclusion
This recipe for perfect floral sugar cookies with watercolor royal icing is a sweet invitation to mix baking with a touch of creativity. With simple ingredients and straightforward steps, it’s approachable enough for beginners yet satisfying for seasoned bakers seeking a charming project.
Feel free to adjust the colors, flavors, and shapes to suit your style — this recipe welcomes your personal touch. I love these cookies not just because they taste great, but because they turn an ordinary baking day into a little celebration of color and joy.
Give them a try and see how a humble sugar cookie can become a canvas for your imagination. I’d love to hear how your watercolor floral cookies turn out — leave a comment and share your favorite color combos or decorating tips!
FAQs About Perfect Floral Sugar Cookies with Watercolor Royal Icing
How do I prevent royal icing from cracking?
Make sure your icing isn’t too thick and allow it to dry slowly at room temperature. Avoid refrigerating, as sudden temperature changes can cause cracks.
Can I use liquid food coloring instead of gel?
Gel food coloring is best because it won’t thin your icing. Liquids can make the royal icing runnier and less stable for decorating.
How long do these sugar cookies stay fresh?
Stored in an airtight container at room temperature, they remain fresh for about 5 days. For longer storage, freeze un-iced cookies and decorate after thawing.
What if I don’t have floral cookie cutters?
Any cookie cutter shape works! Simple circles or hearts can look beautiful with the watercolor icing technique.
Is meringue powder necessary for royal icing?
Yes, it helps stabilize the icing and gives it that firm texture when dried. You can substitute with fresh egg whites, but meringue powder is safer and more convenient.
Pin This Recipe!
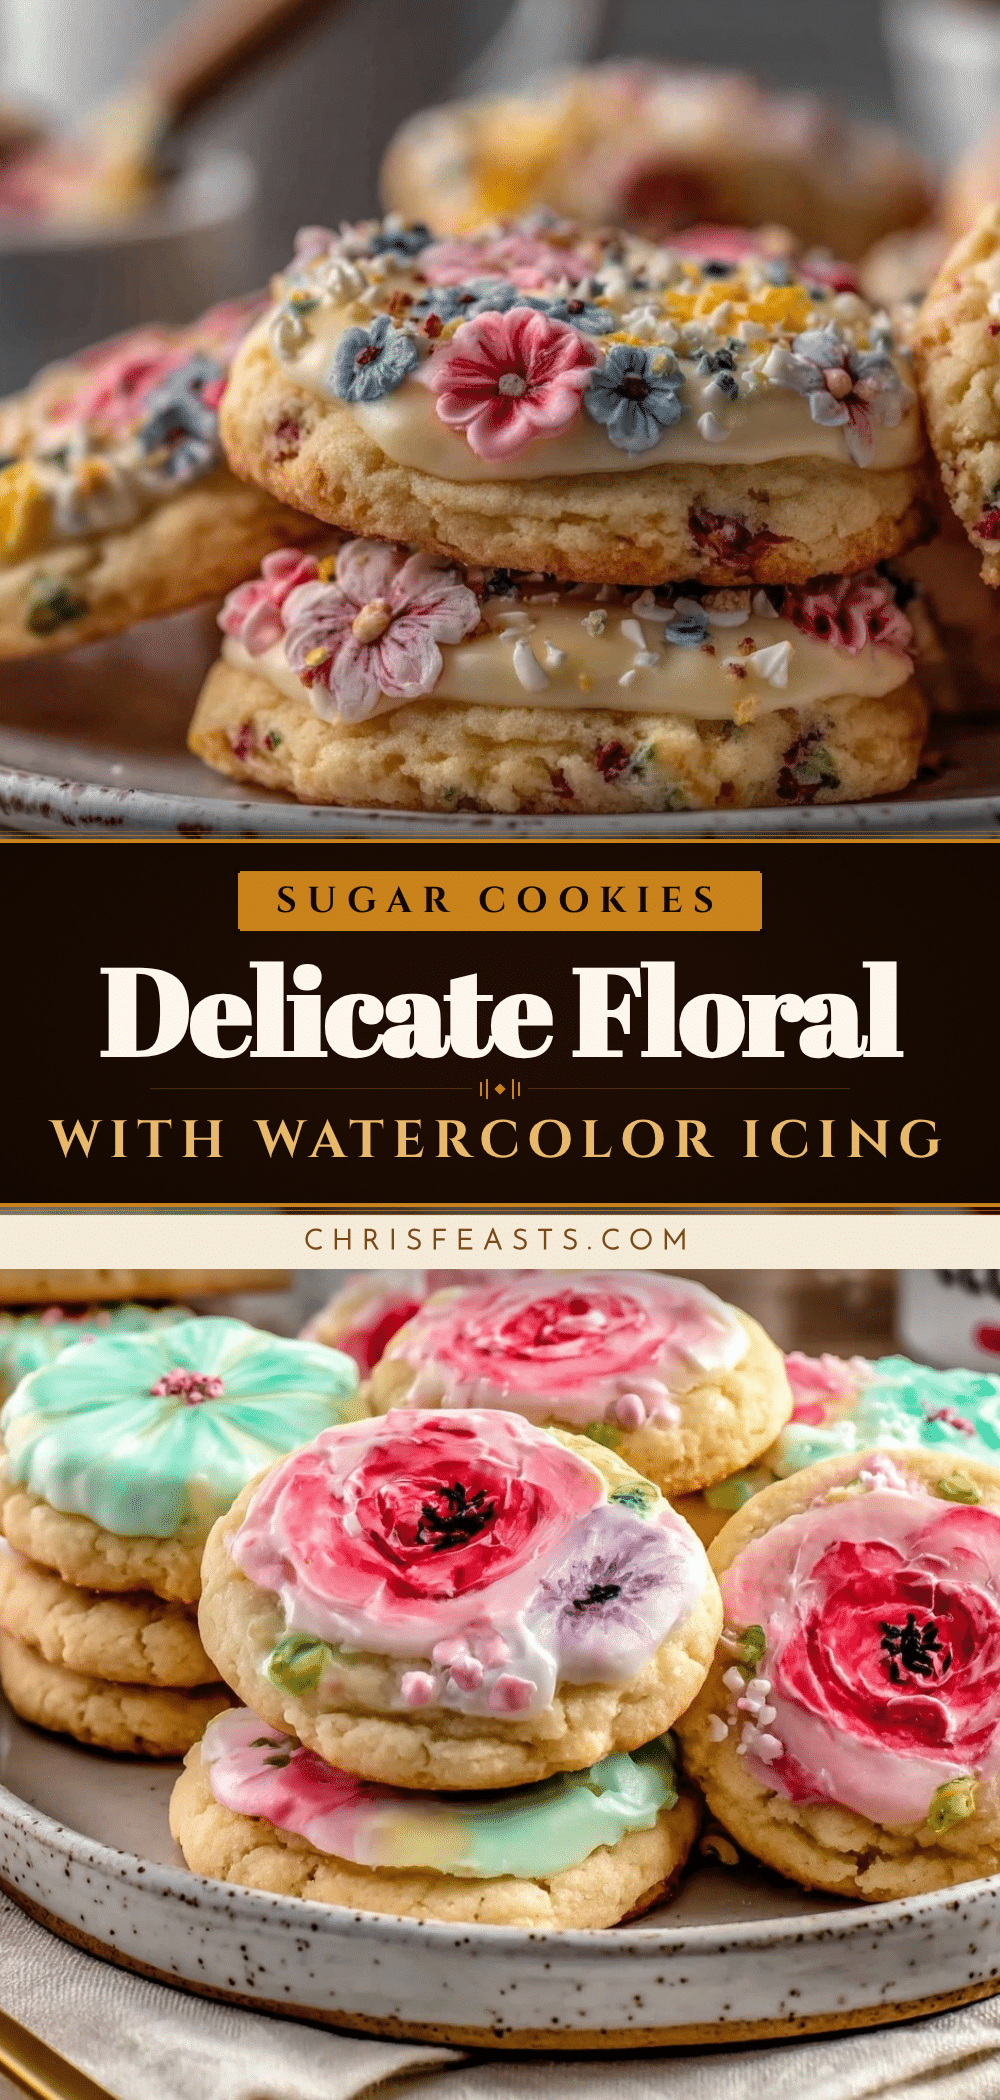
Perfect Floral Sugar Cookies with Watercolor Royal Icing

Delicate floral sugar cookies decorated with a playful watercolor royal icing technique, combining simple baking with artistic flair for a tender, crisp treat perfect for special occasions.
- Prep Time: 15 minutes
- Cook Time: 11 minutes
- Total Time: 1 hour 30 minutes
- Yield: 24 cookies 1x
- Category: Dessert
- Cuisine: American
Ingredients
- 2 ¾ cups (345 g) all-purpose flour, sifted
- 1 teaspoon (4 g) baking powder
- ¼ teaspoon (1.5 g) salt
- 1 cup (227 g) unsalted butter, softened
- 1 cup (200 g) granulated sugar
- 1 large egg, room temperature
- 1 teaspoon (5 ml) pure vanilla extract
- ½ teaspoon (2.5 ml) almond extract (optional)
- 4 cups (480 g) powdered sugar, sifted
- 3 tablespoons (30 g) meringue powder
- ⅔ cup (160 ml) warm water
- Food coloring gels, assorted colors
- 1 teaspoon (5 ml) lemon juice (optional)
Instructions
- In a medium bowl, whisk together flour, baking powder, and salt. Set aside.
- Using an electric mixer, beat softened butter with granulated sugar on medium speed until light and fluffy, about 3-4 minutes.
- Beat in egg, vanilla extract, and almond extract until combined.
- Gradually add flour mixture to butter mixture, mixing on low speed just until dough comes together. Avoid overmixing.
- Flatten dough into a disk, wrap in plastic wrap, and chill for at least 1 hour or overnight.
- Preheat oven to 350°F (175°C) and line baking sheets with parchment paper.
- Roll dough on a lightly floured surface to about ¼ inch (6 mm) thickness. Cut shapes with floral cookie cutters and place 1 inch apart on baking sheets.
- Bake for 9-11 minutes until edges are just golden. Cool on baking sheets for 5 minutes, then transfer to wire racks to cool completely.
- Prepare royal icing by combining powdered sugar, meringue powder, and warm water. Beat on medium speed until thick but spreadable, about 5-7 minutes. Add lemon juice if desired.
- Thin icing with a few drops of water if too thick. Divide into small bowls for different colors.
- Add gel food coloring to each bowl, mixing gently.
- Use a piping bag or spoon to flood cookie surface with a light base color. Let set for 10-15 minutes until slightly tacky.
- Using a damp small brush, dab or stroke colored icing on top of base coat to create watercolor floral effect.
- Let cookies dry at room temperature for at least 4 hours or overnight before stacking or packaging.
Notes
Use gel-based food coloring for vibrant colors without thinning icing. Let each icing layer dry sufficiently before adding details to avoid muddy colors. Mist icing lightly with water to reactivate surface if it crusts too fast. Store iced cookies in a single layer separated by parchment paper to avoid smudging. For dairy-free, use vegan margarine; for gluten-free, substitute flour with gluten-free blend and use aquafaba as egg replacer.
Nutrition
- Serving Size: 1 cookie (3-inch cut
- Calories: 140
- Sugar: 10
- Fat: 7
- Carbohydrates: 18
- Protein: 1
Keywords: sugar cookies, watercolor icing, royal icing, floral cookies, easy sugar cookies, decorated cookies, baking, cookie decorating


