“I’m not supposed to play favorites with recipes, but this one? It’s got a special place in my heart,” my neighbor Lisa confessed last week as we chatted over the fence. Funny thing is, I wasn’t expecting to hear about her cake escapade—especially not when she told me the story behind this “Perfect Class of 2026 Sheet Cake with Edible Photo Decoration.” It all started last-minute, a few hours before her niece’s graduation party.
The power had flickered earlier that day, and Lisa was halfway through baking a different dessert when the oven gave up on her. Frantic but determined, she pulled out an old family sheet cake recipe and improvised the edible photo decoration she’d never tried before. Honestly, the kitchen looked like a flour bomb had exploded—there was batter on the counter, a cracked mixing bowl, and a frantic call to her local bakery for frosting tips.
You know that feeling when you’re racing the clock, juggling guests arriving, and trying to make something look effortlessly impressive? I’ve been there, too. But here’s the thing: that imperfect, slightly chaotic night led to a recipe that’s now a staple in Lisa’s family celebrations. The cake’s moist crumb, buttery frosting, and the personalized photo on top made it a showstopper. And it’s not just for graduations; it’s the kind of cake that turns any gathering into something memorable.
Maybe you’ve been there—scrambling to pull together a dessert with limited time and ingredients. This sheet cake, topped with a sweet, edible photo, might just become your go-to rescue. It’s simple, fun, and genuinely impressive without the fuss. Let me tell you, I keep making it whenever I need a little magic on a plate.
Why You’ll Love This Recipe
This “Perfect Class of 2026 Sheet Cake with Edible Photo Decoration” isn’t just another cake recipe—it’s a crowd-pleaser that combines ease, flavor, and a personalized touch. After testing it multiple times in my own kitchen (and surviving a few frosting disasters), I’m confident this recipe will become a favorite.
- Quick & Easy: Ready in under 1 hour, it’s perfect for those last-minute celebrations or surprise parties.
- Simple Ingredients: You likely have everything on hand—flour, sugar, eggs, and basic pantry staples. No fancy or hard-to-find items.
- Perfect for Celebrations: Whether it’s graduation, birthdays, or milestone events, this cake brings a festive vibe with minimal effort.
- Crowd-Pleaser: Kids and adults alike rave about its moist texture and rich, buttery frosting.
- Unbelievably Delicious: The balance between tender cake crumb and creamy frosting is just right, and the edible photo adds a wow factor.
What sets this apart? The edible photo decoration. It’s a simple technique that transforms a basic sheet cake into a personalized masterpiece. The frosting recipe is smooth and stable, perfect for holding the photo without smudging or sliding. Plus, it’s a recipe that I’ve tweaked to perfection—no more dry edges or overly sweet frosting. It’s comfort food with a clever twist, and honestly, it’s saved me more than once when I needed a dessert that looked like I’d spent hours on it.
Once you get this down, you’ll find yourself making it for all sorts of occasions—because who doesn’t love a cake that’s both easy and makes a statement?
What Ingredients You Will Need
This recipe uses simple, wholesome ingredients to deliver bold flavor and satisfying texture without the fuss. Most of these are pantry staples, and the edible photo decoration requires just a few extra things you can easily find online or at party stores.
- For the Cake Batter:
- All-purpose flour – 2 ½ cups (310 g), sifted for a light texture
- Granulated sugar – 2 cups (400 g), the sweetness backbone
- Baking powder – 2 ½ tsp, for that perfect rise
- Baking soda – ½ tsp, balances the acidity
- Salt – ½ tsp, enhances all flavors
- Unsalted butter – ¾ cup (170 g), softened (I recommend Kerrygold for richness)
- Buttermilk – 1 cup (240 ml), room temperature (adds moistness and tang)
- Large eggs – 3, room temperature (helps bind and give structure)
- Vanilla extract – 2 tsp, pure is best for flavor depth
- Hot water – 1 cup (240 ml), to bloom the cocoa powder
- Unsweetened cocoa powder – ¾ cup (75 g), sifted (Dutched cocoa works well here)
- For the Frosting:
- Unsalted butter – 1 cup (225 g), softened
- Powdered sugar – 4 cups (480 g), sifted to avoid lumps
- Heavy cream – 2-3 tbsp (30-45 ml), to adjust consistency
- Vanilla extract – 1 ½ tsp
- Pinch of salt, to balance sweetness
- For the Edible Photo Decoration:
- Edible frosting sheet – 1 sheet, pre-printed with your chosen photo (available online or at specialty stores)
- Edible ink printer (optional if you want to print your own photo)
- Light corn syrup or piping gel – to gently adhere the photo to the frosting
For substitutions, you can swap buttermilk with milk plus 1 tbsp lemon juice (let sit 5 minutes), or use dairy-free butter and milk alternatives for a vegan-friendly version. For gluten-free, almond or oat flour blends might work but expect texture changes. I’ve tried using Greek yogurt in place of part of the buttermilk for an extra tang, and it turned out delightful!
Equipment Needed
- 9×13 inch (23×33 cm) sheet cake pan – go for non-stick or line with parchment for easy release
- Mixing bowls – at least two (one for dry, one for wet ingredients)
- Electric mixer or stand mixer – a hand mixer works too, but stand mixer makes it easier
- Sifter or fine mesh strainer – helps avoid lumps in flour and cocoa
- Measuring cups and spoons – precise measurements matter here for baking success
- Rubber spatula and wooden spoon – for folding and scraping batter
- Offset spatula or butter knife – perfect for spreading frosting smoothly
- Cooling rack – lets the cake cool evenly and faster
- Optional: edible ink printer if you want to print your own photo designs at home (otherwise, order pre-printed sheets)
If you don’t have a stand mixer, no worries — a sturdy whisk and a bit of elbow grease will do. I once whipped this up with just a hand whisk and a bowl, though it took a little longer. For the edible photo, don’t stress about fancy tools. The key is gentle handling and a steady hand when placing the photo on the cake.
Preparation Method
- Prep Your Pan and Oven: Preheat your oven to 350°F (175°C). Grease the 9×13 inch pan with butter or non-stick spray, then line it with parchment paper for an easy lift. This usually takes about 10 minutes.
- Mix Dry Ingredients: In a large bowl, sift together the flour, cocoa powder, baking powder, baking soda, and salt. This ensures even distribution and a light crumb. Set aside.
- Cream Butter and Sugar: In your mixer bowl, beat the softened butter and granulated sugar on medium speed until fluffy and pale, about 3-5 minutes. This step is crucial for a light cake texture.
- Add Eggs and Vanilla: Beat in eggs one at a time, then stir in the vanilla extract. Make sure each egg is fully incorporated before adding the next.
- alternate Adding Dry Ingredients and Buttermilk: With mixer on low, add a third of the dry mixture, followed by half the buttermilk. Repeat, ending with the last of the dry ingredients. Mix just until combined to avoid a dense cake.
- Stir in Hot Water: Slowly pour in hot water (careful, it’s hot!) and gently mix until the batter is smooth and thin. This step keeps the cake moist and tender.
- Bake: Pour batter into the prepared pan and smooth the top with a spatula. Bake for 35-40 minutes, or until a toothpick inserted in the center comes out clean. Don’t open the oven early; it can cause the cake to sink.
- Cool: Let the cake cool in the pan for 15 minutes on a wire rack, then carefully invert onto the rack to cool completely. This usually takes about 1 hour total.
- Make the Frosting: Beat softened butter until creamy. Gradually add powdered sugar, alternating with heavy cream, until you get a spreadable consistency. Stir in vanilla and salt. Taste and adjust sweetness or creaminess.
- Frost the Cake: Spread a thin crumb coat first and chill for 15 minutes, then apply a thicker final layer of frosting smooth enough for the edible photo.
- Apply Edible Photo: Gently brush a thin layer of light corn syrup or piping gel onto the frosting where the photo will go. Carefully position the edible photo sheet on top, smoothing out any bubbles or wrinkles with clean hands or a soft spatula. Chill the cake to set the photo.
If your batter looks too thick after adding hot water, don’t panic—just give it a few extra stirs. And remember, timing is key; rushing the cooling step can cause the frosting to slide. My biggest mishap was forgetting to chill the crumb coat, resulting in frosting mixing with crumbs—lesson learned!
Cooking Tips & Techniques
Getting sheet cakes just right can be tricky, but a few tricks will save you headaches.
- Room Temperature Ingredients: Always start with eggs, butter, and buttermilk at room temp. It helps everything blend better and the cake rise evenly.
- Don’t Overmix: Once you combine wet and dry ingredients, mix just until blended. Overmixing develops gluten and makes a tough cake.
- Test for Doneness: Toothpick test is your best friend. Insert it near the center, and if it comes out with just a few moist crumbs, it’s perfect.
- Chill Before Decorating: Chilling the cake after crumb coating the frosting prevents crumb fallout and gives a smooth base for the photo.
- Handling Edible Photos: They’re delicate; avoid touching the printed side with wet hands. If you’re printing your own, make sure to use FDA-approved edible ink and sheets.
- Timing with Frosting: If frosting gets too soft, pop it in the fridge for a few minutes. Too hard? Let it sit at room temperature briefly before spreading.
Once, I left the cake out too long after applying the photo, and it started curling at the edges. Lesson: keep it cool and serve within a day or two for best appearance and taste.
Variations & Adaptations
This sheet cake is a great base for customization.
- Flavor Variations: Swap cocoa powder for melted dark chocolate for a richer, fudgier cake. Or add a teaspoon of espresso powder to enhance the chocolate notes.
- Dietary Tweaks: Use gluten-free flour blend and dairy-free substitutes to make it allergy-friendly. I’ve tried almond milk and vegan butter with great results.
- Frosting Alternatives: Cream cheese frosting pairs beautifully with this cake for a tangy twist. Just swap butter for cream cheese and reduce sugar slightly.
- Decoration Ideas: Instead of an edible photo, try piped buttercream borders or fresh fruit accents around the edges to complement the printed center.
One time, I made a lemon version by adding lemon zest and juice, swapping the cocoa for white cake mix—topped with a lemon glaze and a summery edible photo. It was a big hit at a summer party!
Serving & Storage Suggestions
Serve this sheet cake chilled or at room temperature — both work well. If you’re presenting it for a party, slice with a sharp, warmed knife for neat pieces.
Pair it with a cold glass of milk, coffee, or even a sparkling lemonade for a refreshing contrast. It’s also lovely with fresh berries or a dollop of whipped cream on the side.
Store leftovers covered in the fridge for up to 4 days. The edible photo keeps best chilled; warmth can cause it to wrinkle or fade. For longer storage, wrap tightly and freeze for up to 2 months. Thaw overnight in the fridge before serving.
Flavors tend to meld and deepen after a day, so sometimes I make this a day ahead for a more developed taste. Just keep it well covered to avoid drying out.
Nutritional Information & Benefits
This cake is a treat, but it contains some nutritional perks too. Cocoa powder is rich in antioxidants, which can have heart-healthy benefits. Using real butter and buttermilk adds protein and calcium, making it more satisfying.
Estimated per slice (1/12th of cake): About 350 calories, 15g fat, 45g carbs, and 4g protein. Keep in mind, the edible photo adds negligible calories but plenty of fun!
For those watching sugar, you can cut down powdered sugar in the frosting slightly and balance with vanilla or almond extracts. Gluten-free and dairy-free adaptations make it accessible for various dietary needs.
Conclusion
So, what makes this “Perfect Class of 2026 Sheet Cake with Edible Photo Decoration” worth your time? It’s simple to make, wonderfully tasty, and adds a personal flair that’s hard to beat. Whether you’re scrambling last-minute or planning ahead, this recipe has your back.
I love that it turns a regular sheet cake into a memorable centerpiece, especially with that photo on top—it’s like sharing a moment on a plate. Honestly, it’s the recipe I reach for when I want to impress but don’t want to fuss.
Give it a try, tweak it to your taste, and let me know how it goes. Share your edible photo creations or any fun variations you come up with—I’m always excited to hear your stories!
Happy baking, and here’s to many celebrations with cake and smiles!
FAQs
Can I use regular printer paper instead of an edible photo sheet?
No, regular paper isn’t edible and can’t be placed on food safely. Edible photo sheets are made with rice or sugar paper and printed with edible ink, designed specifically for cake decoration.
How long can I prepare the cake in advance?
You can bake and frost the cake a day ahead. Keep it refrigerated and covered tightly. The edible photo works best if applied no more than 24 hours before serving.
What if I don’t have buttermilk on hand?
Mix 1 cup of milk with 1 tablespoon of lemon juice or white vinegar, let it sit for 5 minutes, and use as a buttermilk substitute. It adds the right acidity and moisture.
Can I freeze the cake with the edible photo on it?
Freezing with the photo is not recommended as it can cause the image to warp or fade. Freeze the cake without the photo, then apply it after thawing and frosting.
How do I prevent the edible photo from wrinkling?
Apply a thin layer of piping gel or light corn syrup to the frosting before placing the photo. Handle the photo gently and chill the cake to set the decoration quickly.
Pin This Recipe!
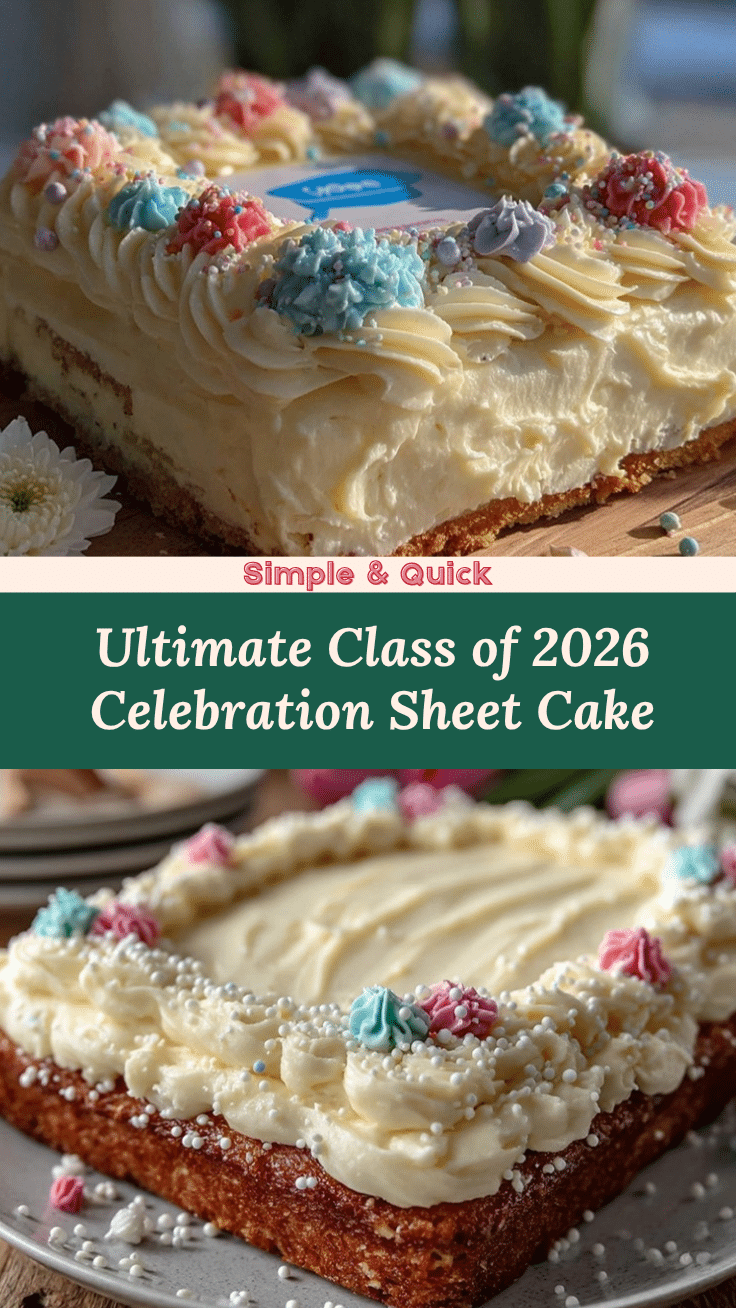
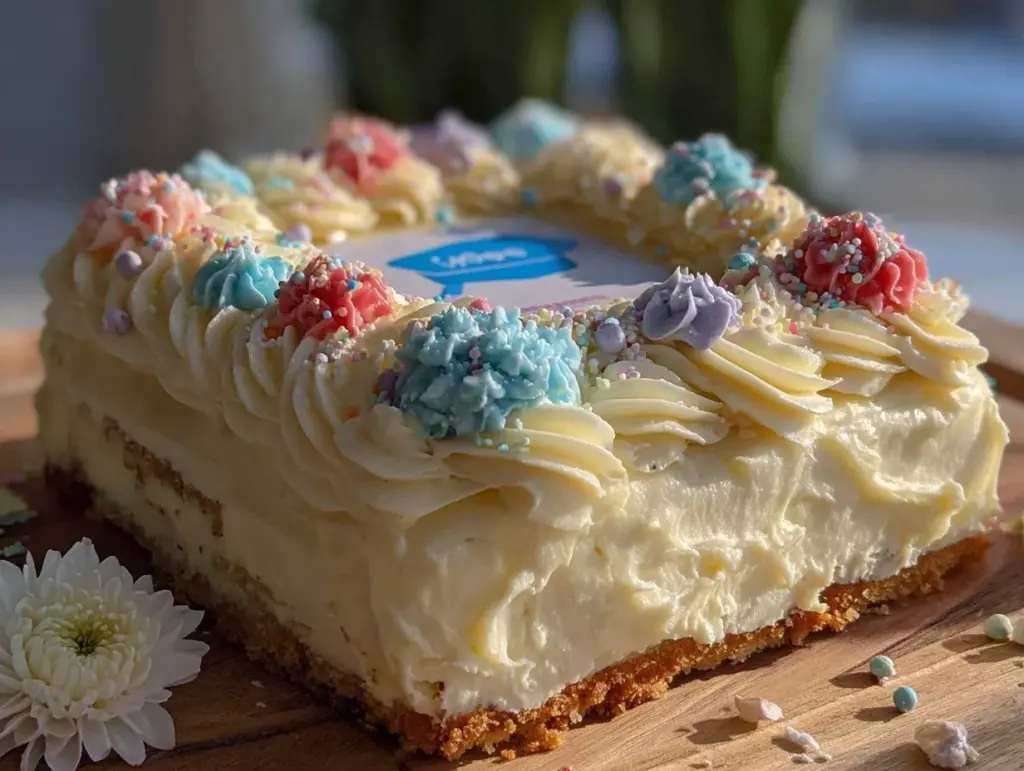
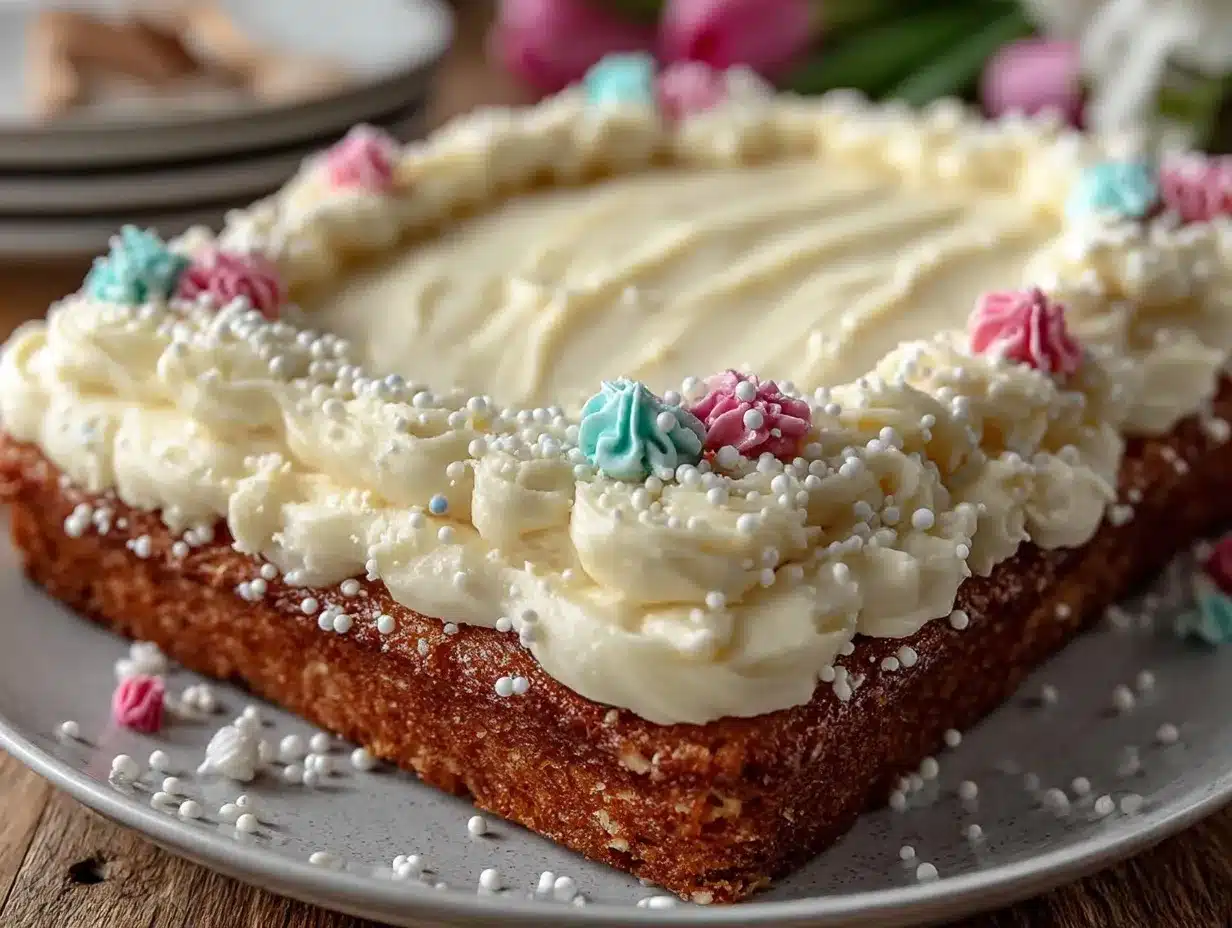
Perfect Class of 2026 Sheet Cake with Edible Photo Decoration

A moist and buttery sheet cake topped with a personalized edible photo, perfect for celebrations like graduations and birthdays. Easy to make with simple ingredients and impressive results.
- Prep Time: 20 minutes
- Cook Time: 40 minutes
- Total Time: 1 hour 15 minutes
- Yield: 12 servings 1x
- Category: Dessert
- Cuisine: American
Ingredients
- 2 ½ cups (310 g) all-purpose flour, sifted
- 2 cups (400 g) granulated sugar
- 2 ½ tsp baking powder
- ½ tsp baking soda
- ½ tsp salt
- ¾ cup (170 g) unsalted butter, softened
- 1 cup (240 ml) buttermilk, room temperature
- 3 large eggs, room temperature
- 2 tsp vanilla extract
- 1 cup (240 ml) hot water
- ¾ cup (75 g) unsweetened cocoa powder, sifted
- 1 cup (225 g) unsalted butter, softened (for frosting)
- 4 cups (480 g) powdered sugar, sifted
- 2–3 tbsp (30–45 ml) heavy cream
- 1 ½ tsp vanilla extract (for frosting)
- Pinch of salt (for frosting)
- 1 edible frosting sheet, pre-printed with photo
- Light corn syrup or piping gel (to adhere photo)
Instructions
- Preheat oven to 350°F (175°C). Grease a 9×13 inch pan and line with parchment paper.
- Sift together flour, cocoa powder, baking powder, baking soda, and salt in a large bowl.
- Beat softened butter and granulated sugar on medium speed until fluffy, about 3-5 minutes.
- Add eggs one at a time, beating well after each addition, then stir in vanilla extract.
- With mixer on low, alternately add dry ingredients and buttermilk in thirds, starting and ending with dry ingredients. Mix just until combined.
- Slowly pour in hot water and mix gently until batter is smooth and thin.
- Pour batter into prepared pan and smooth the top. Bake for 35-40 minutes or until a toothpick inserted in the center comes out clean.
- Cool cake in pan on wire rack for 15 minutes, then invert onto rack to cool completely (about 1 hour).
- Beat softened butter for frosting until creamy. Gradually add powdered sugar, alternating with heavy cream, until spreadable consistency is reached. Stir in vanilla and salt.
- Apply a thin crumb coat of frosting to the cake and chill for 15 minutes.
- Apply a thicker final layer of frosting, smoothing it for the edible photo.
- Brush a thin layer of light corn syrup or piping gel onto frosting where the photo will be placed.
- Carefully position the edible photo sheet on top, smoothing out bubbles or wrinkles gently.
- Chill the cake to set the photo before serving.
Notes
Use room temperature ingredients for best results. Do not overmix batter to avoid tough cake. Chill crumb coat before final frosting to prevent crumbs mixing in. Handle edible photo gently and keep cake chilled to avoid wrinkling. Frosting consistency can be adjusted with heavy cream. For vegan or gluten-free versions, substitute ingredients accordingly. Freeze cake without photo and apply after thawing.
Nutrition
- Serving Size: 1 slice (1/12th of c
- Calories: 350
- Fat: 15
- Carbohydrates: 45
- Protein: 4
Keywords: sheet cake, edible photo cake, graduation cake, easy cake recipe, chocolate sheet cake, celebration cake, buttercream frosting


